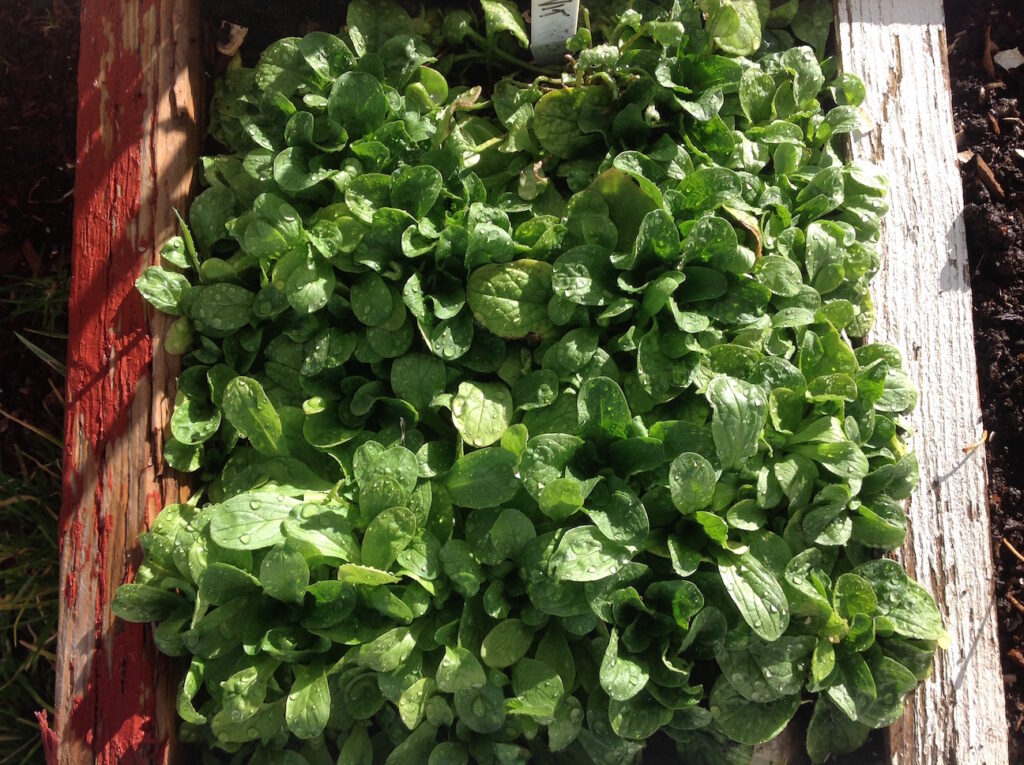
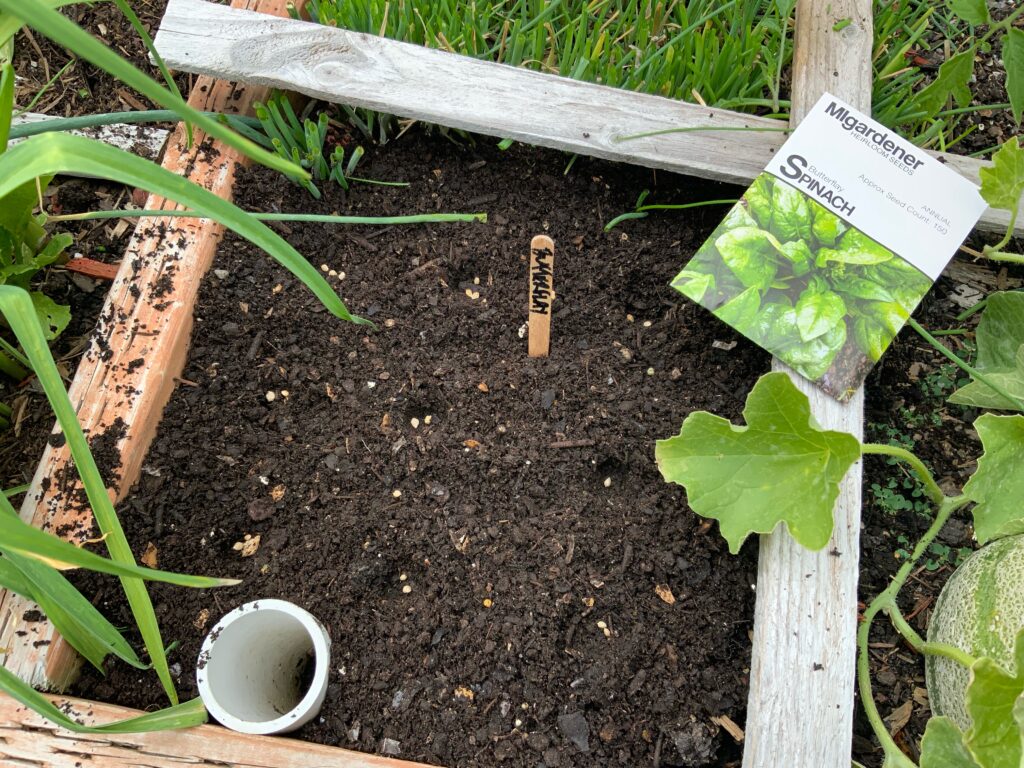
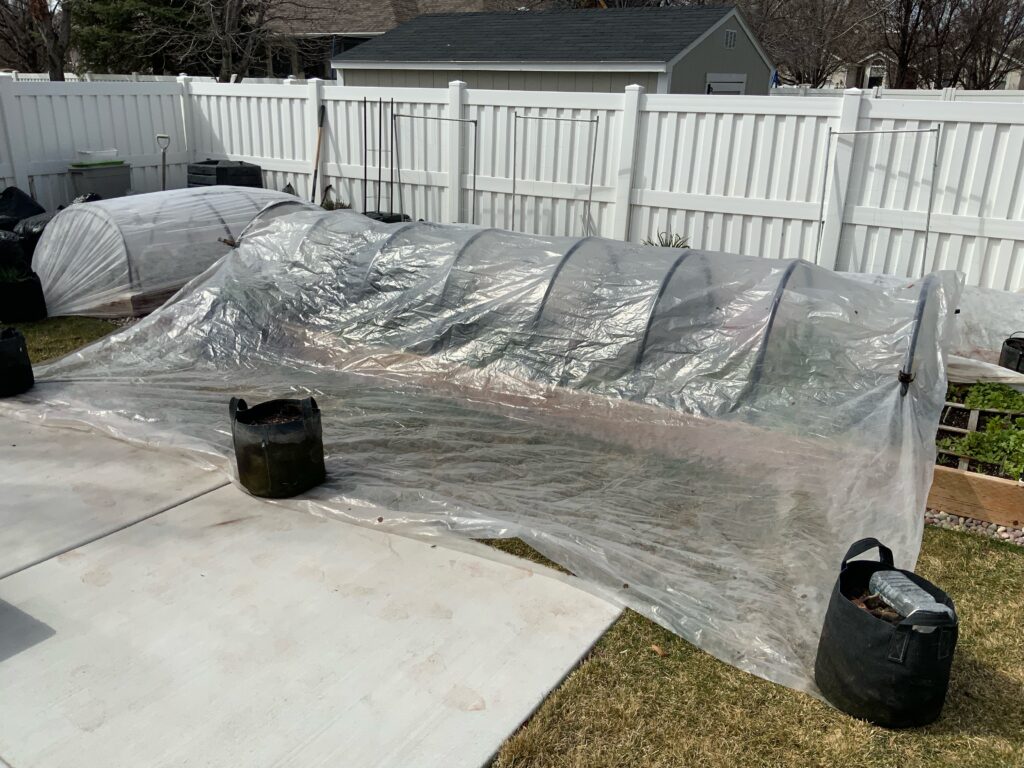
Category Archives: Winter gardening

Putting old man winter to bed for a season

For years it’s always been a problem to clean off the plastic which has covered my winter garden for 4-1/2 months. They’re a real mess. Melted snow mixed with mud, birds flying overhead, worms all over the place, your muddied footprints, etc. If you wash them down and don’t let them dry you end up with algae on the plastic when it’s time to use them again. If you don’t hose them down they look terrible with caked on mud, leaves, dirt, etc.

Using just spring clamps to hold the plastic down on each end and grow bags to hold the other ends down, I can easily wash front and back and let them dry in the sun. It only takes about 20-25 minutes to dry out. I have the back opened up so it doesn’t get too hot. Then it’s just a matter of folding them up and putting them away until needed. 

Hosing and cleaning plastic is always a challenge when you lay it on the ground. You have to anchor all the corners and then you have pooled water all over on the surface. You lift up and shake the plastic and then the wind catches it like a parachute. Having these quickly erected poly tunnels make things so easy. I can now clean my plastic without worrying about wind and pooled water everywhere. 

Another reason to take one of my upcoming fall or winter gardening classes, all of which will be posted right here on my blog. 

Prepping your square foot garden for winter and….

Setting you up for major success in the next growing season. While my work for making compost is done for the year-at least the active part-there’s one last item that I’ve done for years to continue improving the tilth of the soil. 

If you live in an area where there’s freezing temperatures but can still work your soil it’s not too late. I remove 4-5 inches of soil, add a layer of fall leaves, and then put the soil back on top. When you come back in the spring to plant, you most likely won’t be able to find any leaves. The earthworms have been doing their job all winter long. 

This is a great way to continue improving your growing medium with a free and natural resource. Don’t throw those leaves away! Save and use as many as you can and then use the remainder next year to make the best compost around.

If you’d like to learn more about how to make that compost, you can find the recorded class available on this site under the “shop” section. You won’t be sorry. When you learn how to do it you’ll never need to buy another fertilizer again. Ever. 

How to have a really early square foot garden

Or any garden for that matter. This is how I do it. I use many different kinds of containers but this one had 4 blueberry muffins from a local store. Clean it out and then poke holes in the top (6) and bottom (4). I use a screwdriver that’s been heated over a flame on the stove and then push it through the plastic. Make it easy!

I then fill with moistened potting mix. This container isn’t very deep so it will be used for salad greens type of crops. No root crops in this shallow of a container. I then seed fairly heavily so that when they come up I can separate them into individual starts to put into squares.

If it freezes, so what? If it snows, it doesn’t matter? These seeds know when it’s time to grow. As we get into the warmer months of late winter, take a peek every once in a while to make sure it doesn’t dry out. If it looks dry, just run some water over it and then cover again. 

These containers will develop a fair amount of condensation in them. Thats what you want. You’ve got it vented which lets excessive heat escape but it also keeps your soil moist. 

I have chard, radicchio, tatsoi, and endive in this container. 

Farewell for a season, with one final tip

As we enter the winter holiday season, many have put their gardens away for the year and are taking a much needed break from the work but hopefully benefited with an abundant harvest. I wish you the best of what the season has to offer and hope to see everyone again in a few months. 

My last tip of the year is for those who want to get an early jump on the spring season. It requires no work after seeding the tray. Simply take a plastic container of your choice (Costco rotisserie chicken carton is great), moisten some potting mix and then fill the container up to the top. Spread seeds generously over the surface, cover with a fine layer of soil, water in gently, and then cover it up. I take a screwdriver and heatit over an open flame on the stove to then push through the top in order to create holes to vent. At this point, place it outside in the area that gets the most sun during the winter months. Do no work. It will be slower to germinate at this time of year but it’lll work. Especially as the days start to get longer during the last week of January. 

The time will come when you’ll want to seperate your seedlings up to plant in the garden. You’ll have so many transplants!  Like maybe 75! One of the best things is they require no hardening off. They’ve been accustomed to and have grown in the harsh weather conditions for months. Depending on your weather, you won’t need to water until late February or early March. It may be earlier if you live in a warmer climate. Just don’t let it dry out in the spring.

For those interested, I will have many new classes available next year. All virtual so you can learn from the comfort of your home. These will include: square foot gardening 101 for beginners, 201 for advanced square foot gardeners, making compost, seed starting, the earliest spring garden, growing micro-greens at home, the fall garden, and the winter garden. Lots of work to be done on my end but I think you’ll enjoy them. Especially as we go to the market and discover lettuces are now $4 a head! More for organic. And, probably going higher. Learn how to be a great gardener without the hard work and hassles of the traditional garden. Square foot gardening really is the way to go. No heavy digging, no hard work, no thinning, no weeding, no kidding. See you on the other side. 

The efficiency of a square foot garden

This might look like a boring picture but there’s a lot too see. The pole coming out of the ground was once a  very thriving cherry tomato plant growing vertically in only 1 square. That’s it. Our evening temperatures have been mid- low 50’s and that marks a change with tomatoes. It changes the  quality of the taste and they become mushy and begin to fall off. There were still a lot of green cherry tomatoes on the plant but there’s not enough time for them to ripen. 

Looking more closely, you’ll notice 3 areas of lettuce coming up in the front of the square. I planted this a couple of weeks ago so that it will be perfectly timed to grow before the freeze hits. It’ll only be baby lettuce leaves, but these hold up much better than their more mature lettuces which turn soupy after a couple of freezes. 

I want to make sure my new lettuces get all the sun possible at this time of year. If I pulled up the entire tomato plant it would uproot the lettuces which you see growing. So, I will simply cut off the branches and the lower stem and now I have a square that will grow into winter. I’ll leave the stem in the ground until the lettuces are harvested. 

Beginning in January, this single square housed 25 carrots, 9 spinach plants, an 8′ cherry tomato plant, and now 3 heads of leaf lettuce which will remain until late December or early January. 

Not bad for one square foot. I’ve got 174 of them. 🙂