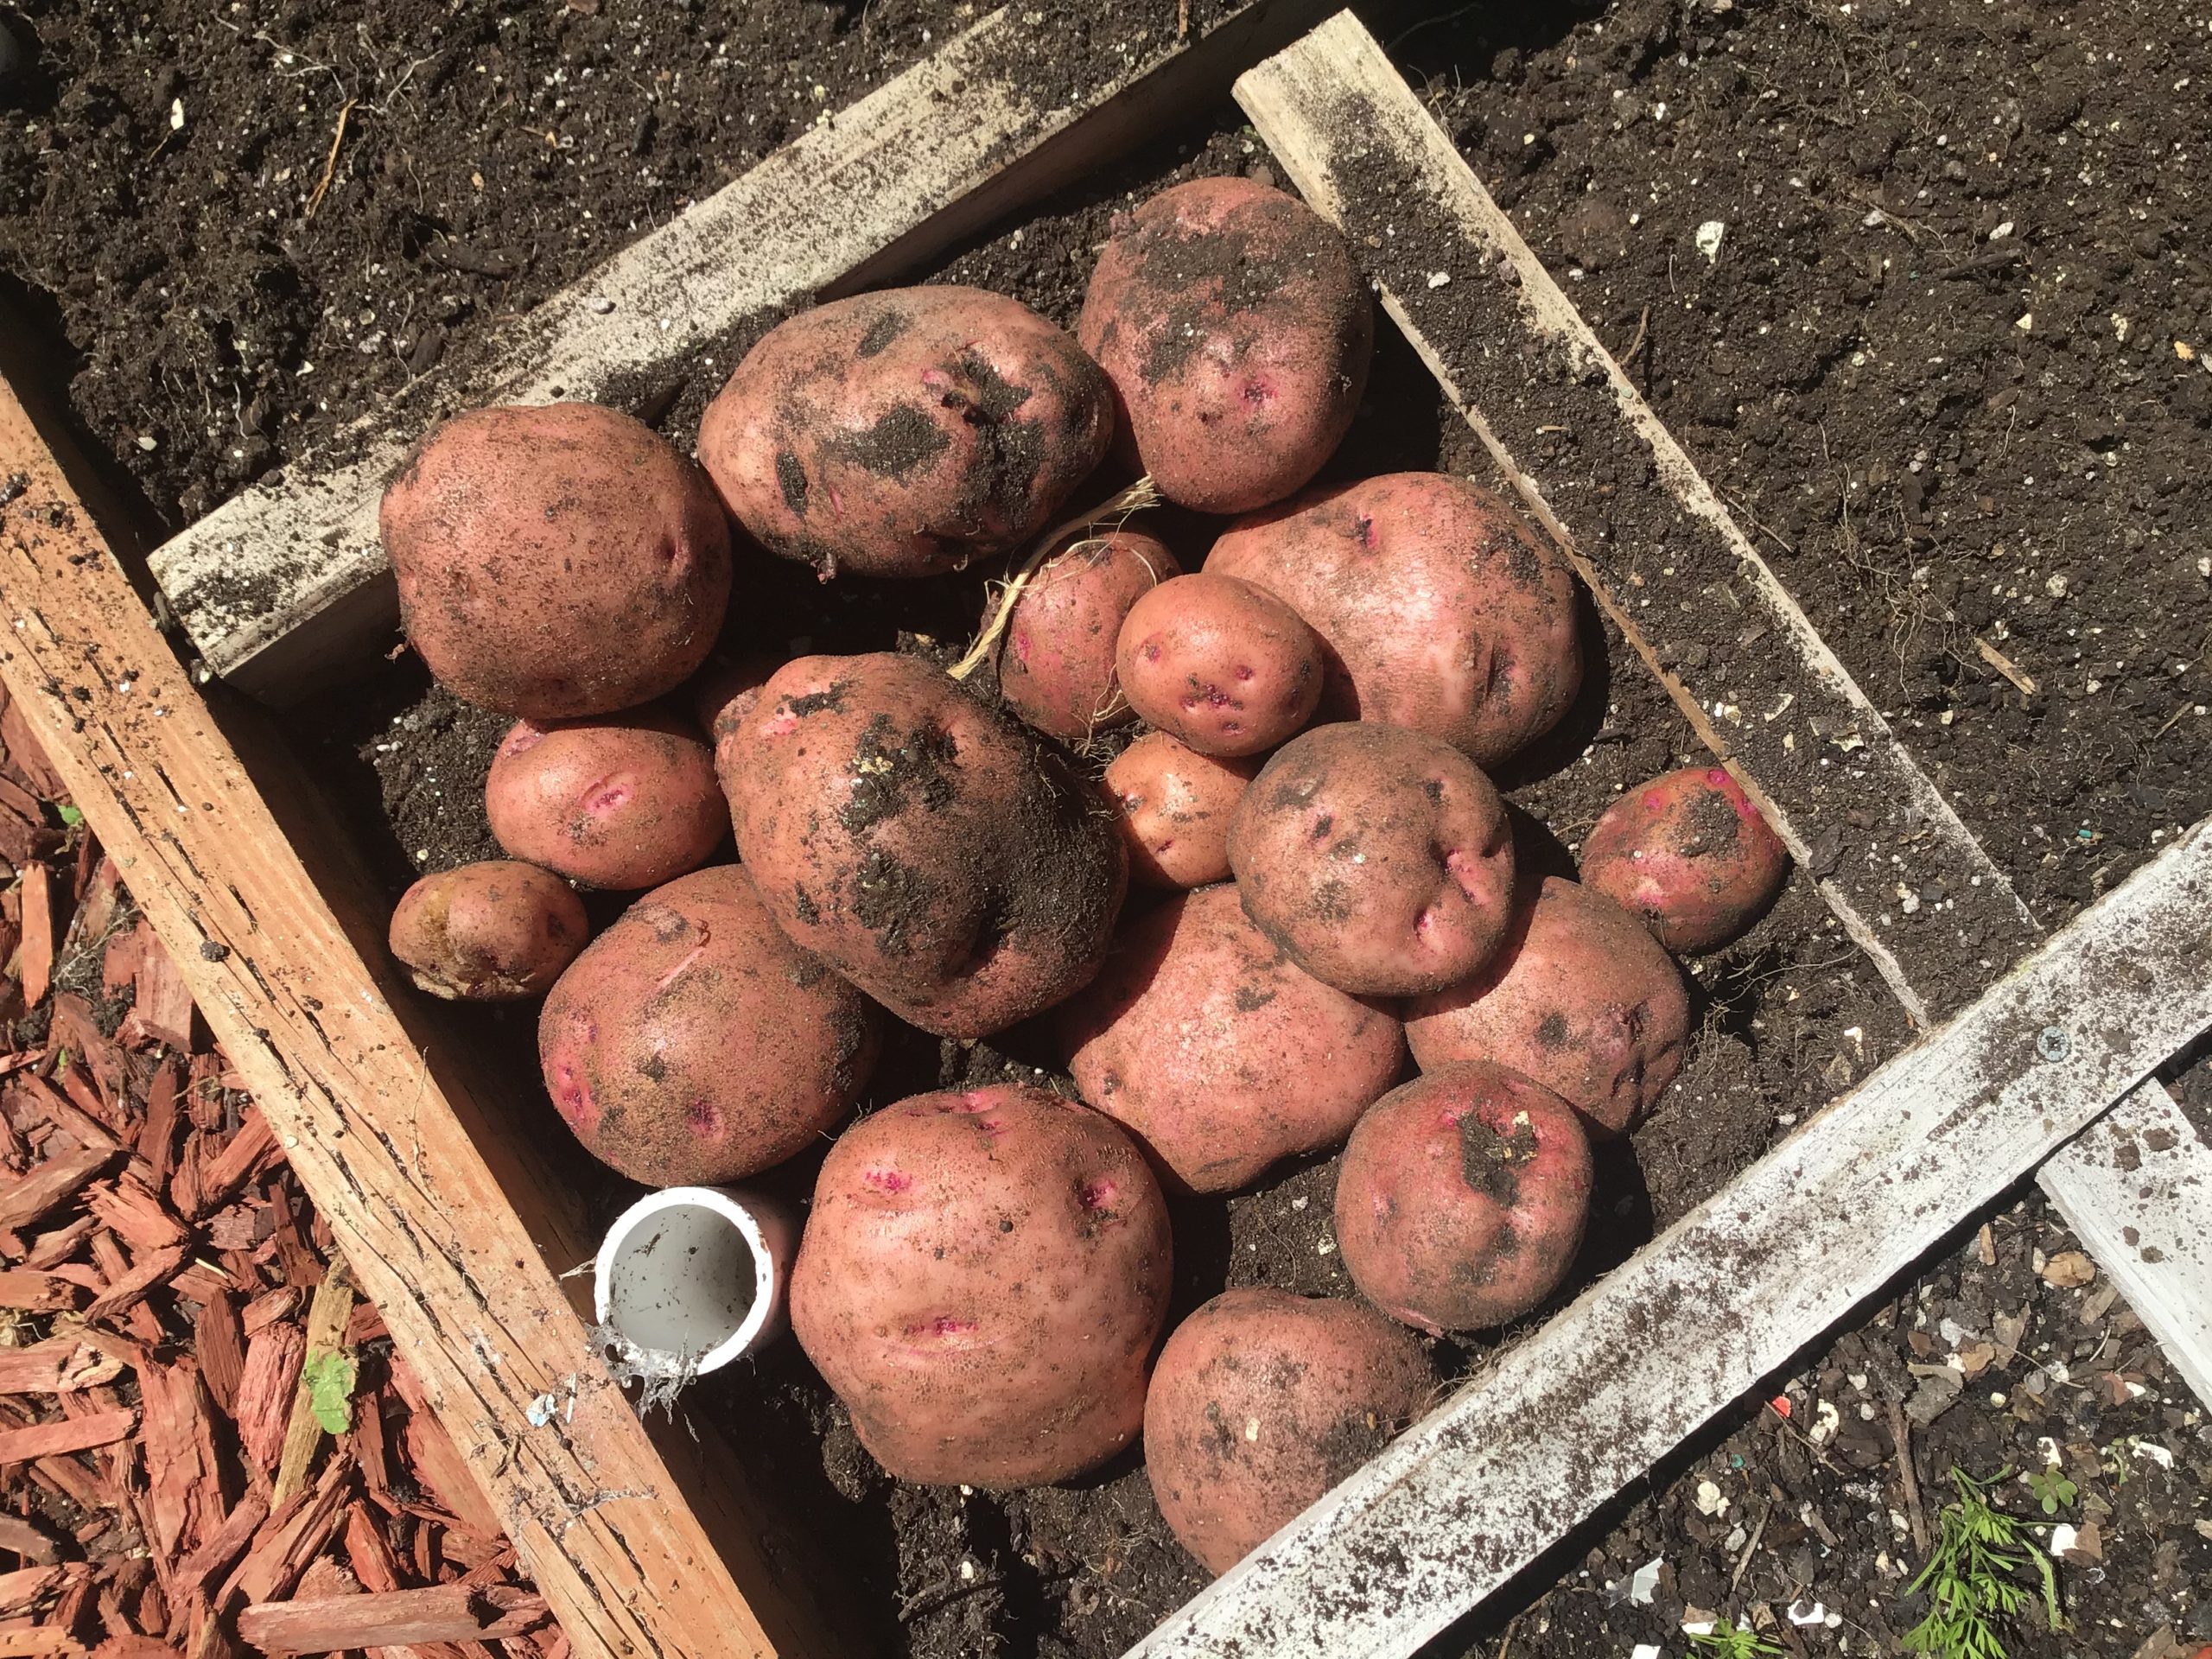
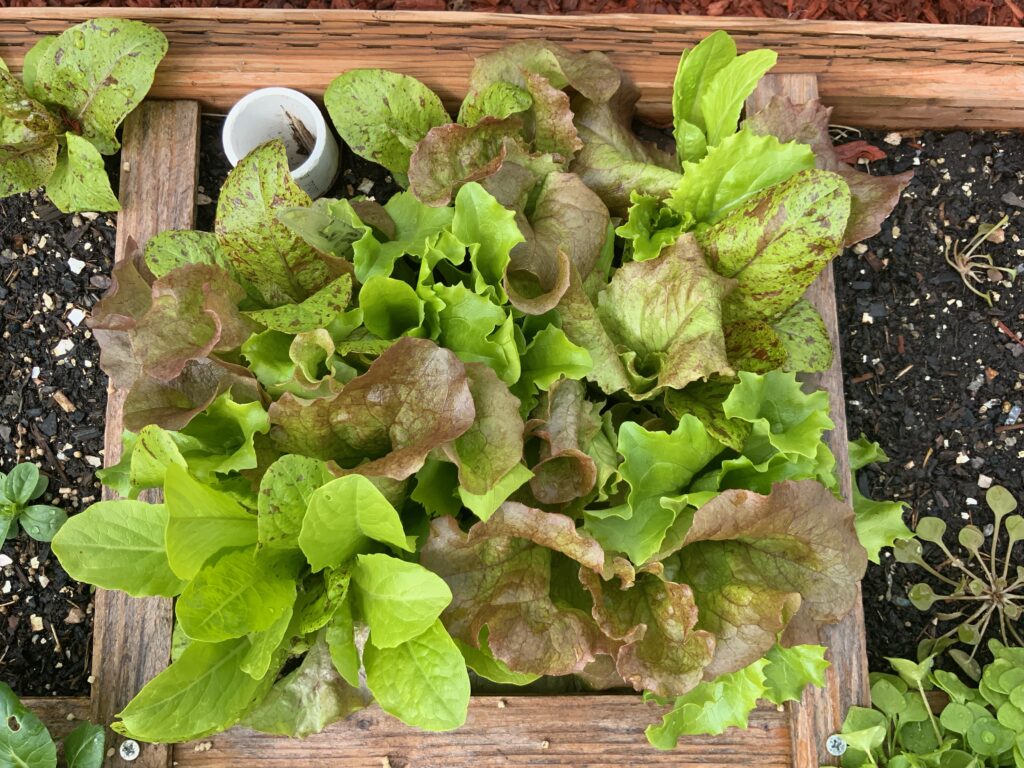
 I don’t think I’ve seen this before and it came out of an experiment that i tried last year. And if it’s been done, I’d like to see the picture. I just needed to duplicate it, and I have. This square is still not done growing. Lots to go!
When I interned with the master himself-Mel Bartholomew, we did lots of things. For all lettuces, we always planted 4 per square. If there were some of the larger lettuces around such as something like Encino, we didn’t know about it or maybe Mel decided he didn’t want to grow it. But, if we had, that would have been planted at one per square because the packet says “thin to” 12 inches.
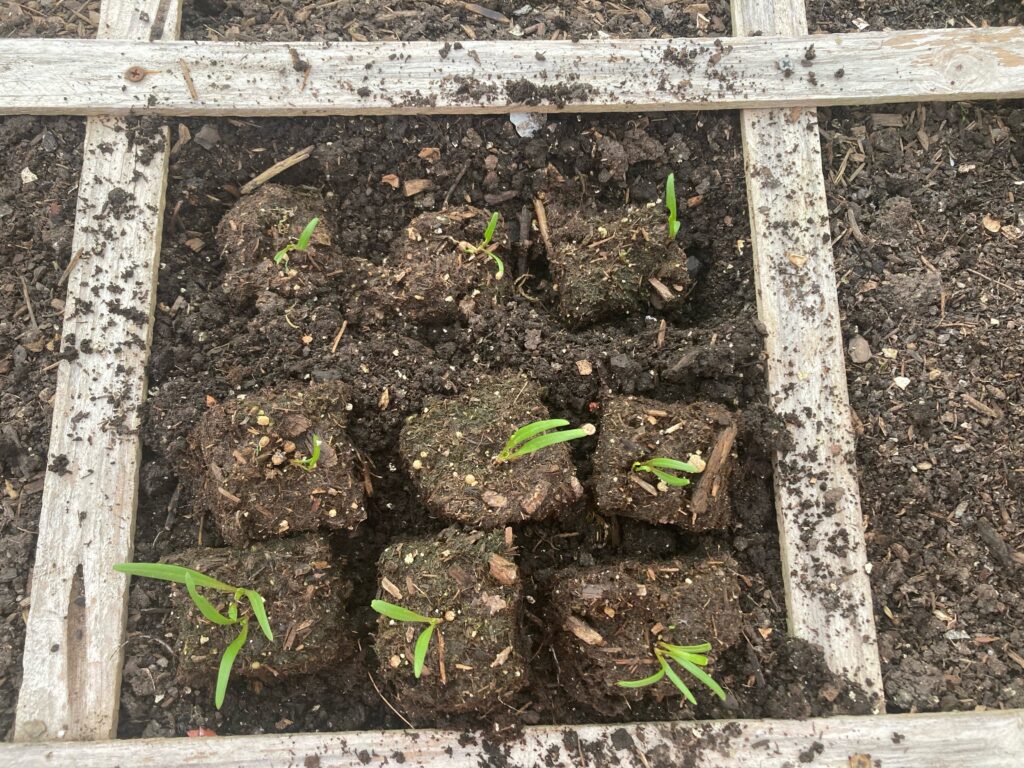
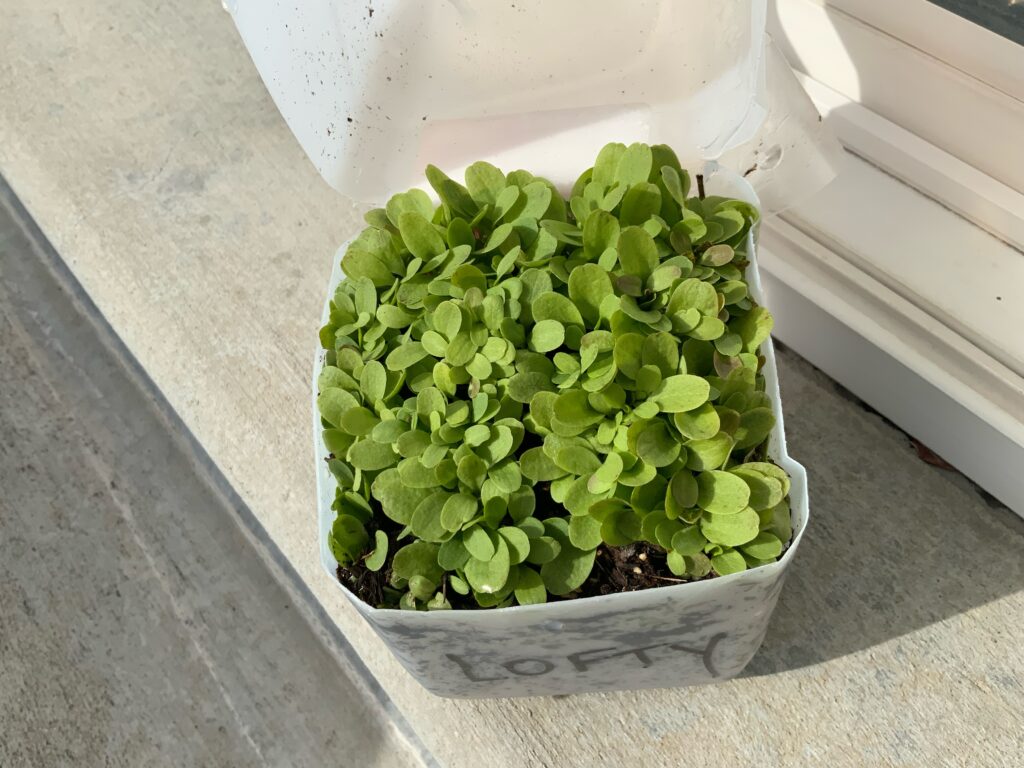
This new planting is what I’ll call bunch or plug planting. This particular variety is such a favorite of mine. Five different kinds of lettuce. Not only does it taste great, it looks great. It started with an over-seeded winter sowing (see earlier posts.) When it was bulging out of the container, I started removing bunches, or plugs of lettuces and then planted them-4 per square. The end result? Look at my garden last year. Big and billowy lettuces of red and green all over the garden. We’ve had the best tasting salads around, we saved lots of money, and all we had to do was harvest and clean. I’m not paying the prices at the store for the low quality/quantity they have available.
Come out to one of my classes. I’ll show you how to do it the right way as I was taught from the inventor of the system. I sure do wish he was still with us. He was way ahead of his time. I miss the phone calls we used to frequently have. I’d start asking questions, then he would start asking questions. We talked about doing so many things with the foundation-things that have, sadly, not come to pass. We would exchange ideas for hours sometimes over lunch or dinner. We’d talk about life, retirement, money, how to take the SFG system all over the world. We talked of travel, about the safety of the food supply. We talked of farmers, of gardeners, of the volunteers with the foundation. He knew my family. I knew about his. I knew about where he lived and what he did for a living, and why he came out of retirement twice. I knew how he became a millionaire. I saw how he saved money. I saw the interest he would take in others if they expressed an interest in learning about the SFG. I saw how he would talk to chicken, horse, and mushroom compost places. I saw how he talked to produce managers to gather things that would eventually be thrown in the trash which ended up being used for our many composting classes in Eden, Utah on the Montessori school grounds. I was also there when they told Mel the foundation was no longer able to be there, which helped prompt him to eventually move to live in San Diego. The last few years of Mels life-he didn’t even own a car! That wasn’t because he couldn’t walk because he surely could. “Why do I need a car?” he asked me. “Everything I need is within walking distance!.” So out went the car. This post is turning out to be all about Mel. Maybe I should have a dedicated post to just him? Man, I sure do miss him.
