Category Archives: square foot gardening

An arugula story

I’ve never liked arugula. It was always to spicy, too hot. I could pick it out of a mixed salad right away without even seeing it. 

One evening I was at a really nice restaurant where they had a set menu for the event I was attending. When I got there the salad dish had already been placed on the table. It was very good. I heard the server (old school = waiter) tell the person next to me we were eating a mixed arugula salad. What? I couldn’t taste that edgy salad green at all!

Sure enough, as I looked closer I could spot the arugula. I asked the server where they got it and he told me it was a commercial greenhouse operation about 20 miles to our west. I got the name of the business and gave them a call. While they did confirm they do service the restaurant I was at, they also told me they don’t grow the arugula-the get it from a farm in California. After pestering the person on the phone, she finally gave me the name of the farm-Earthbound. We all know Earthbound. 

I then called Earthbound Farms. I told them of my experience eating a salad I thought I would never like and how I was able to trace the product to them. I’m leaving out a lot of the story but this took a lot of detective work. I explained to Earthbound that I simply wanted to find out what variety of arugula they grew. “I’m sorry but that is proprietary information and we don’t give that out.” 

I told her I wasn’t a competitor and that I’m a simple home gardener living 800 miles away and am no business threat to them. It did no good. 

So I began trialing lots of different kinds of arugula over the years. After much time, I think I found the variety. If I didn’t, I can at least grow an arugula that I like which adds a nice touch to my mixed salad greens. 

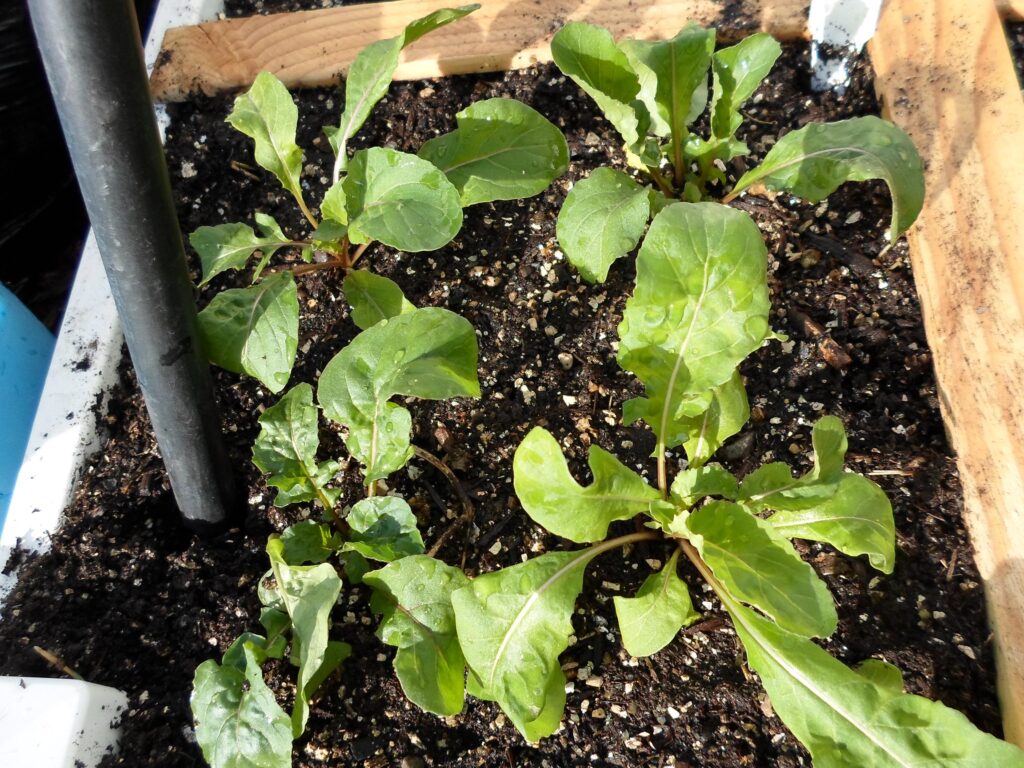
It’s Astro arugula. But I still had some work to do as it still ended up with too much edge for me. Thinking back to my dining experience, this was during the holiday season. Cold. Chilly. Snow. The breakthrough was discovering that if you grow arugula in cooler weather and harvest it as a baby green, it looses a lot of the edge. That’s the secret to those who don’t like arugula because of it’s spice. Try growing Astro in the early spring and then again for a fall harvest. It really makes a big difference when grown in cooler temperatures. 
An experiment with green beans in the square foot garden

I’ve always grown beans, lots of them. You name the variety and I’ve probably tried them. Blue lake, Fortex, Provider, Kentucky blue, slenderettes, tenderettes, both pole and bush varieties. 

The thing I don’t like about each of these is you have to stay on top of them. Wait a week too long and you end up with tough, fat pods that don’t taste very good. And it’s easy to do because they grow so fast. Even still, if you don’t harvest in time the plant begins to shut down production. 

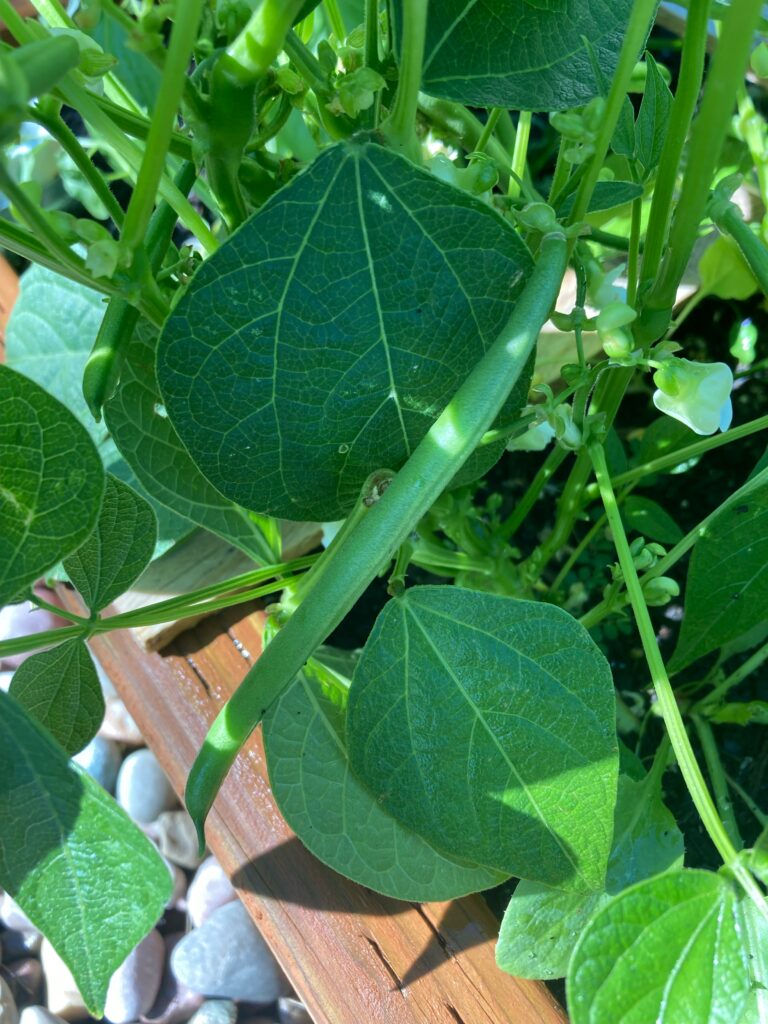
This year I found the bean I will grow from here on out. They are French filet beans. Smaller yes, but more forgiving, and even better, they taste fantastic. You can harvest these beans smaller. And if you miss it by a week they don’t get fat and tough. These are the baby gourmet green beans that come out of the fanciest restaurants.  


How to grow great leeks

If you want to grow really awesome leeks this is the way to do it. Because you typically won’t find them (or anything else if you’re a northern gardener) in nurseries it’s important to learn how to do it yourself. 

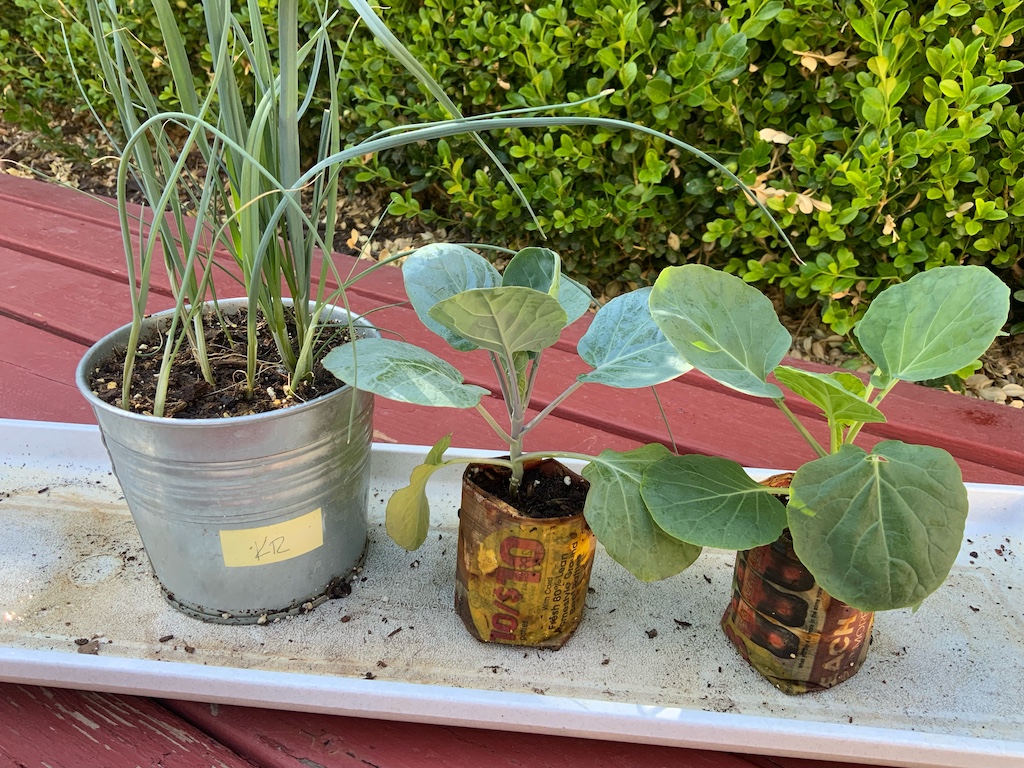
Start these inside in early summer. Mine were started on June 11th. You’ll want to plant them in a container that’s deep as the picture shows. If you start them in something that’s too short, you wont’ be able to do the next step. It’s now time to plant them outside. All you do is pull the entire soil block out of the metal container and begin to separate into individual leeks. Then, and this is the important part, drop them into a hole thats 6-8 inches deep. A small amount of leek will be above the soil. At this point, don’t fill the holes with soil. Water in immediately. After a weeks time your leeks will be fully covered naturally with soil. 

When it’s time to harvest you’ll pull your leeks out to discover a white shank that’s 6-8 inches long instead of the normal 2-3 inch leeks you buy at the grocery store. It makes a huge difference. 

This made that…

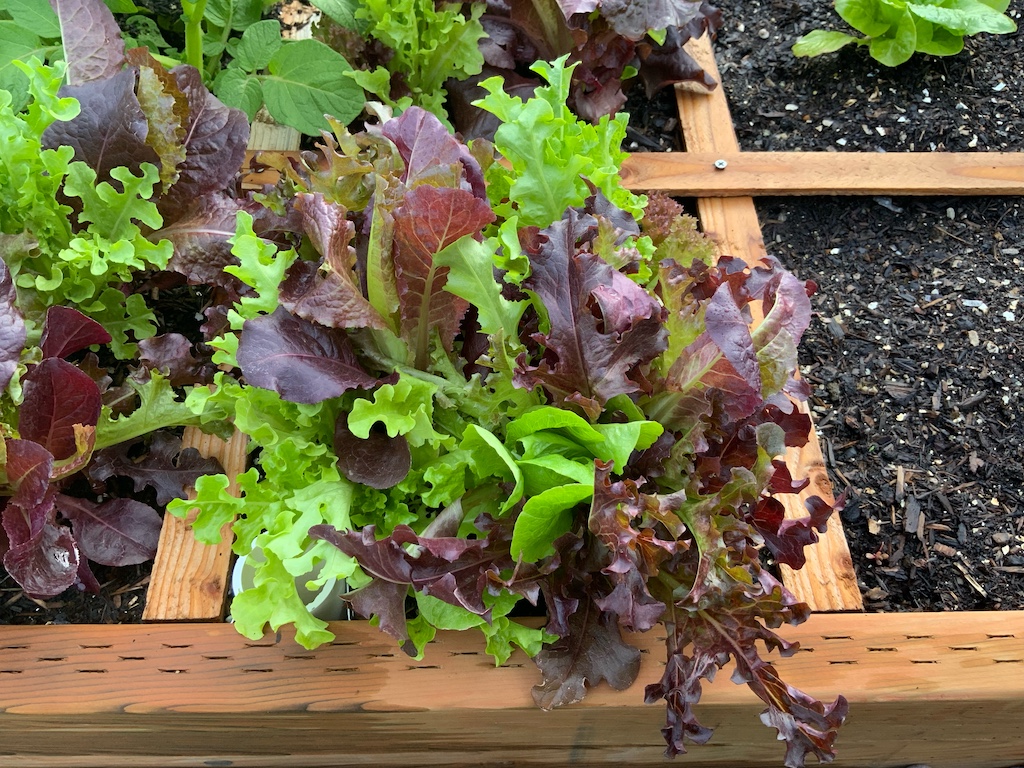
Remember the last post about Costco rotisserie lettuce? By breaking it up and planting in the SFG’s, we’ve had 20 squares of lettuce just like this. That’s 80 bunches of leaf lettuce! We’re still eating! The cost to do that was about $2. Don’t let anyone tell you that you can’t save money growing your own  food. What’s the cost of a head of leaf lettuce these days? Two dollars? (and going up!) That’s a minimum of $160 you saved just in the spring season. Keep in mind, this is a multiple harvested crop-at least 2 cuttings, maybe 3-4 per square!

And, it’s all organic because you’ve done it the SFG way. That means it’ll cost you more than $2 for a head of lettuce. Now is the perfect time to begin thinking about your fall garden. Think two months down the road. Example: I’ve now started a lot of lettuce seeds inside to be planted out in 4-5 weeks. The hottest part of summer is largely gone by then and the nights are cooling down.

A great tip coming next post on growing leeks-a must for late fall and winter. 

Mass planting-how to get your square foot gardens going early

It’s been five months since my last post. Many activities have pulled me away for a time but I’m back. Full throttle. This post will focus on something I’ve done for a years with lots of success. Best yet, it’s so easy.

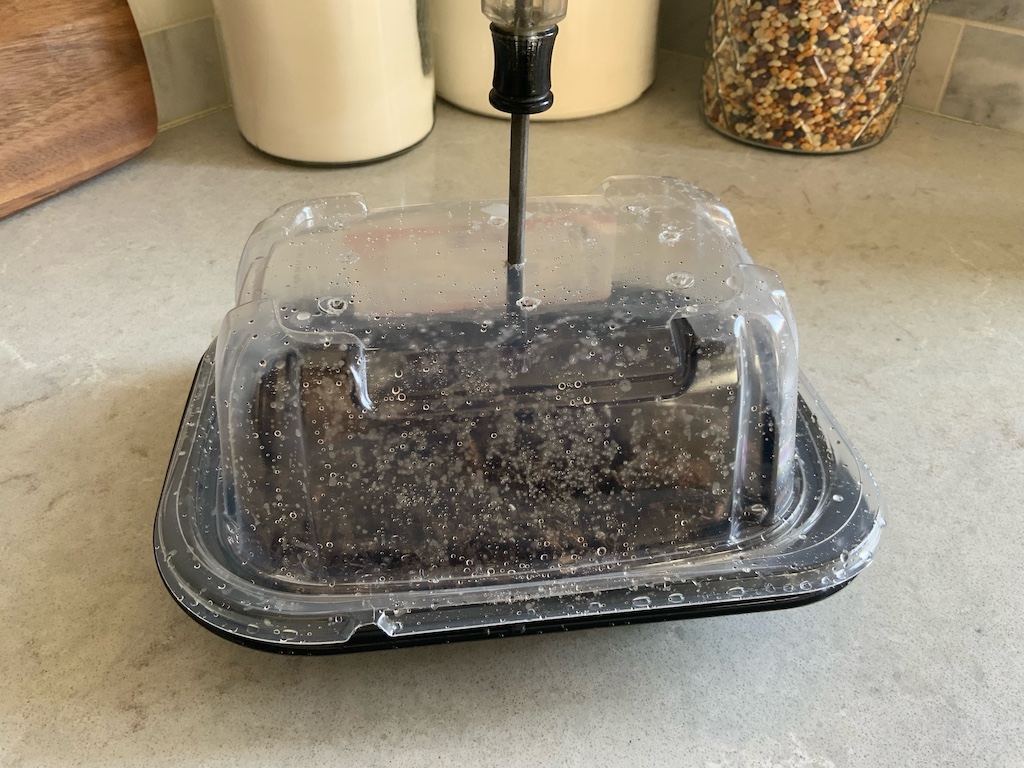
Take a container that has a clear plastic lid on it-such as the Costco rotisserie chicken. Rinse and clean out well. Add moistened potting soil and level surface. Then heavily seed the surface with lettuce or whatever crop you’d like to grow. I might use half a packet of seeds. Cover with a very thin layer of potting soil. Water in-heavy, but not so much that its soggy and waterlogged. Place cleat lid on top.

Then get a screwdriver and heat it up on the stove. When hot, push the screwdriver through the plastic to make 9 holes on top. for venting. After that, simply place your new little greenhouse outside in the sunniest place you have. Do no work for 6-8 weeks. Zero.

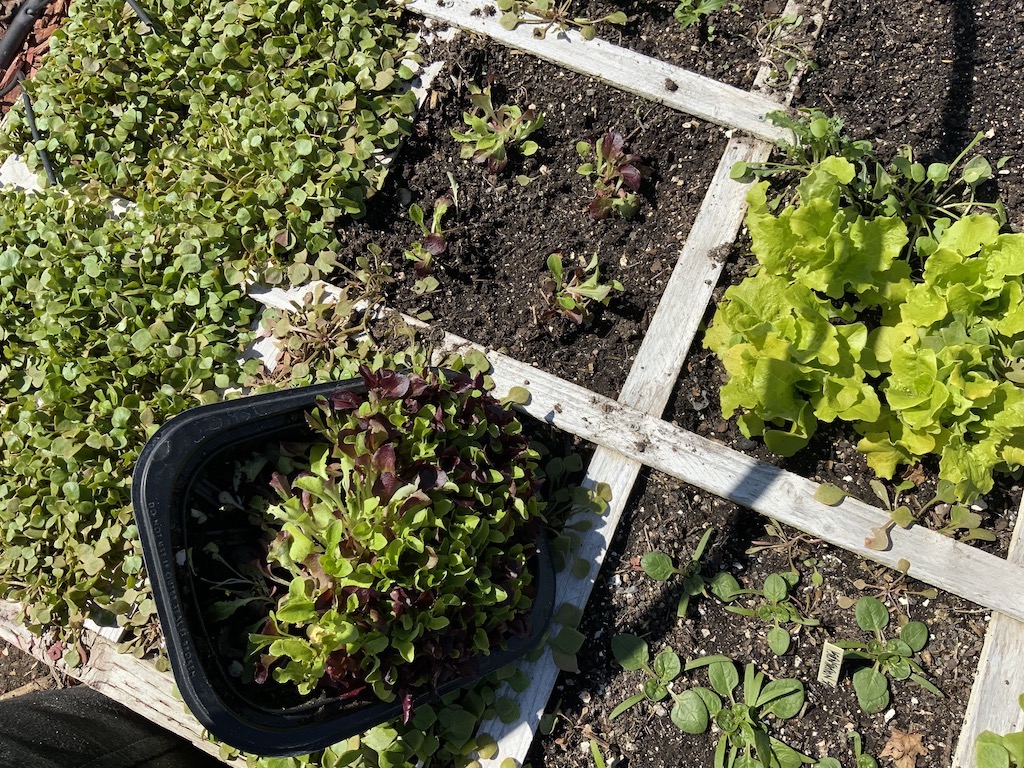
Come out to find an entire container full of lettuce (or other crop) that can easily be divided up and transplanted into your gardens. Save time. Save money. Do less work. 

And, you’ll also be eating better food and know how it was cared for.