Category Archives: square foot gardening

My very small cold frame winter garden

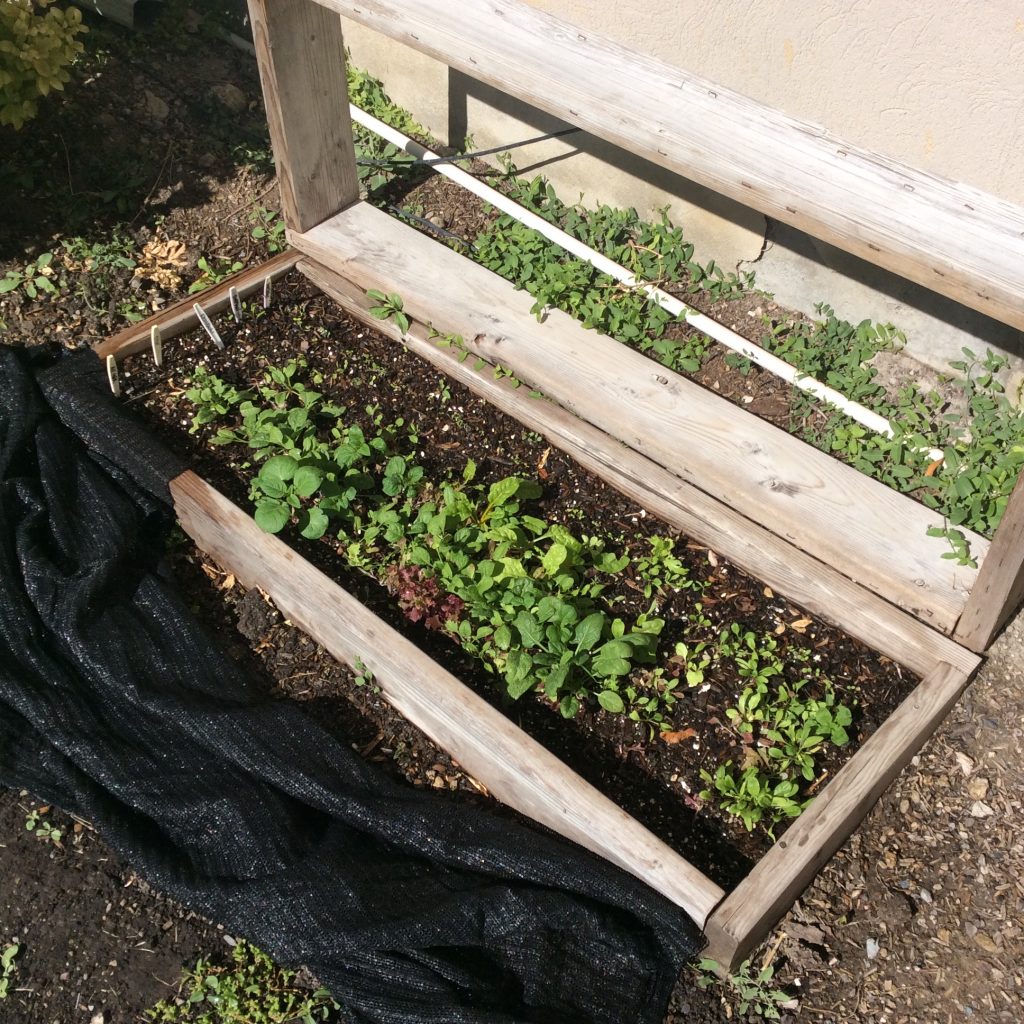
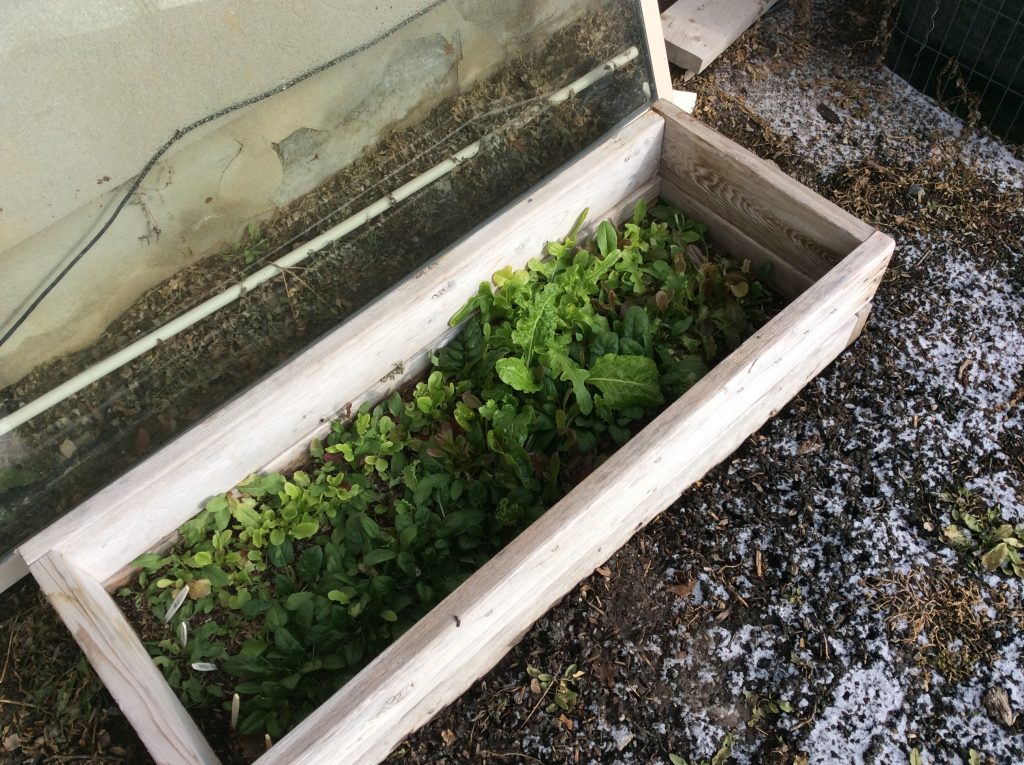
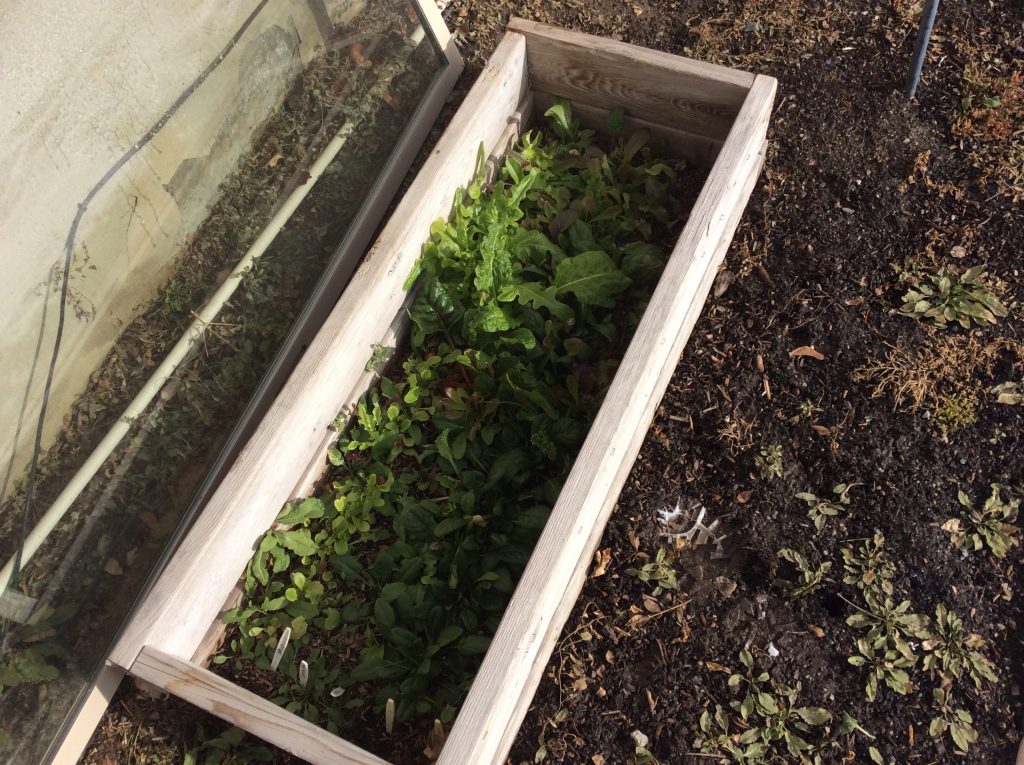
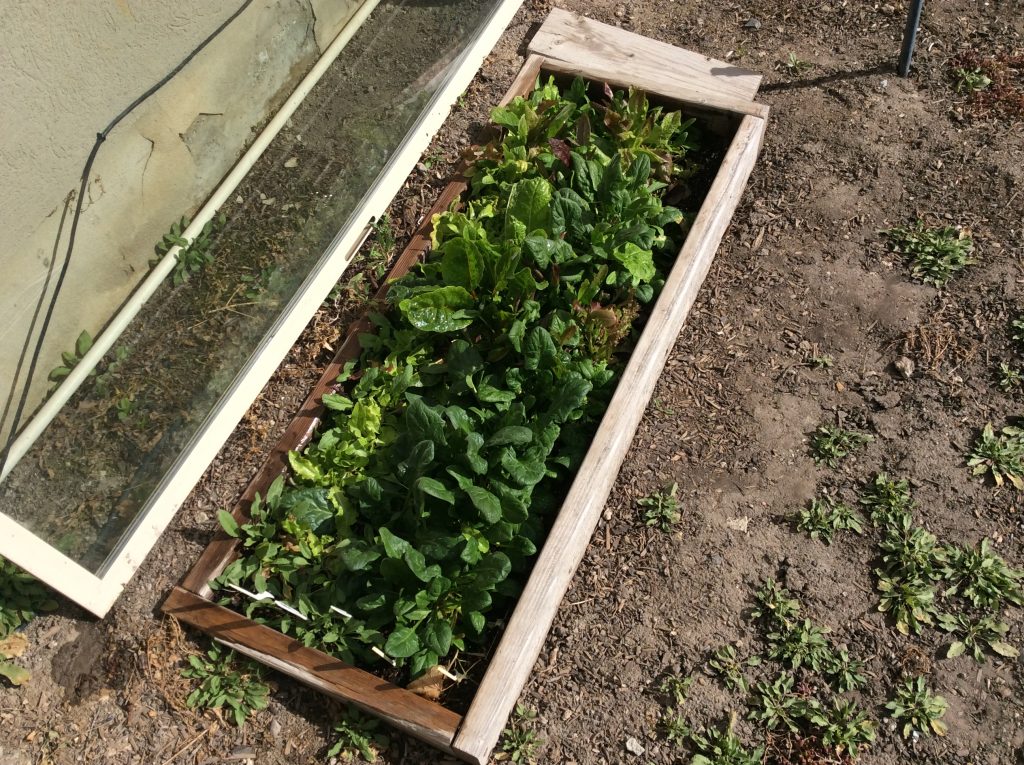
This is supposed to be a cold frame but it really isn’t.  I learned this idea from Mel Bartholomew many years ago, and he writes about it in his first book, which is a condensed version of what he wrote earlier in the publication of The Avant Gardener in 1978.  The article is long out of print so you wont be able to find it easily.  This is called a sun box.  A google search for sun box will give you nothing close to what this is.

What’s the difference between a cold frame and a sun box?  A cold frame is something that is usually fairly permanent, and usually fairly good sized.  It’s usually dig into the ground and placed at a low angle on the southern side of a yard to get as much of the sun as possible, especially in the winter months.  The back of traditional cold frames are much higher than the front and they can be pretty heavy and bulky.  It’s covered with a variety of things ranging from expensive, self venting tops to cheap things such as wood with plastic stapled to it to act as a protective covering over the top.  Cold frames can be very expensive or pretty cheap.

A sun box is different.  It is not dug into the ground.  It is not permanent.  The back is the same height as the front.  In fact, its nothing more than portable wood boxes that have been placed on top of each other.  Thats it.  They can be moved around, taken apart, added upon, etc. in about a minutes time.  They are great for last spring and summer.  When you tomatoes(or anything else) need to be hardened off and they begin to outgrow your cold frame, you’re almost forced to plant them in the garden.  All you need to do with a sun box is add another portably wood box on top of what you already have.  Then all I did was buy a $5 glass window at the Re-Store to place on top for protection.  We’ve had a tough winter so far with more coming.  As you can see, the salad greens have done amazingly well.  And I just had a small salad-it was wonderful.[ois skin=”3″]

The winter garden

january-winter-garden-2017I thought it would be good to post on the first day of a new year. I hope this upcoming season is a great one for all! I also hope you’re using this time to think about, plan, and prepare for your garden, hopefully in early spring. We’ve got about 4 weeks before we hit the minimum 10 hours of daylight, where its a good idea to start planting certain cool weather crops. It does take longer to get them going and its more work. For those wanting to do less, you can still plant in early March and probably have a harvest around the same time as us early January planters.

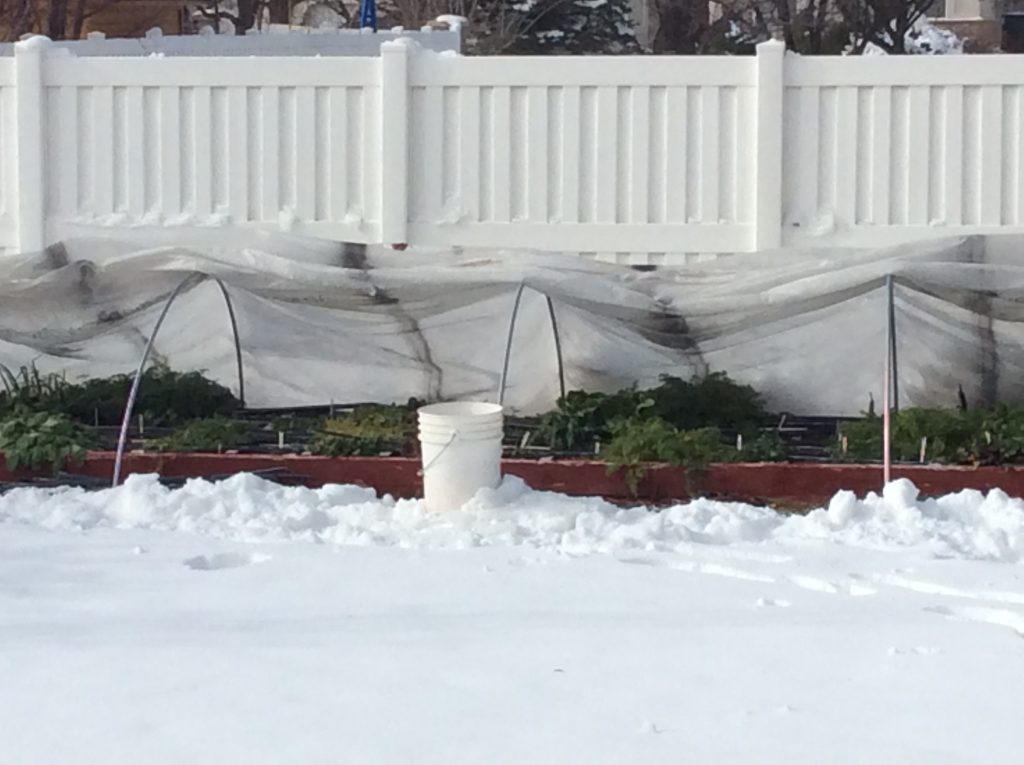
This will be the first year in as long as I can remember that I wont be planting on Presidents Day weekend. I’m going to put it off until the first week of March. Right now the garden looks good, and I’ve been harvesting plenty of overwintered carrots, chard, beet greens, scallions, spinach, and small leaf lettuce varieties. The radishes are gone, but were good earlier in winter.

I’ve literally done nothing in my garden since November 28th. With the right crop varieties and the right protection, having a 4 season harvest is a very simple thing to do. There’s been no watering and only harvesting. In about 4 weeks it’ll begin to look pretty empty. I’ve got my compost ready to amend the soil when the time comes to get cranking on the early spring season.

One last note: my ebook is a few days from being released. I’ve been threatening now for 2 years and it’s finally here! Its an book about growing my favorite crop, lettuce, in the hot months of summer. For the most part, I’m pleased with the final product. I don’t consider myself to be a very good writer so it takes me a long time to finish. Its 12 pages long and will sell for $4.99. It talks about the 5 techniques I’ve used to successfully have lettuce all summer. I hope you’ll like it and will have a chance to give it a favorable review. I’m hoping to have it available on all the major online outlets very soon as well as here on my blog. Stay tuned.[ois skin=”3″]

Lemon balm in your square foot garden

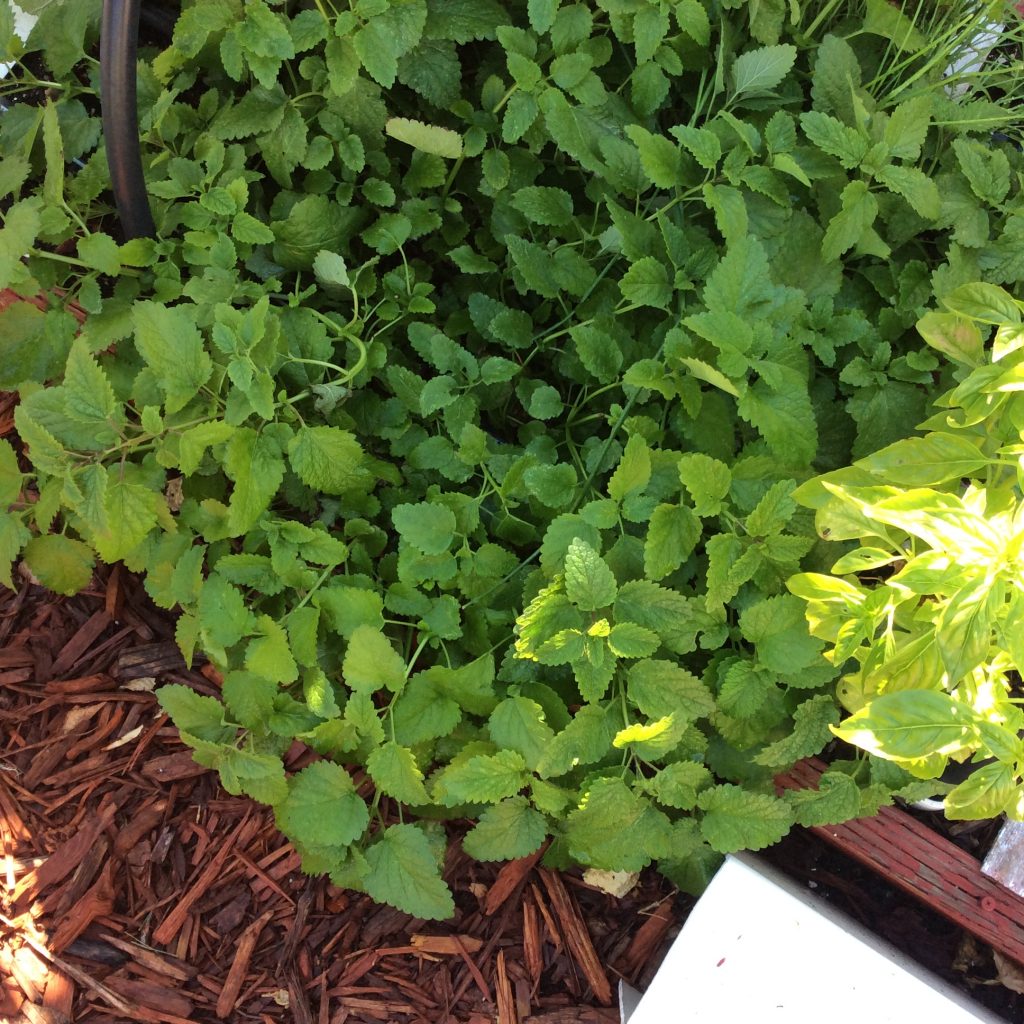
lemon-balmI thought it might be nice to report on something I did for the first time this past season. Where I live the water tastes particularly bad in the summer. I find myself adding slices of lemon for glasses of water to hide the chlorine taste coming out of the tap. I wondered if adding a few leaves of lemon balm would do the trick.

It did. And I made some delicious lemonade with it as well. As I did some reading, I found that this fun herb can be used for all sorts of things ranging from what I had done to making tinctures for folks who have a hard time sleeping to adding it to smoothies and more. It does spread so if you’re planning on growing this in your square foot garden plan on it taking up an entire square. And even then I had to trim it back by seasons end. I included this in my delivery baskets for 6 weeks and they all wanted more!

This was a solid performer with a large yield! One plant was enough to provide 3-4 people with several sprigs for 6 weeks. Trim it back at the end of the season and it will regrow the next spring. Its a nice lush, green, and bushy plant that I think you’ll enjoy[ois skin=”3″]

Prepare now for a successful 2017 gardening season

img_0434As the actual work finishes up for me in late fall, I’ve always used this time to prepare for the next growing season. It’s an easy process and will reap huge dividends next spring.  

I like to gather as many bags of leaves from my property as I can. I’ll end up with 10-12 bags by the time I’m done raking, which is perfect for my gardening needs. The majority are use in the composting process as a great brown material, but some will be used as a mulch to keep the soil cooler when growing summer lettuces. Some will be used to amend the existing soil. I keep my bags closed off for the winter storage. I don’t want any moisture getting into the bags because it makes a soggy mess come spring. I end up putting all my bagged leaves under a plastic cover so I don’t have to worry about it. When I need a bag of leaves during the growing season they’re in perfect shape for my uses. They are completely dried out and crumble into pieces very easily.

In each of my square foot garden boxes I will push over about 3 inches of soil. I then spread a layer of fall leaves over the entire surface, and then cover up the leaves with the soil I originally moved over. By the time spring arrives you’ll usually find no leaves at all when you dig down. The reason? Earthworms. You end up adding a great ingredient to your soil that will set you up for success next year.

Years ago, when I didn’t have any trees or leaves produced on my property, I ended up asking the neighbors for theirs. They always said yes. There’s always a way to get free leaves if you can’t produce enough from your property.     &nbsp[ois skin=”3″]

Are you composting during the winter months?

compost-with-shredded-paperThis will probably be my last post of the year about composting.  I spend a lot of time on it because I think it’s important and one of the biggest reasons for the success I’ve had as a square foot gardener.  In the northern parts of the U.S. where winters are harsh it’s still a great idea to use the winter months to collect material to add in the compost unit even though you’re not actively composting.  During the warmer months it’s important to keep your compost damp-like a rung out sponge.  That changes during the winter months.

The goal of the bin at this time is to be ready to make compost as early as possible in the spring.  It’s too late now to make a finished batch of compost.  If you water your compost bins now as you do during the warmer months, the freezing temperatures will turn your bins into ice cubes.  It will take a lot longer to thaw compost piles out come spring when that happens.

I make sure to only add material during winter.  When its time to begin actively working the compost in late February, I don’t have to worry at all about waiting for it to thaw. It’s ready to be turned and aerated.  An important item is to have a nice compost unit to store material.  I’ve had mine for 16 years and I think I bought it for $35.  Its made out of a solid piece of hard plastic.  Its got a nice to for removal and 2 access doors.  I’ve had folks ask me where I got mine and they can be hard to find.  Sure, there are others, but I love mine.  Whatever you do, try to avoid the spinning ones.  I’ve got a strong bias against using those for reasons I can explain later.  I was able to find my exact compost unit through Amazon.  It’s a lot more expensive, but its the right one.  I’ve linked the compost bin on my blog.  I hate to even think about it, but what about a Christmas gift?  These are nice looking units that hold up well and don’t break down.  Give it some thought.

As I removed the top of the bin last week it smelled a little bit like a sewer.  Not that strong, but a little bit. This tells me that its too moist and too much green material. Having used up all my leaves from last fall, I had to find a suitable brown material, which I did in the form of shredded paper.  The pile is now back to a neutral smell.  The senses of sight and smell can really guide you when making compost.

Use this time to gather as much material as you can.  Come spring, you will be glad you did[ois skin=”3″]