Category Archives: Fall gardening

New potatoes

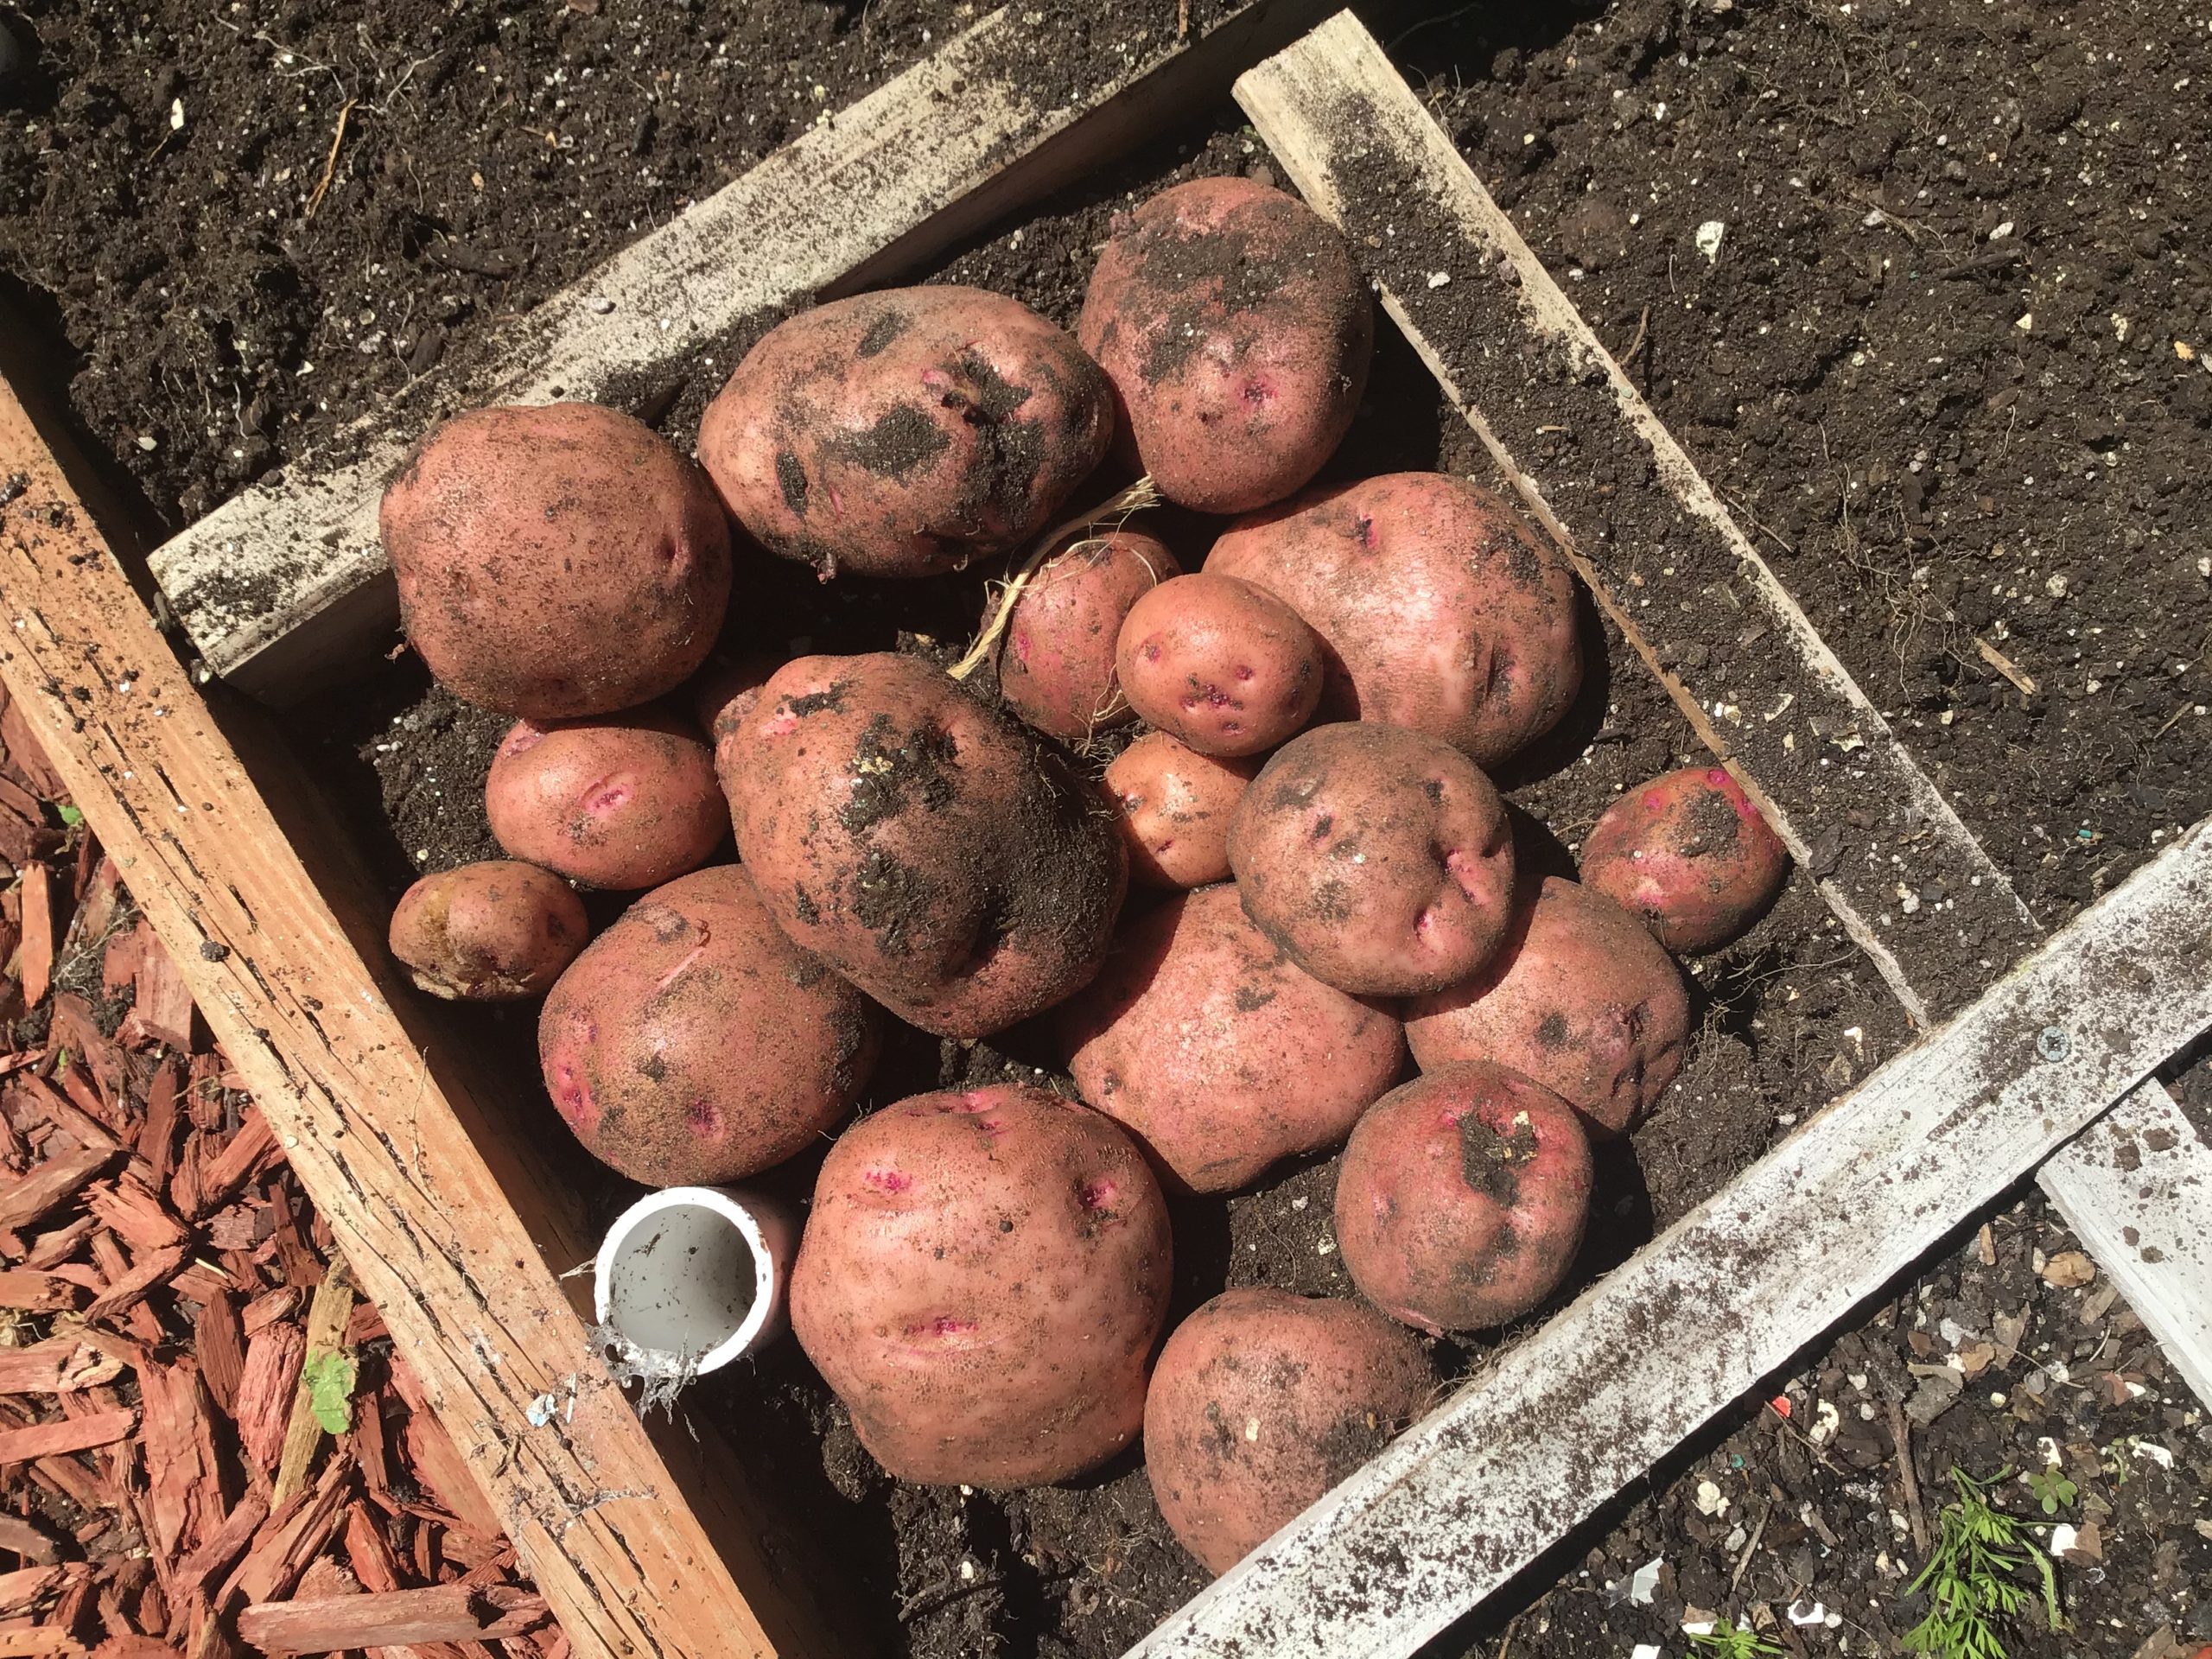
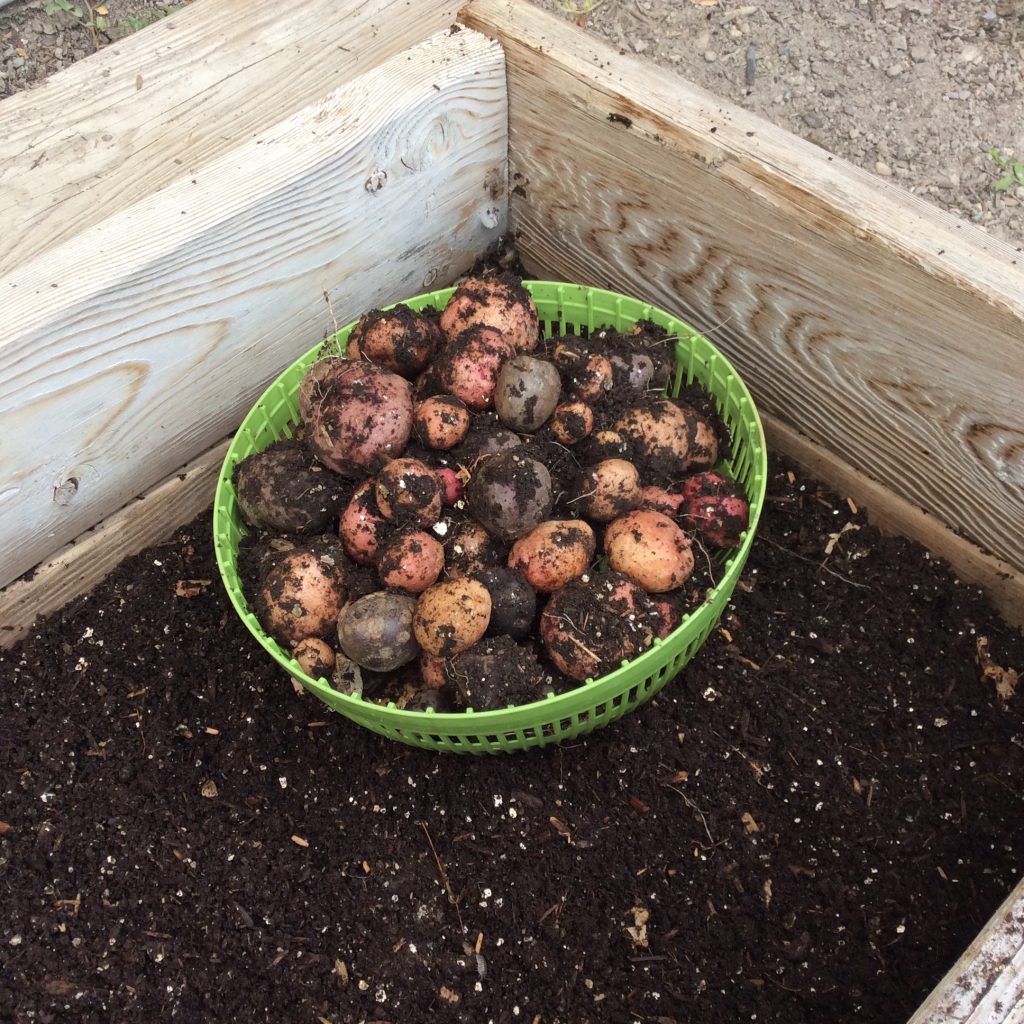
new potatoes 081816Today I decided to dig up all of my new potatoes in preparation to have my cold frame planted for fall/winter. I’ve been harvesting from the cold frame-functioning as storage for potatoes since spring-all summer long. This is what’s left and they’re just delicious. I’ve got 2 or three different kinds of potatoes-but the favorite around here is red pontiacs

My cold frame is as simple as you can get. Two by fours and a two by six placed directly on existing soil. I’ll place a $5 window that I bought from ReStore on top for protection. That’s it. The wood is leftovers that I’ve had for a long time. I did empty out several inches of the existing soil and filled it with homemade compost. Its performed perfectly. Because it’s not very big-2X6′-there’s not a lot that can be grown inside of it. I’ve planted 4 rows of late fall/early winter greens.

All star gourmet, rainbow swiss chard, spinach, and sweet repeat are all planted as of today. The timing should be perfect. The greens will be established and not too large so they’ll be able to survive the freezing temperatures without damage.

For those close by and interested, I’ll be teaching a winter low tunnel class next week. Details are listed here. It’s only 90 minutes long but you leave with the knowledge of how to build a tunnel, what plants to grow during this time, and when to plant them for a full harvest through the winter. It’s the easiest time to garden, and we talk about why in class[ois skin=”3″]

Prepping for your spring square foot garden…right now

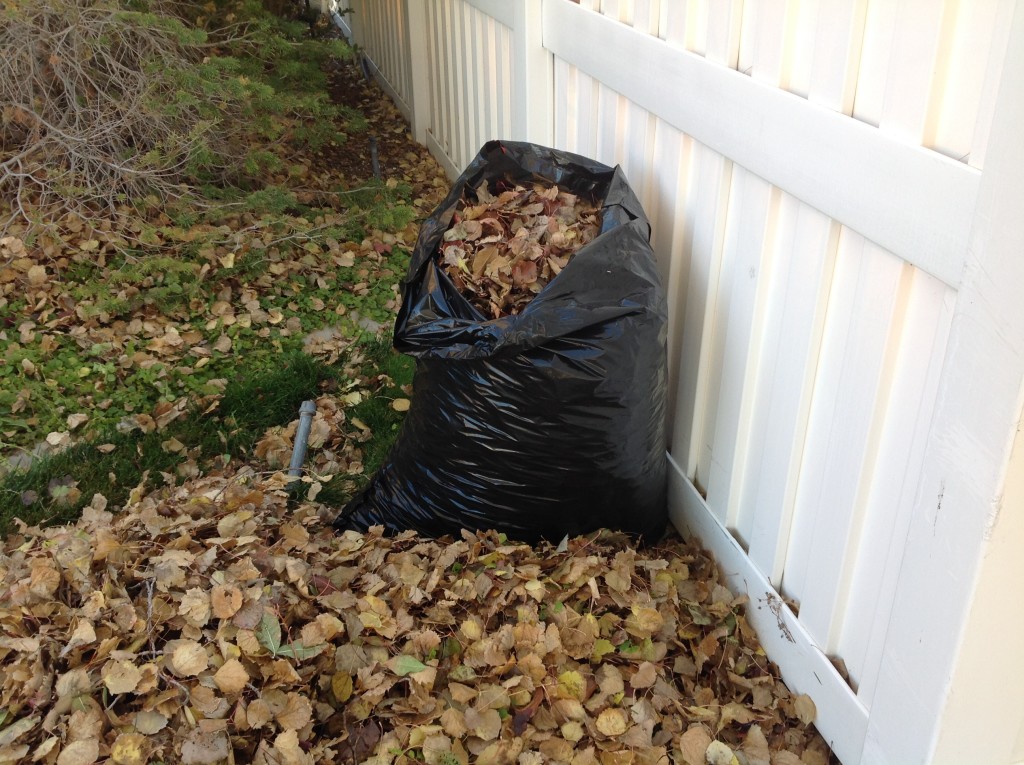
fall bagged leavesMost of the work in the garden is now finished for the year.  Rain, snow, less sunlight hours, and  freezing temperatures have sent many of us inside until spring.  There might be one final thing you can do to finish cleaning up in preparation for next year.  That chore is collecting as many leaves as you can.  Its a great source of free organic material that comes from your yard.

The leaves from our property give me plenty for my needs to take me through the entire growing season(except for this year.)  You can rake them up or use your lawn mower to make it a little easier.  Once bagged, I like to put them all together and cover them with a layer of plastic.  This prevents any moisture from getting into the opening at the top of the bag and keeps your leaves dry.  By spring, if no moisture has entered the bags, you leaves will become light and brittle.  This makes it even easier to break down in the compost bin.  And, leaves are one of the best brown ingredients that you can have around to mix with your green material.

Some folks, such as myself, simply bag and keep their leaves for next year.  Others will till them into the ground now or next spring,  Either way, be sure to get as many leaves as you can this time of year.

Another excellent way to use your leaves next year is for a mulch.  In particular, it’s my ingredient of choice to help cool the soil around my lettuce during the summer.  It works like a charm.  Here’s a nice article that talks more about the benefits of leaves.[ois skin=”1″]

Lessons learned: compost in my square foot garden

IMG_1761I’ve been able to make compost successfully for 15 years.  It doesn’t matter if you’ve got a square foot garden or a traditional garden, making your own is the best way to do it.  If done correctly, it’s 100% organic, and the best thing is it’s free!  All with material produced from yard clippings, leaves, and uncooked kitchen waste.

While doing an internship with the inventor of the square foot garden in Eden, Utah many years ago, we spent a lot of time making our own compost.  We’d drive around town to pick up horse manure from a nearby farm, some finished compost from a local store, mushroom compost from a nearby neighbor, and maybe a trip to a chicken farm where they manufactured their own compost.  We also had a supply of straw, brown corn stalks and shredded paper to round out the extra material.

We went to work making the compost-alternating green and brown material in layers, mixing it well, and then dampening the mixture with water as we went along.  We didn’t have a fancy compost unit-only free wood pallets for local businesses that were turned vertically to make the containers into a “U” shape.  We’d continued to alternate all ingredients until the pallets were full to the very top.

There are a few simple guidelines to follow that I learned from Mel, which I’ve written about previously.  But one of the biggest things I forgot about was not to use more than 20% of any single ingredient.  That was the source of my challenge this year. I knew something wasn’t right when I wasn’t making compost in my normal 6 weeks.

By mid-summer I didn’t have enough green or brown material because I used so much during the winter and spring season.  I had some but not  near enough to fill up the bin.  And, quantity is one of the things that you need to consider.

So, I went down the street to pick up some free horse manure and I bought a bale of straw.  I had read from an expert that this combination was one of the best to produce a good quality homemade compost.  I started with a layer of straw, then horse manure, and then the small contents I had from my kitchen.  I had no leaves.  I layered to the very top and did all the things I normally do to produce a great compost in 6 weeks.  But nothing was happening.  After 10 weeks I knew something was wrong.

In the meantime I began composting my other bin-this time with my normal ingredients-food waste, dried clippings, spent garden material, shredded paper, manure, and leaves!  Within a 2 week period of time it was easy to see that this pile was breaking down much quicker.  It was heating up, losing volume, and the individual ingredients were getting harder and harder to recognize.

It’s taken a long time to get to the point, but as I thought about the problematic compost pile-I remembered the lesson.  Never add more than 20% of any one thing.  And, leaves,which have been dried, work marvelously in the compost bin-much better than their larger straw counterparts.

As we teach in the square foot gardening system-use the 4 “M’s” to make great compost in as little as 6 weeks..  Mix, mash, moisten, and move [ois skin=”1″]
Late Fall Square Foot Garden

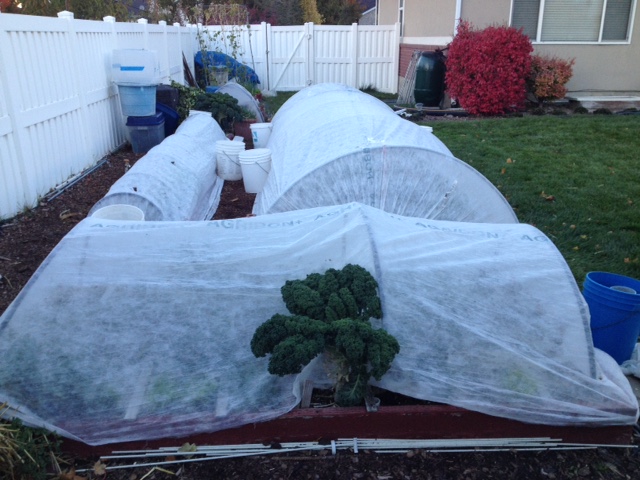
winter protectionI looked out the window this morning to see that we had our first hard frost.  Last night I was able to cover everything just in time to protect what I have growing.  This is at the lower end of the temperature spectrum that I can expect protection.  The floating row cover is good to about 27 or 28 degrees-which is just right for what we had.  Any colder and it will be time to add the plastic.  Or, if snow is expected you’ll want to cover with plastic because row cover can’t withstand any accumulation of snow.

Right now is a great time to dry out any leftover grass clipping and to collect bags of leaves.  If you make your own compost you’ll find that leaves and things coming out of your kitchen and yard will make the perfect blended compost for next years gardening needs.  I’ll bag up as many leaves as I can and then cover them with plastic to make sure no moisture gets in to them.  That way when I need to start using them when making compost in the spring I won’t have to work with matted, soggy leaves.  After sitting under plastic for the entire winter the leaves become very brittle and breakdown easily and quickly in the compost bin.  I’ll have to collect about 8 bags of leaves to take me through the next year.

I did learn a very important lesson about composting this year.  At one point in later summer I ran out of compost.  I had some that I was waiting to finish but it was taking a lot longer than I’m used to.  From start to finish I’ve been able to produce a quality compost in 6 weeks.  Seven at the most.  But this particular batch was taking upwards of 10 and it still isn’t that close to being done.  What did I do wrong?  I’ll talk about that in my next post.  Thanks for visiting.[ois skin=”1″]


Square foot garden-low tunnel class coming up

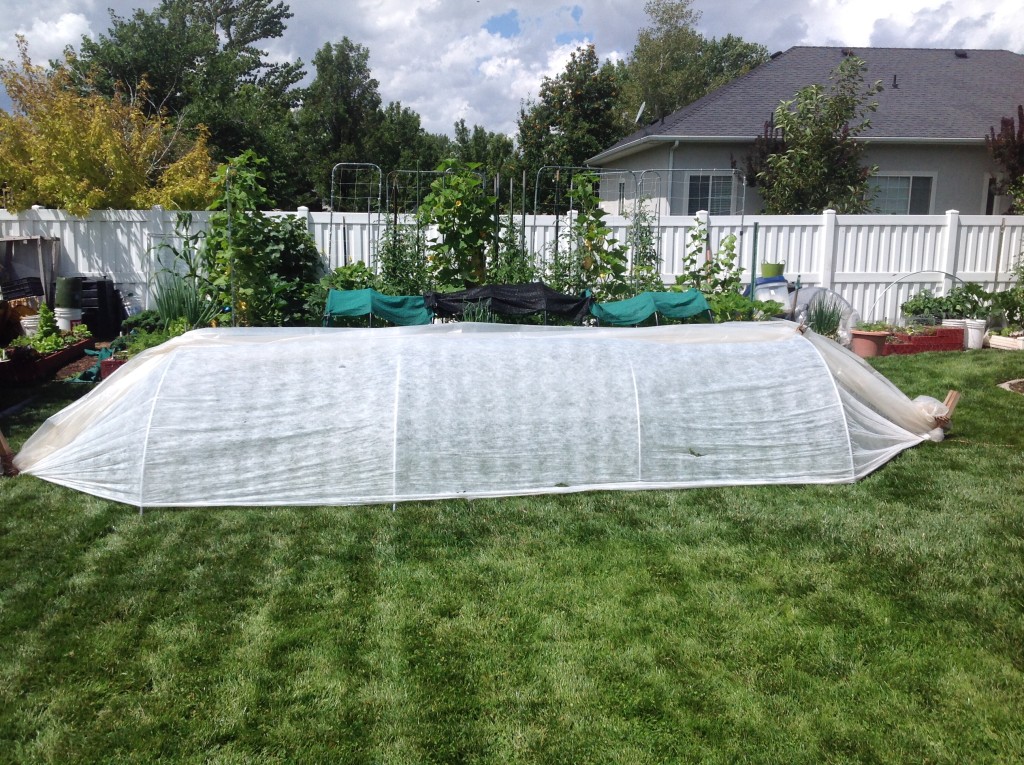
square foot garden low tunnel for the winter monthsYou northern Utah gardeners-if you’re wanting to learn how to have a winter garden or one that gets going 6-8 weeks earlier in the spring, this class is for you. You bring the number of 1/2″ EMT pieces and I’ll bend them for you while you’re here.

These structures are rock solid, mobile, and are much less expensive than traditional greenhouses. You won’t have to worry about some of the problems with permanent greenhouses either-like excessive salt build up-because they’ll be taken down in the spring time. These are sun driven systems only. You won’t be needing any fancy heating or water systems.

If you are interested in attending please contact me. We will begin promptly at 10:00 A.M. and end at 10:30 A.M. No Utah time arrivals please!

Although you will see what my square foot gardens look like, there will be no SFG instruction at this class. Its specifically how to construct a low tunnel only. You can learn more about the class here.