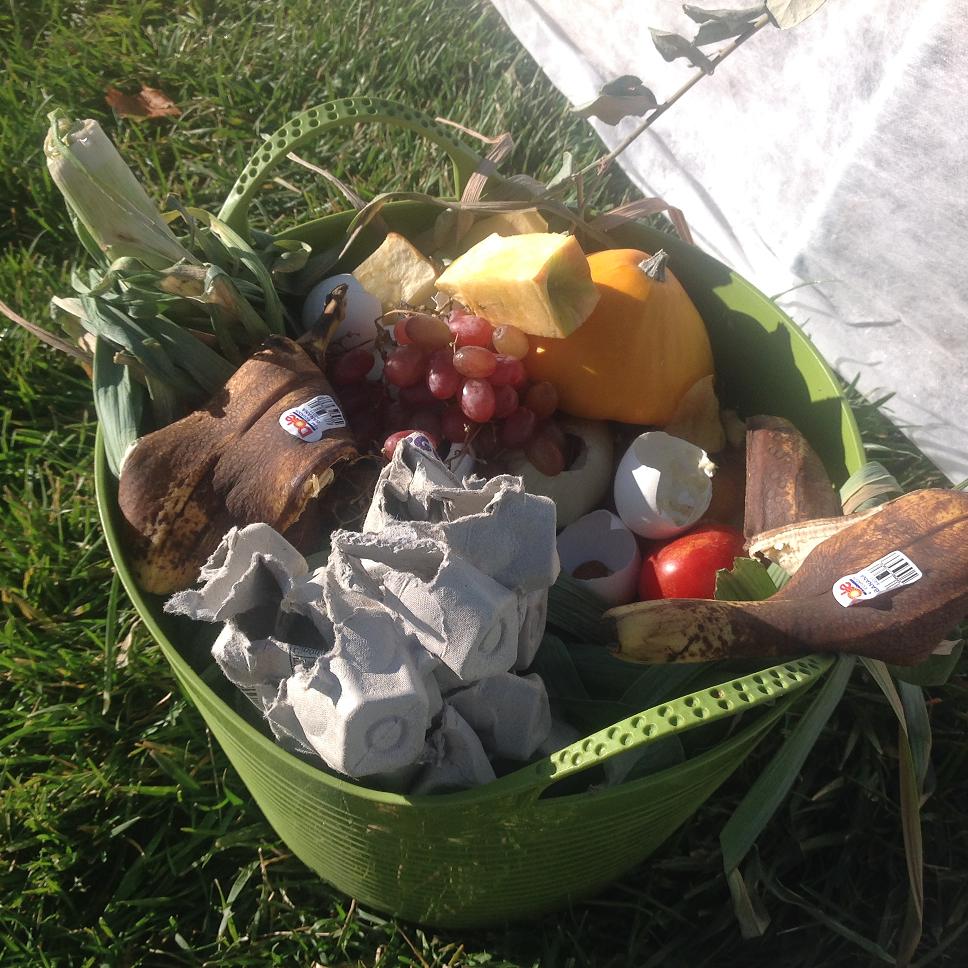
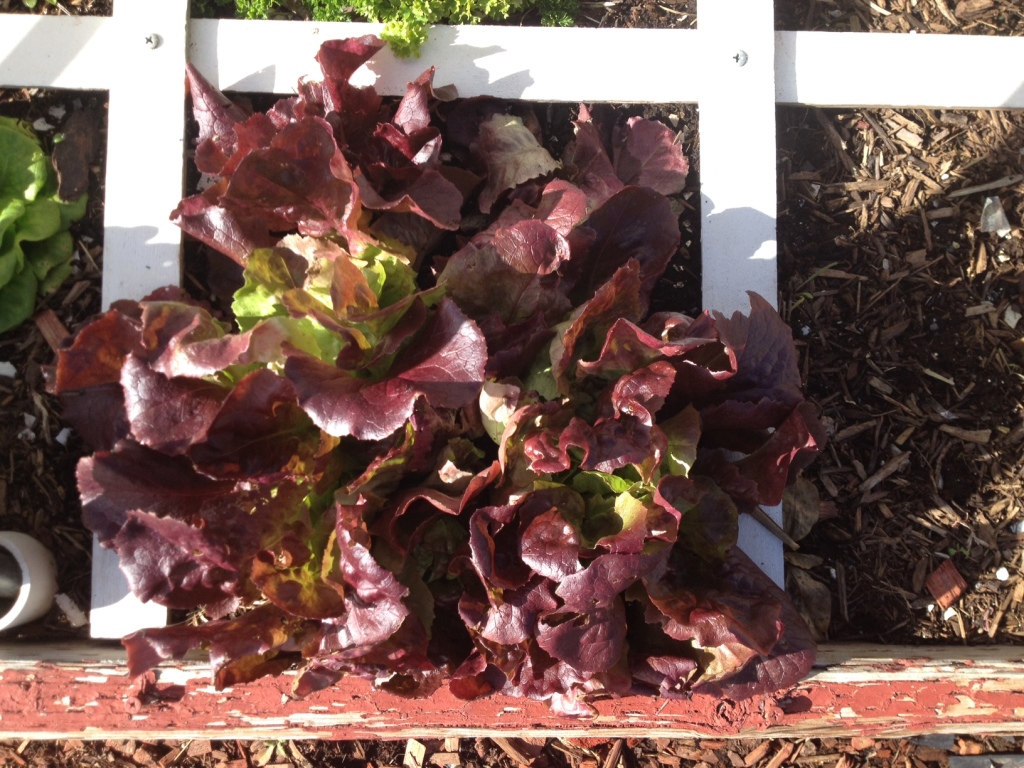
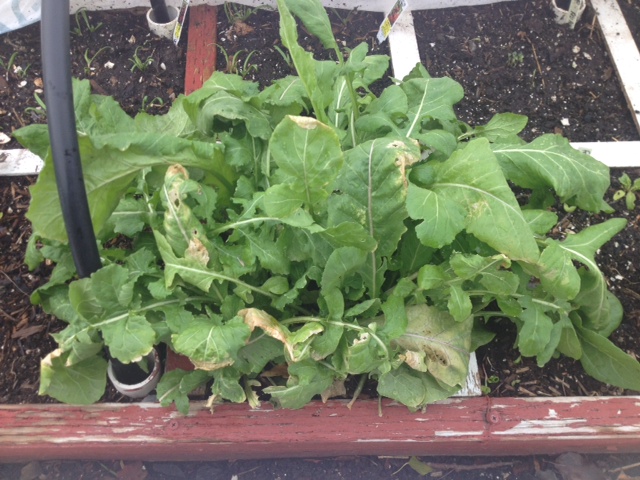
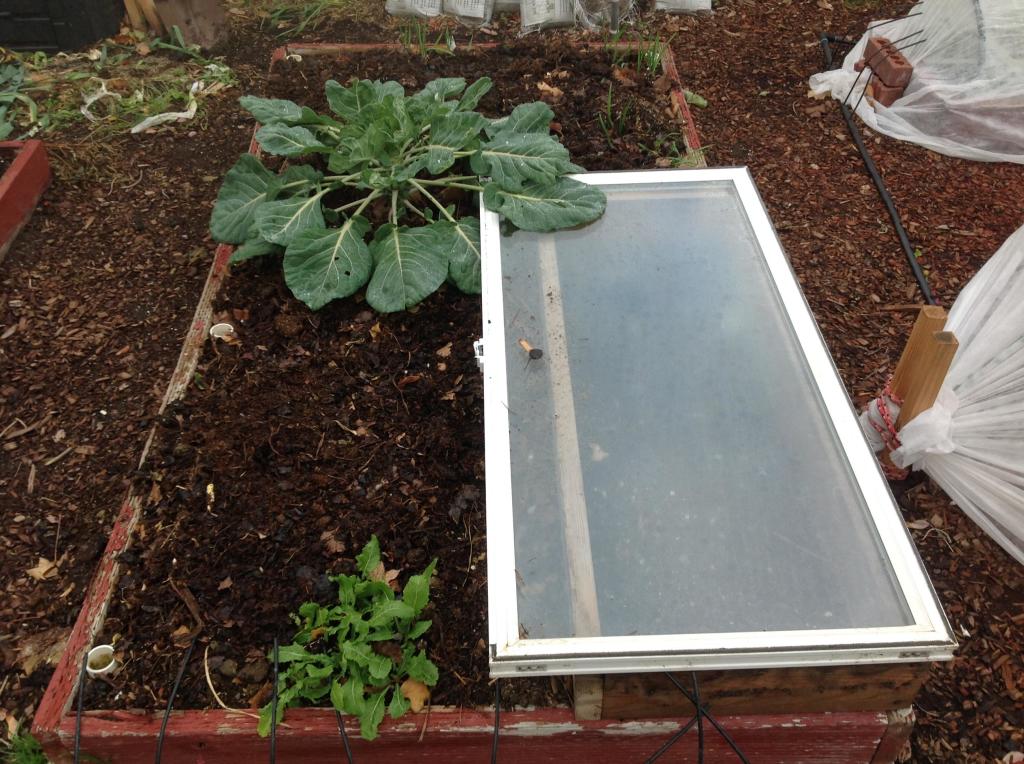
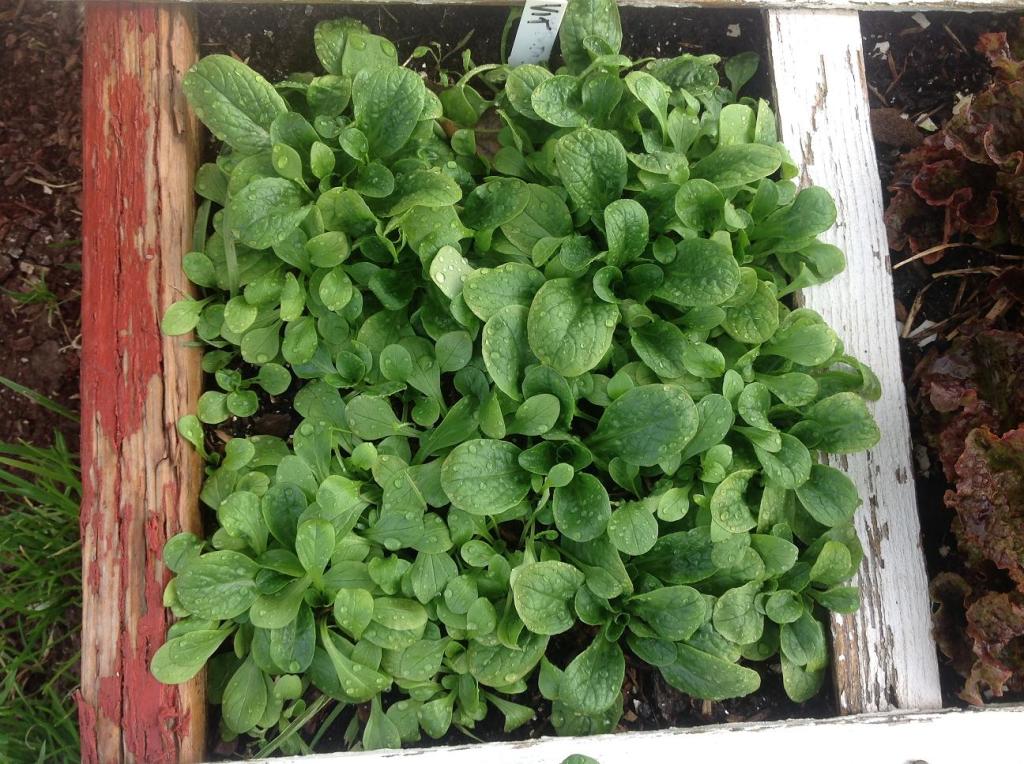
Things doing well in my winter garden right now. If you’ve never tried to have a 4 season garden you should reconsider-especially you northern climate gardeners. It’s one of the most enjoyable times of all. You end up harvesting crops that you can’t grow in the summer months because it’s too warm for them. It forces you to eat seasonally. This is mache, or corn salad depending on where you’re from. The winter garden-no work. I’ve begun harvesting this square which will last for a week. I’ll snip some of this, and maybe some radicchio, and a little tatsoi for a delicious salad. To increase your chances for success for the winter garden it’s important get the soil right by amending with quality compost and the right crop selection to match the season.[ois skin=”1″]
Author Archives: Jim
Winter garden lettuce
First week of December and no garden work to do! I’m very bored and anxiously awaiting the seed catalogs to show up in the mail. The winter hasn’t been too bad yet-only a few inches of snow and about 10 days of below freezing temperatures. This head of lettuce-it’s remained this size for close to a month. And with the shortened days and colder weather, it won’t grow. It will sit there and hibernate until it’s ready to be harvested. My garden becomes a very large refrigerator for our family in the winter. If you’re able to match the right crops with the right planting schedule, you can eat all winter long. Four season gardening is very possible in zone 6 and I think it’s the most fun and enjoyable because there’s literally no work. What could be better than that?[ois skin=”1″]
The good and bad of winter gardening
The good is you get some great food! The bad is you lose some things along the way. Like the summer garden, the winter has it’s own unique set of challenges. In this picture you can see the flexible PVC that’s used to protect crops with floating row cover and plastic. Because it’s so close to the plants, the outside edges of the garden box end are much colder than the middle. Notice the appearance of the outermost leaves. Now look at the condition of the arugula plant as you move to the middle of the box-where it’s doing quite well. The trick is to give yourself room between the ambient air and your protection. There isn’t much space to work with in this box, but there is on my other 4X16′ box. My next post will show you what that looks like and you’ll be able to see the spacing difference. In the meantime, keep collecting that compost material from your kitchens. It will be put to great use in a few months and you’ll be glad you did.[ois skin=”1″]
Composting
Making your own compost is a very easy thing to do-much like everything else in the square foot garden. You can make it complicated by using formulas, ratio’s, etc, but it all really boils down to just doing a few things correctly . Gathering the right kind of material is the first step. The greater variety of ingredients, the greater the finished product will be. Looking at this container shows a small sampling of how easy it is to gather compost material from your kitchen. Here’s what I see: grapes, leeks, banana peels, eggs, tomato tops, apple core, zucchini, and an egg carton. You can bet there’s more under what we do see, but that’s 8 different things, one of which is counted as a “brown” ingredient-the egg carton. The way I do it is to simply balance the amount of greens with browns. Seeing this is mostly green ingredients, I’ll dump this in the compost bin, and then I’ll fill the green container with nothing but brown items-something like shredded paper. That way you’re assured of a good balance of nitrogen(green)and carbon(brown.) Then it’s a matter of taking care of the pile-keeping it moist and turning it as often as you can. The more frequently you turn it, the faster you’ll get it. I’ve done it this way now for 15 years and I’ve never had a problem. I’ve never spent a dime on fertilizer and everything grows in my garden. If you don’t get the soil right nothing else will really matter.
[ois skin=”1″]
Winterized garden box
This bed has been amended with horse manure, leaves, and then topped with compost. By February 12th this will be perfect to start planting in-and that’s about the date I begin. The horse manure isn’t even aged-it’s about 2-3 weeks old. I’ll remove any pieces I can identify in February and move it into the compost bin. You can see garlic(top) and turnips(bottom) growing, along with a brussel sprout plant. I don’t know what to do with it and will probably leave it alone to see what becomes of it. However, that cold frame? That’s loaded with little finger carrots that will be ready late March/early April. And they’ll be sweet as candy. By the way, I want to invite you over to my Facebook page. You can find me under the same name-the wealthy earth-where I have different content than my blog. I hope you enjoy it and can give me a “like” if you do. Thanks to everyone…Jim
[ois skin=”1″]