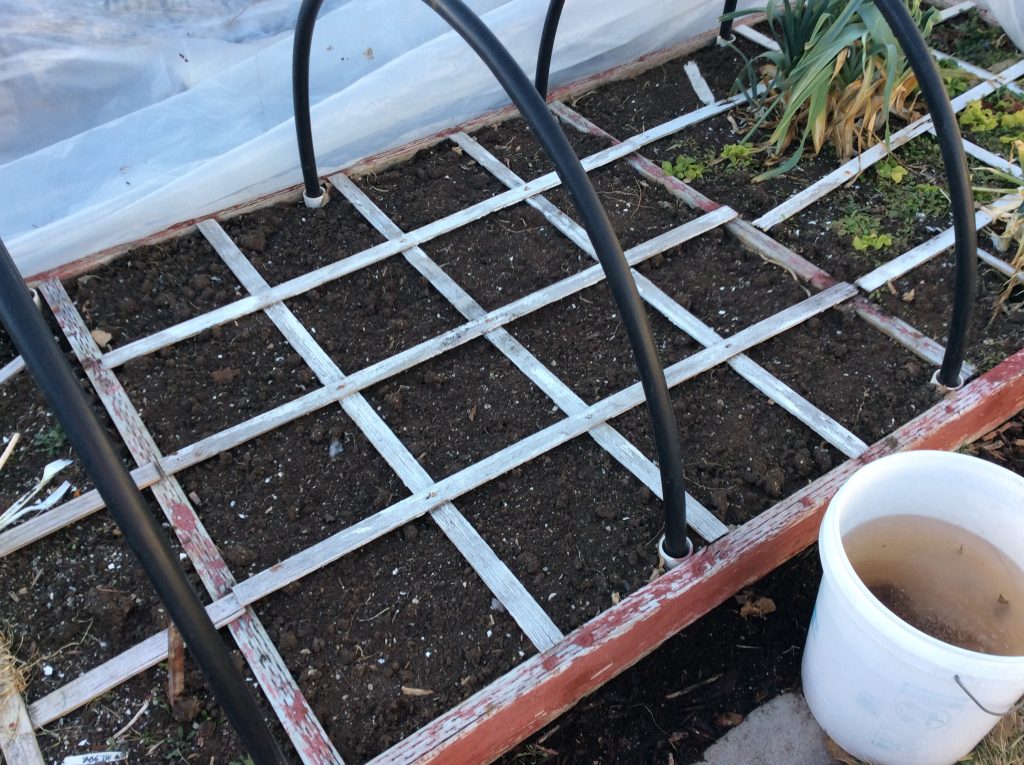
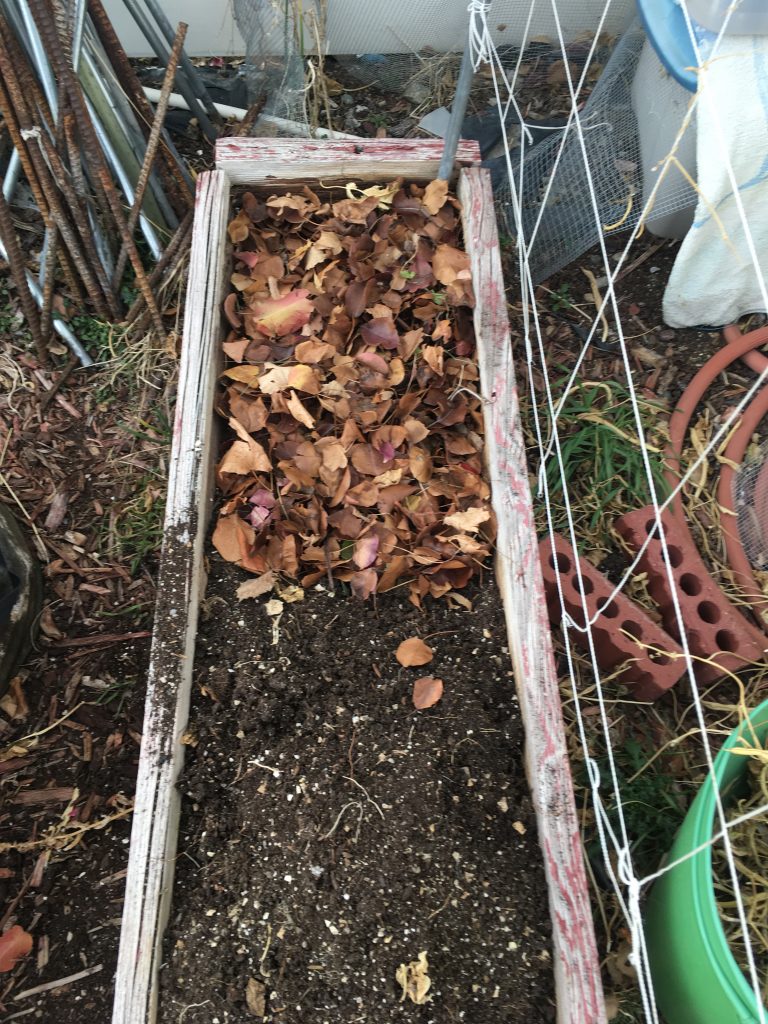
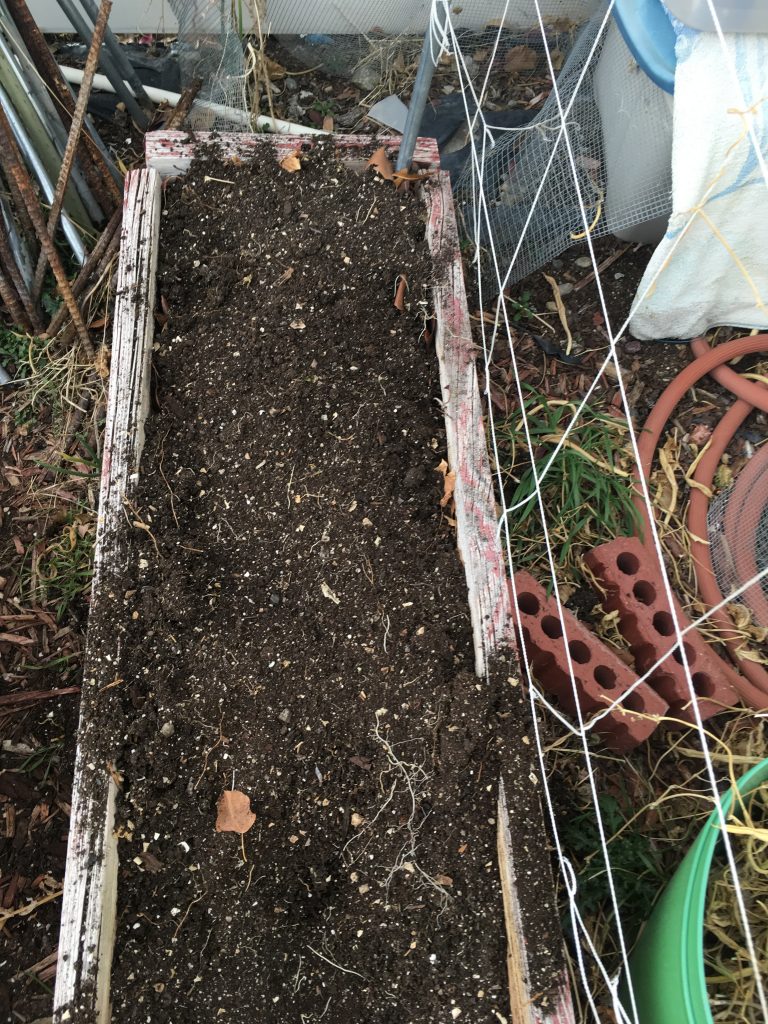
 This will be a short post about the tasks I’m doing now. Really, its all just preparation. This is the time to order seeds and to warm up your soil. We can still count on some snow and freezing temperatures but spring time is a couple weeks away.
For our climate, there is little advantage in planting before April 1st. I’ve done the experiments of planting on January and February 1st, Presidents day weekend, and the first week or two in March. When I compare that to what I plant the first week of April, it’s obvious that the extra work doesn’t get you much. Many of the crops don’t make it, and the ones planted in March easily catch up to those planted earlier.
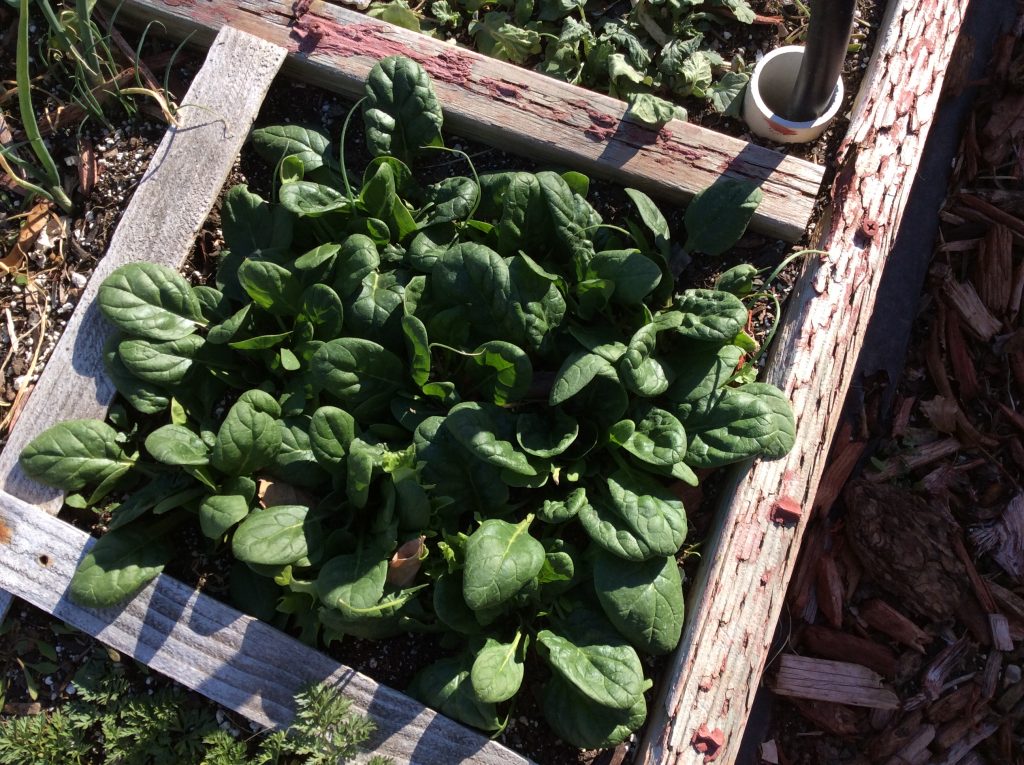
I like to plant, spinach, chard, radish, bok choi, and some different kinds of Asian greens such as tatsoi and tokyo bekana. These are easy to grow and are direct seeded. April 1st marks the time for me to begin the summer crops: tomatoes, melons, cucumbers, and peppers.
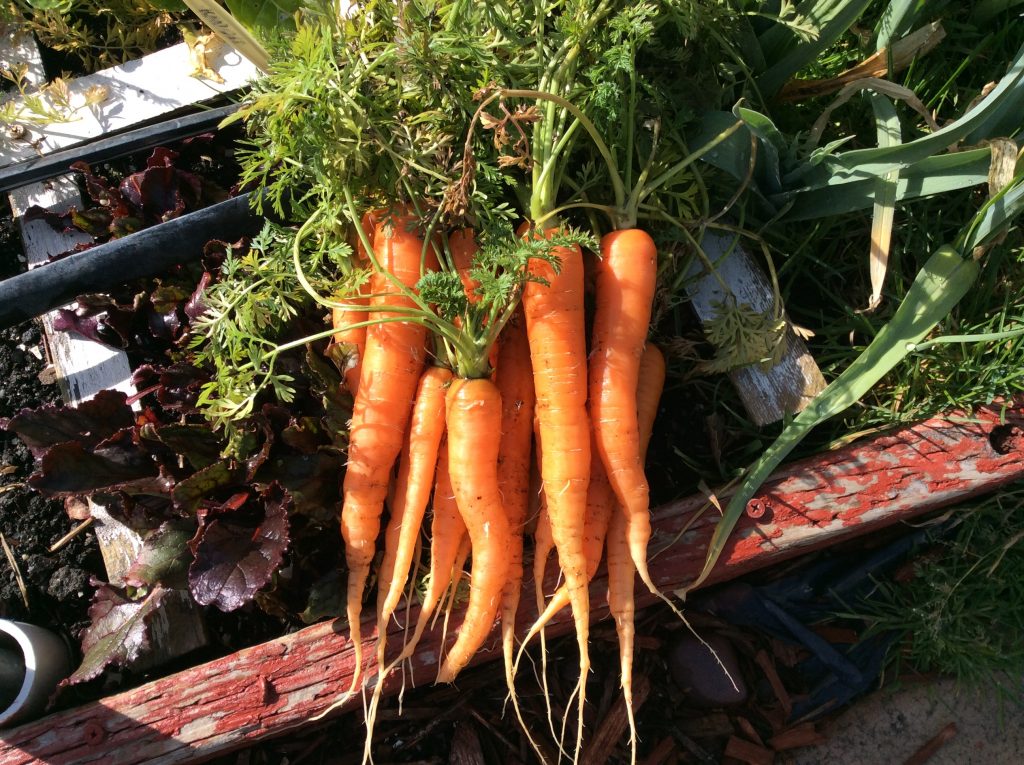
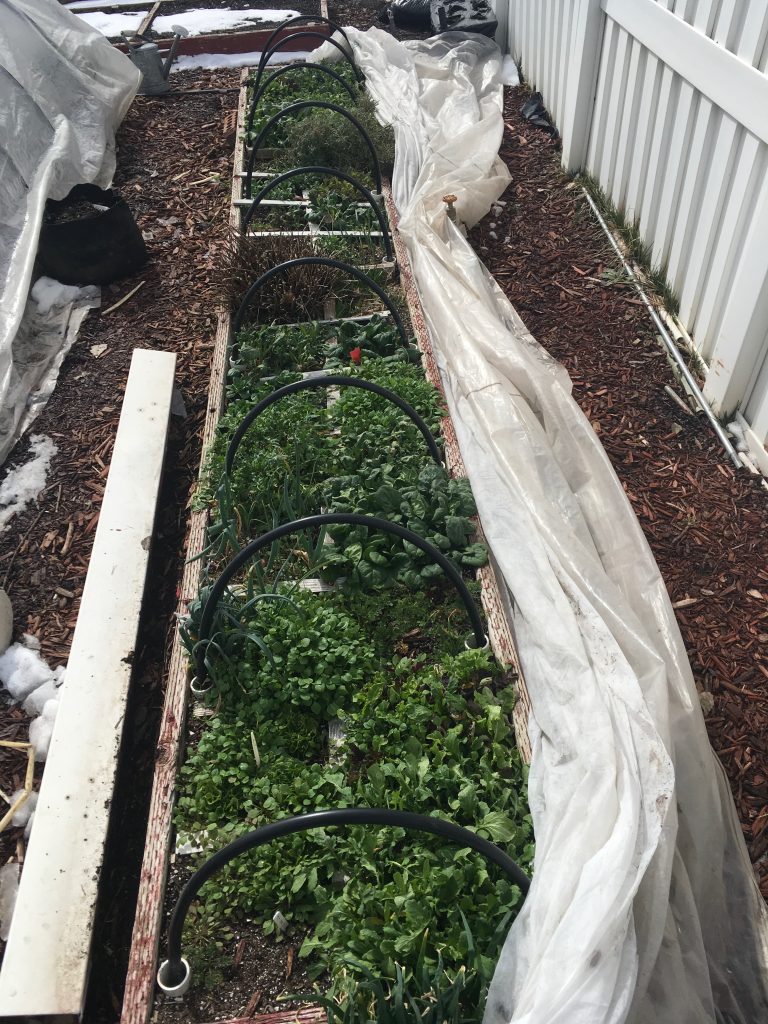
The picture you see is the winter garden. I planted that in late summer, covered it, and did virtually no work. I don’t think I even looked underneath the cover for 2 months! Its loaded with claytonia, corn salad, green onions, rosemary, spinach, lettuces, etc. I’ll post this later in the summer time for those who want to learn how to do it, the timing, and the crops to grow successfully[ois skin=”1″]