Last of the winter sowing

If you’ve never tried winter sowing and love to garden but don’t have all the fancy lights, space and time to start seeds inside, this is the method for you, 

Any plastic container that’s see through or clear works perfectly. Plastic gallon milk containers, food containers, restaurant to-go containers, you name it. A heated screwdriver is used to poke holes in the bottom for drainage, and then a few on top for heat to escape. Add your soil, seeds, water in completely, and then close up the container. Place them is the sunniest spot outside in your yard. Then let mother nature work its magic. 

If you’re using milk containers you don’t need the top cap. Throw that out. In a few weeks your seeds will begin to germinate. As your plants begin to get bigger and the weather warms, you may need to open up the tops. At some point you’ll be able to plant whatever you’ve grown right into the garden. With no hardening off. No hassle with starting seeds indoors, messy counters, watering, replanting into bigger pots, or managing lights. 

The time to start is now. You might have another month to do it here in northern Utah, zone 7. This last sowing for me is lemon balm and then 3 different varieties of lettuces. Getting ready for another epic gardening season. 

Gardening Masterclass-April 19th, 10:00 AM in Draper

You’ve never been to a gardening class like this!

**Gardening Masterclass: Organic Gardening for Every Home** 🌱 πŸ“… **Date:** April 19th, 2025 πŸ•™ **Time:** 10:00 AM πŸ“ **Location:** Draper, Utah (at my home) πŸ’΅ **Price:** $150 per person (pre-paid via Venmo) — **What’s Included:

****90-minute didactic session** covering the basics of organic gardening

**Hands-on workshop** where you’ll actually plant in a garden

**Q&A session** to answer all your gardening questions

**Class handout** with key takeaways for success —

**Why Attend?**

**Best & easiest garden method** β€” no weeding, no thinning! – **Lower impact of inflation** on your food budget – Enjoy **better tasting, organic food for you and/or your family. Class size will be limited. I’ll send more information about class and address after payment is received. This class is 3 hours in length. Contact me if you’d like to attend

Prepping your garden for winter

Best time to clean up your gardens and to set yourself up for success next spring. This simple method has served me well for decades. 

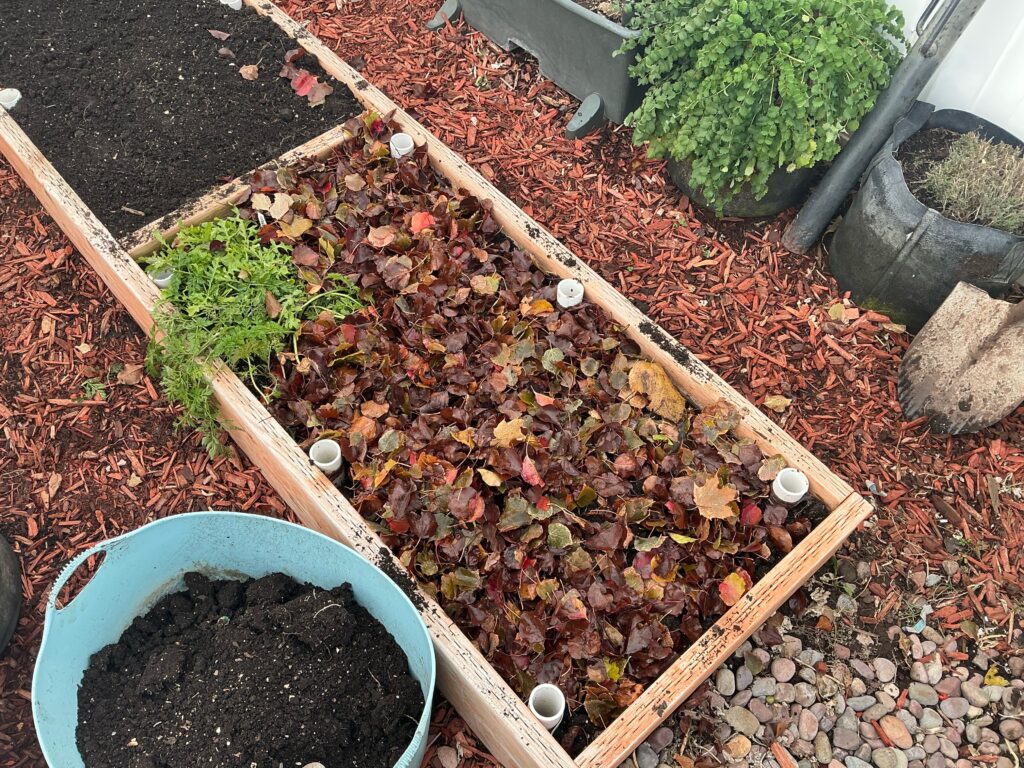
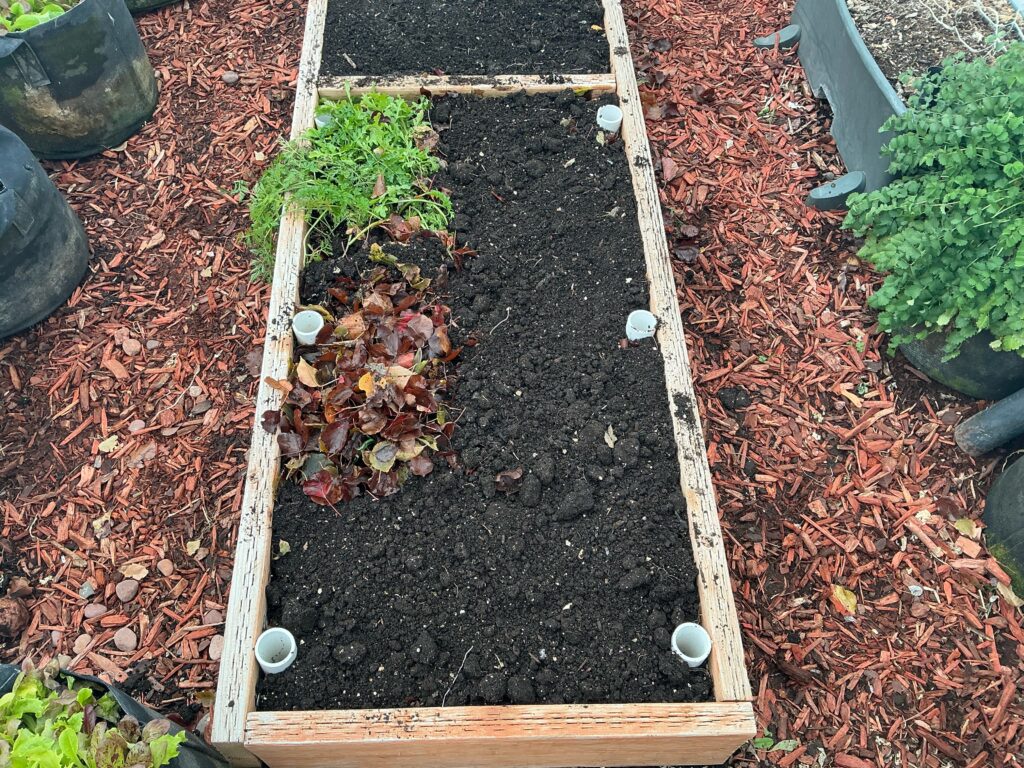
The first thing I do is remove a few inches of soil in the bed. I then take a pitch fork and loosen the entire box. I always noticed the increase in soil volume when you fluff things up. No matter how good you care for your garden, you always end up compacting your soil to a certain degree. I then layer a healthy amount of leaves and then cover with the soil that was previously taken out. I level the bed and call it good until early spring. 

I will mulch with a heavy layer of leaves around the roots of Brussel sprout plants-which will start to regrow in the last week of January. Surprisingly, they make it right through winter without any protection. I will have delicious Brussel sprouts by mid-spring. It’s really good timing because our summers a too hot for too long for them to be grown successfully. Right now they are hibernating between now and the end of January. 

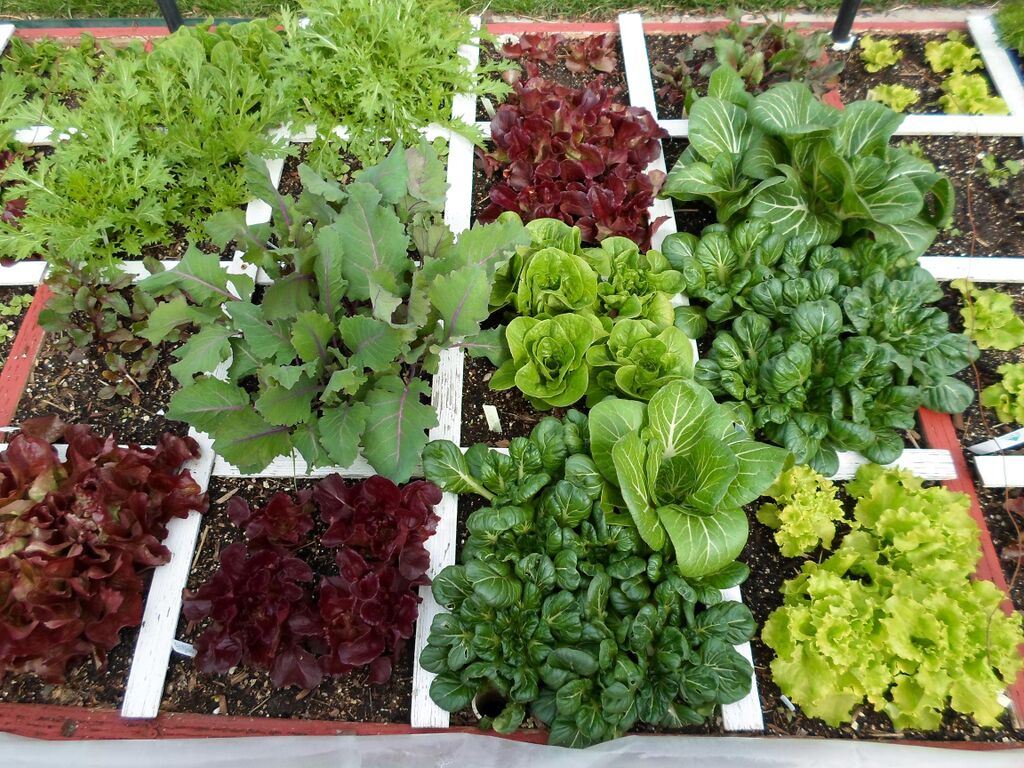
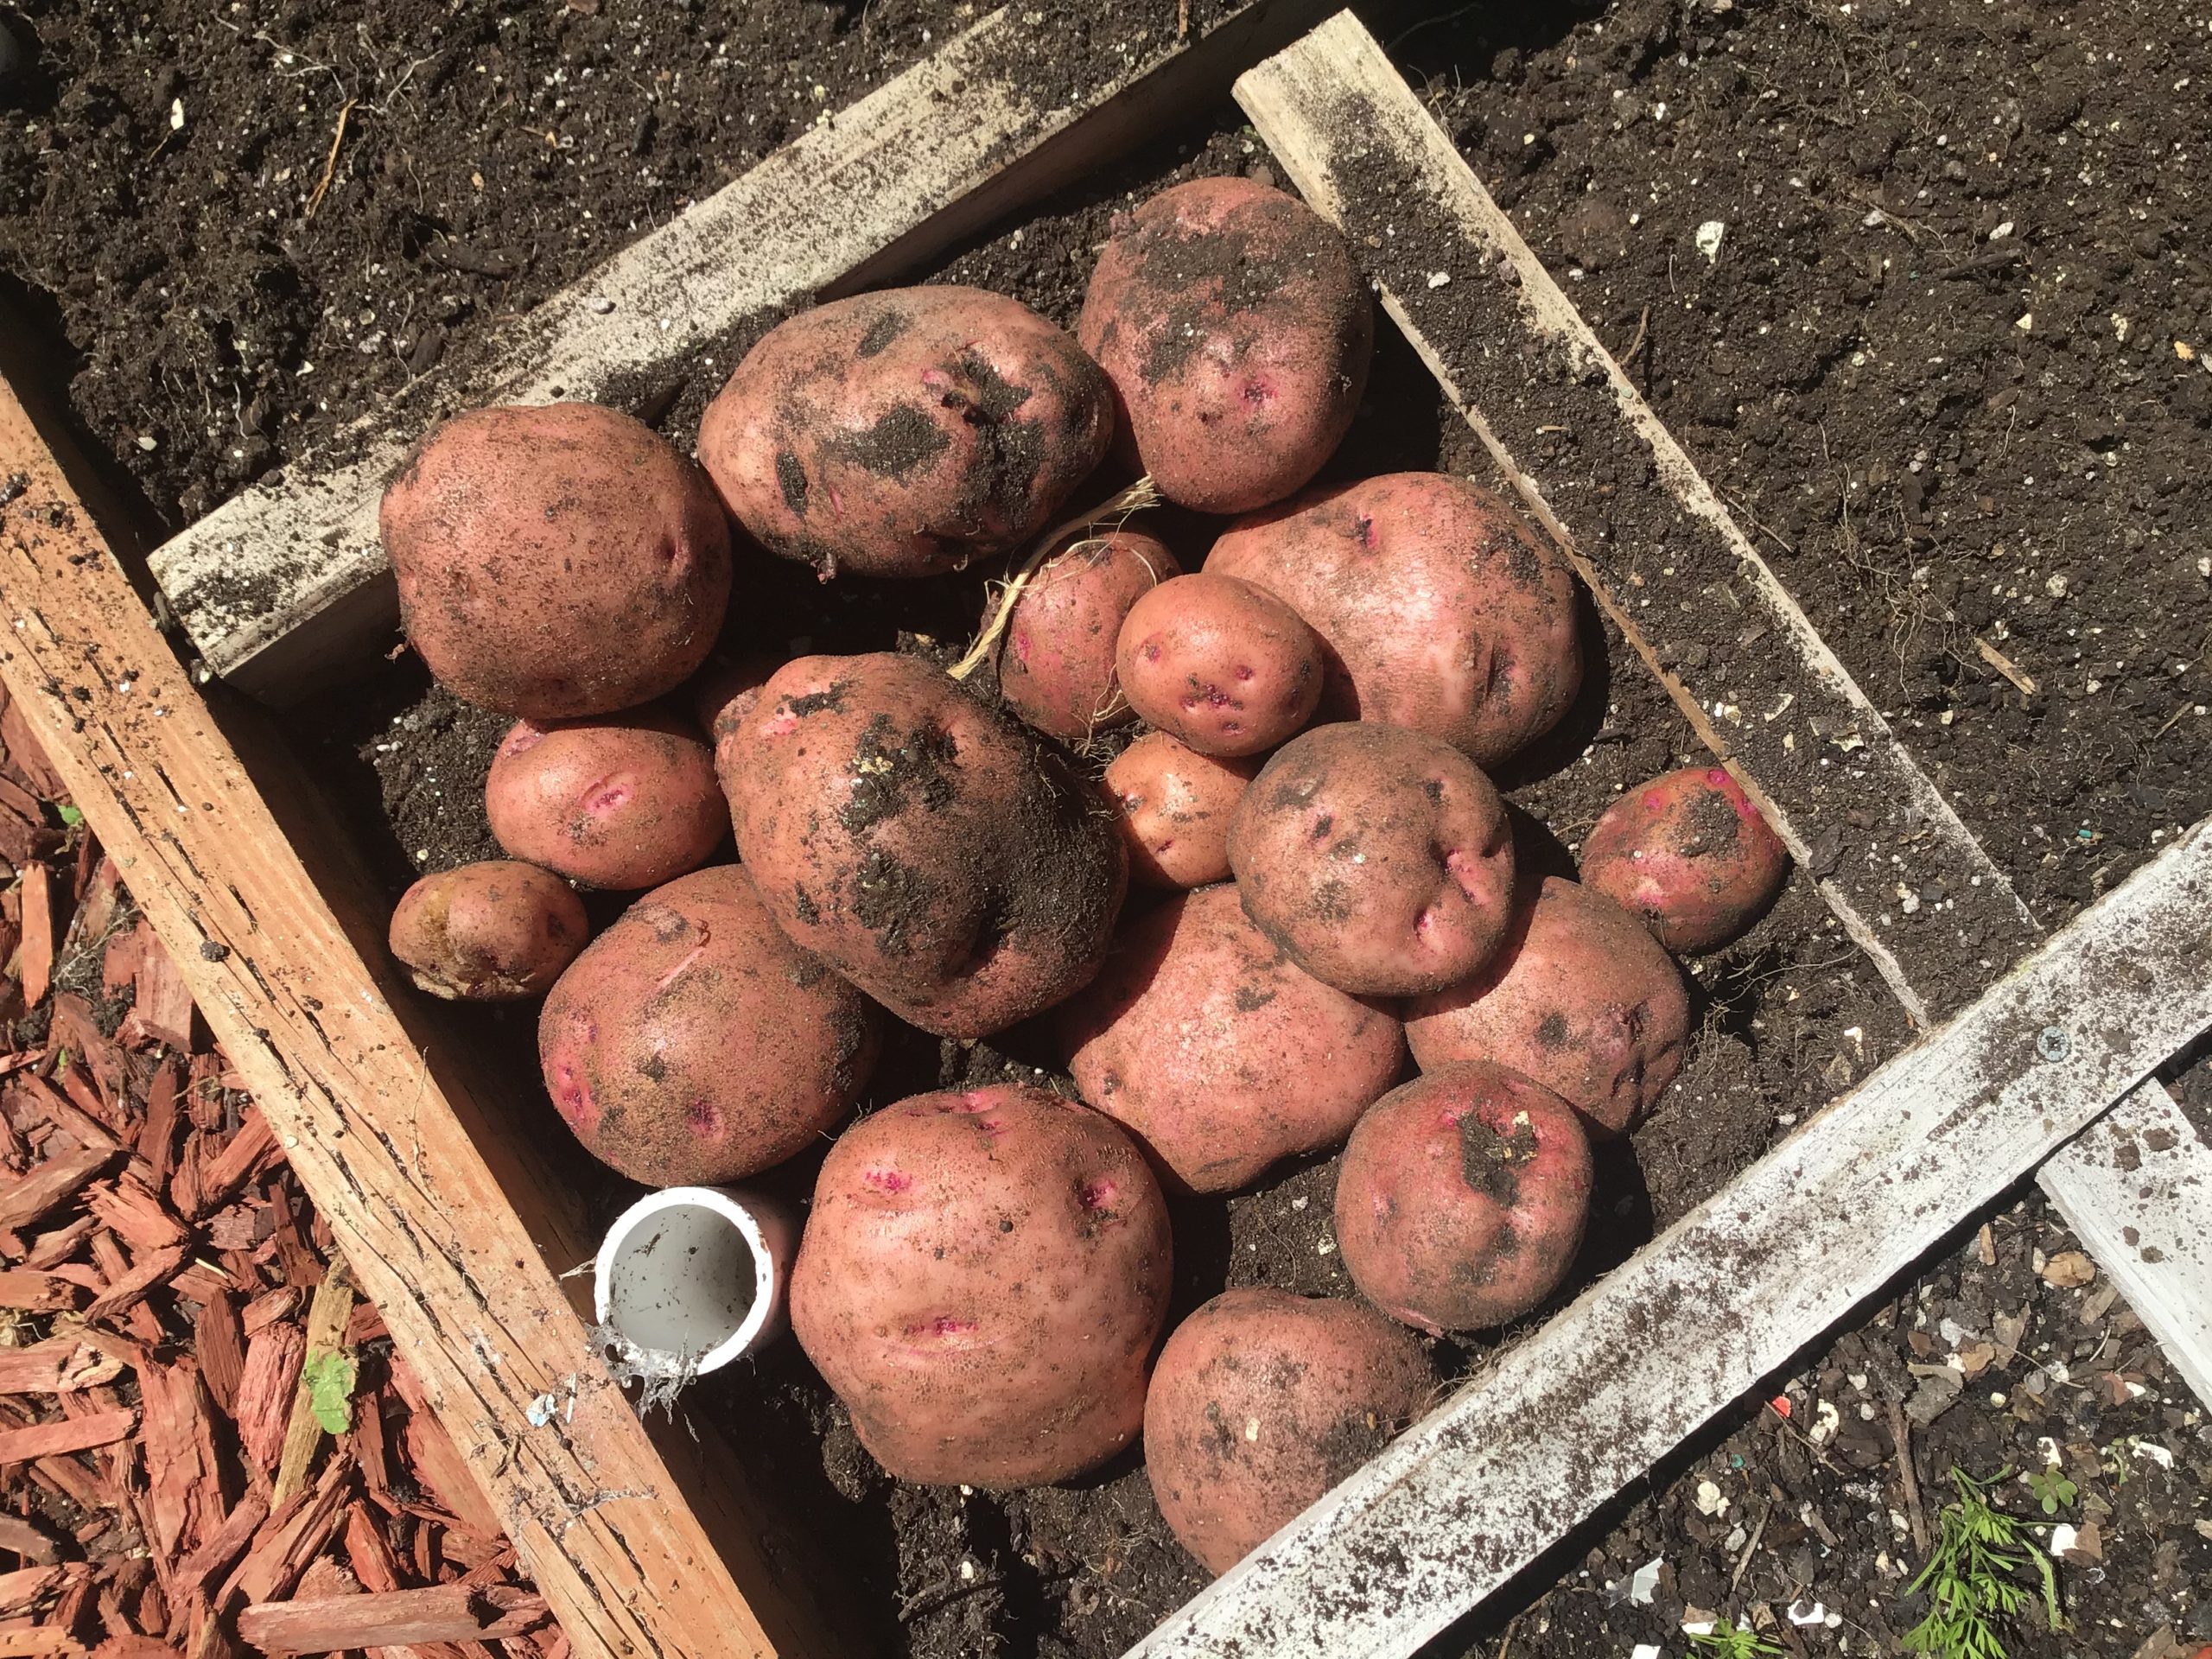
I also mulch on top of the other root crops. For potatoes, I don’t leave them in the ground for too much longer because they’ll end up getting soggy. Or, some of the soil critters may get them. They’ve been in the ground since early spring and that’s a long time. Garlic, carrots, parsnips, and onions are all topped with mulch. I leave the arugula alone because I come out and harvest that throughout the winter. Arugula, harvested as a baby leaf and grown in cold weather, is a a total different eating experience. Gone is that spicy edge. You still taste it in your salad, but it’s much different. 

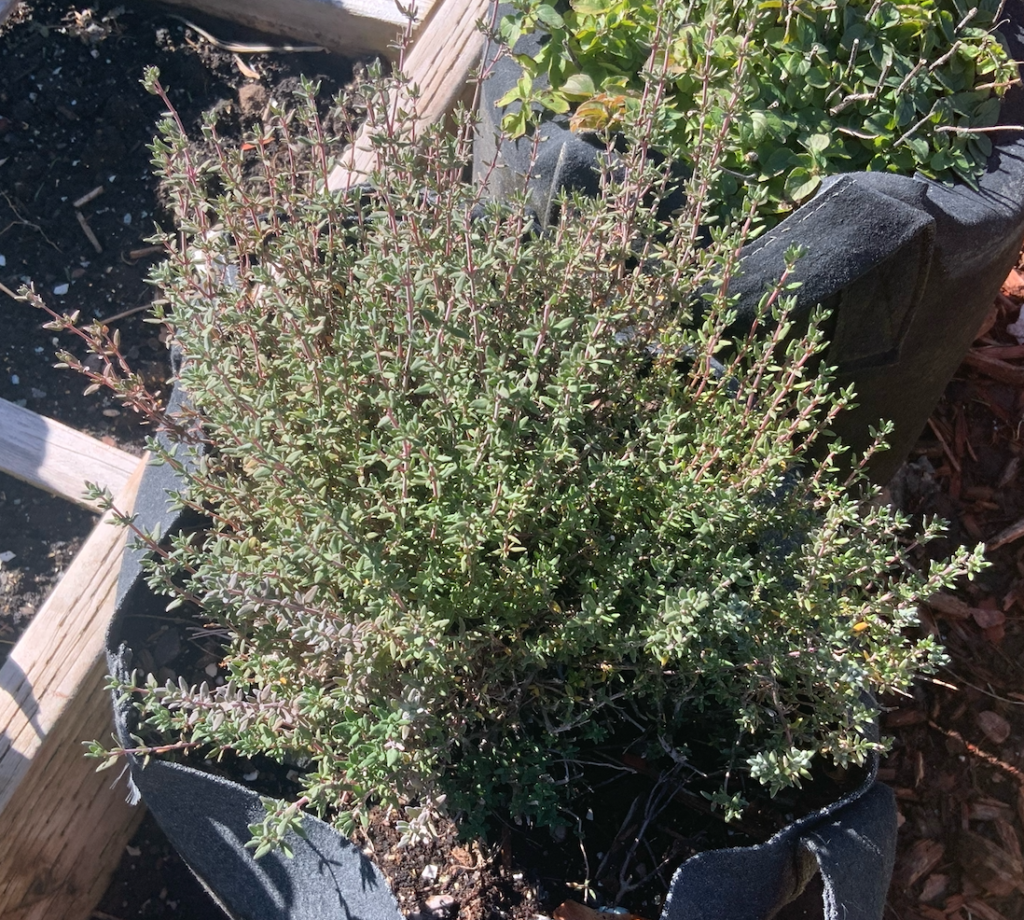
All my herbs are grown in grow bags. I cut them all back and then top each with a layer of mulch. By spring, you can see green starting to appear at the base of each plant. I don’t even bother to cover the grow bags. I leave them out in the elements. I do leave a grow bag each of thyme, oregano, and rosemary alone. These will be protected, outside, under floating row cover and plastic. That way I have a supply of what we need throughout the winter. 

For a section of my garden where I have 75 carrots (in 3 square feet) in the ground for winter, I will put bags of leaves (turned upside down so water doesn’t get in from the top of the bag) right over the carrots. This way I have a place to store some bags of extra leaves and protect my carrots at the same time. The fun part is I can go out to the garden at any time in the winter, pull back the bag of leaves, and pull out carrots. The ground doesn’t freeze under the bags. You will never have better tasting carrots. 

My gardens are now set for winter. I have plenty of finished compost that’s stored until ready to use in spring. When it’s time to begin planting, I won’t find any leaves. They’ve been completely broken down and have significantly added to the tilth of the soil. 

I do have a 4X16′ square foot garden bed that’s used for my winter garden. This is our refrigerator that holds food until needed. That’s a post for another time. 
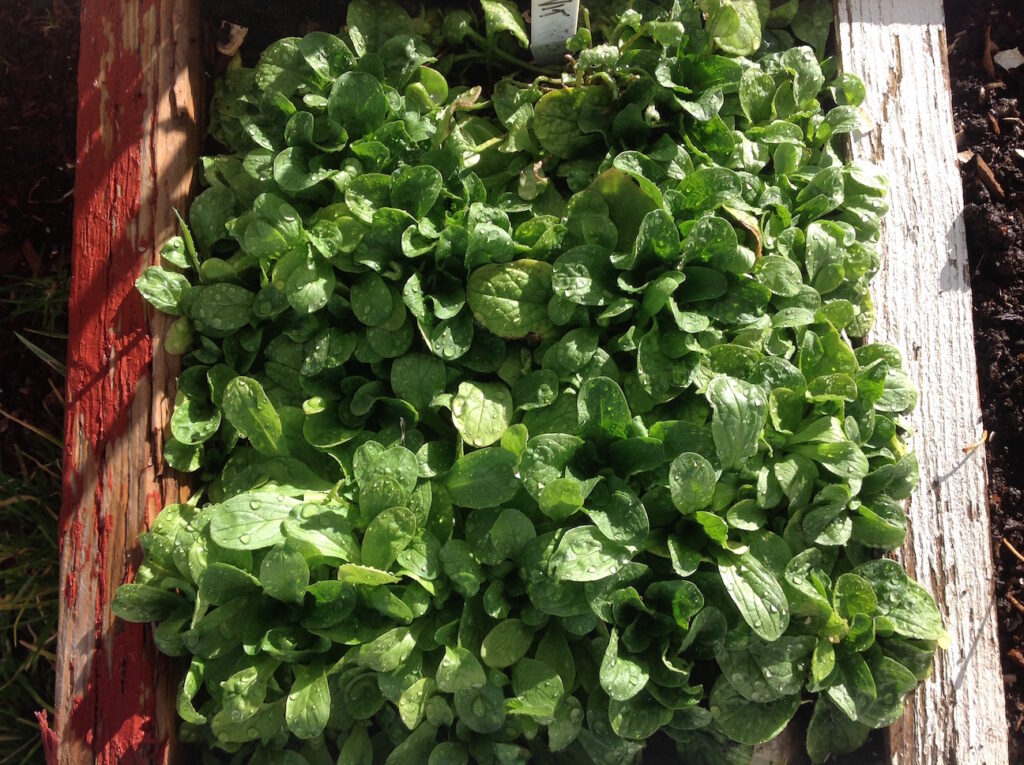
New class coming in 2025!

Already planning for 2025 when we’re not even finished with 2024! 

Do you love to garden but don’t have the space? Living in an apartment? Condo? Trailer home? Or renting a house where the landlord won’t let you put in a garden? I’ve got a solution for you and I’ll be teaching a new class shortly after the first of the year. I’m very much looking forward to this one!

Small space apartment/condo gardening will be the name of the class. This will not be just the usual container garden class. We’ll be talking about grow bags, which I’ve used for 8 years. I’ve learned a lot and it’s taken me 3 years of extra effort to get it just right. What can you use grow bags for? I’ve used them for potatoes, lettuces, all my herbs, tomatoes, potatoes, and many other salad crops. You’ll also learn about another very nifty gadget to use when growing in small spaces. 

With any luck and if I can get the help, I hope to have this ready not only in person but also virtually for purchase. That way you can take your time and learn at your leisure.

Learn how to have a great garden, even if you don’t have a lot of room. As I’m writing this I’m chomping on pizza that was made with my garden tomatoes, garlic, and basil. I’ve not found any restaurant that beats it. Homemade always wins. 

Eat better tasting and healthier food. Enjoy the satisfaction of growing it yourself. Save money, and maybe even pick up a new hobby that you can do for the rest of your life. 

Planting for winter-square foot gardening style

This and fall are the most fun times for me in the garden. Less work. Anticipating crops that only grow in cold weather. Less watering. No weeding. Pests are leaving. I have very few of those so that’s not really much of an issue. But the late fall/winter garden takes some planning. Today I pulled up most of my existing leeks and also found some garlic that I forgot about. When I tried to separate the cloves I discovered they were mush. Too long in the ground. Speaking of garlic, this is the month. I’m a hardneck garlic believer because of our harsher winters. 

After amending each new square with compost, spinach, arugula, mache, lettuce, minutina, baby bok choi, mizuna, and claytonia were all direct seeded. This is perfect timing for our winters. The lettuce wont be so big that it turns to soup after a hard freeze. Bok choi and its thicker stems hold up well in winter. Arugula grown in cold temperatures lose the peppery edge they normally have. The other greens are just delicious. Next week will be a succession crop of a few of the same and then some addition crops. 

The normal SFG spacings of 1, 4, 9, 16 are a little different for winter. Everything is planted with a spacing of 9 or 16. We just need more in the winter time.