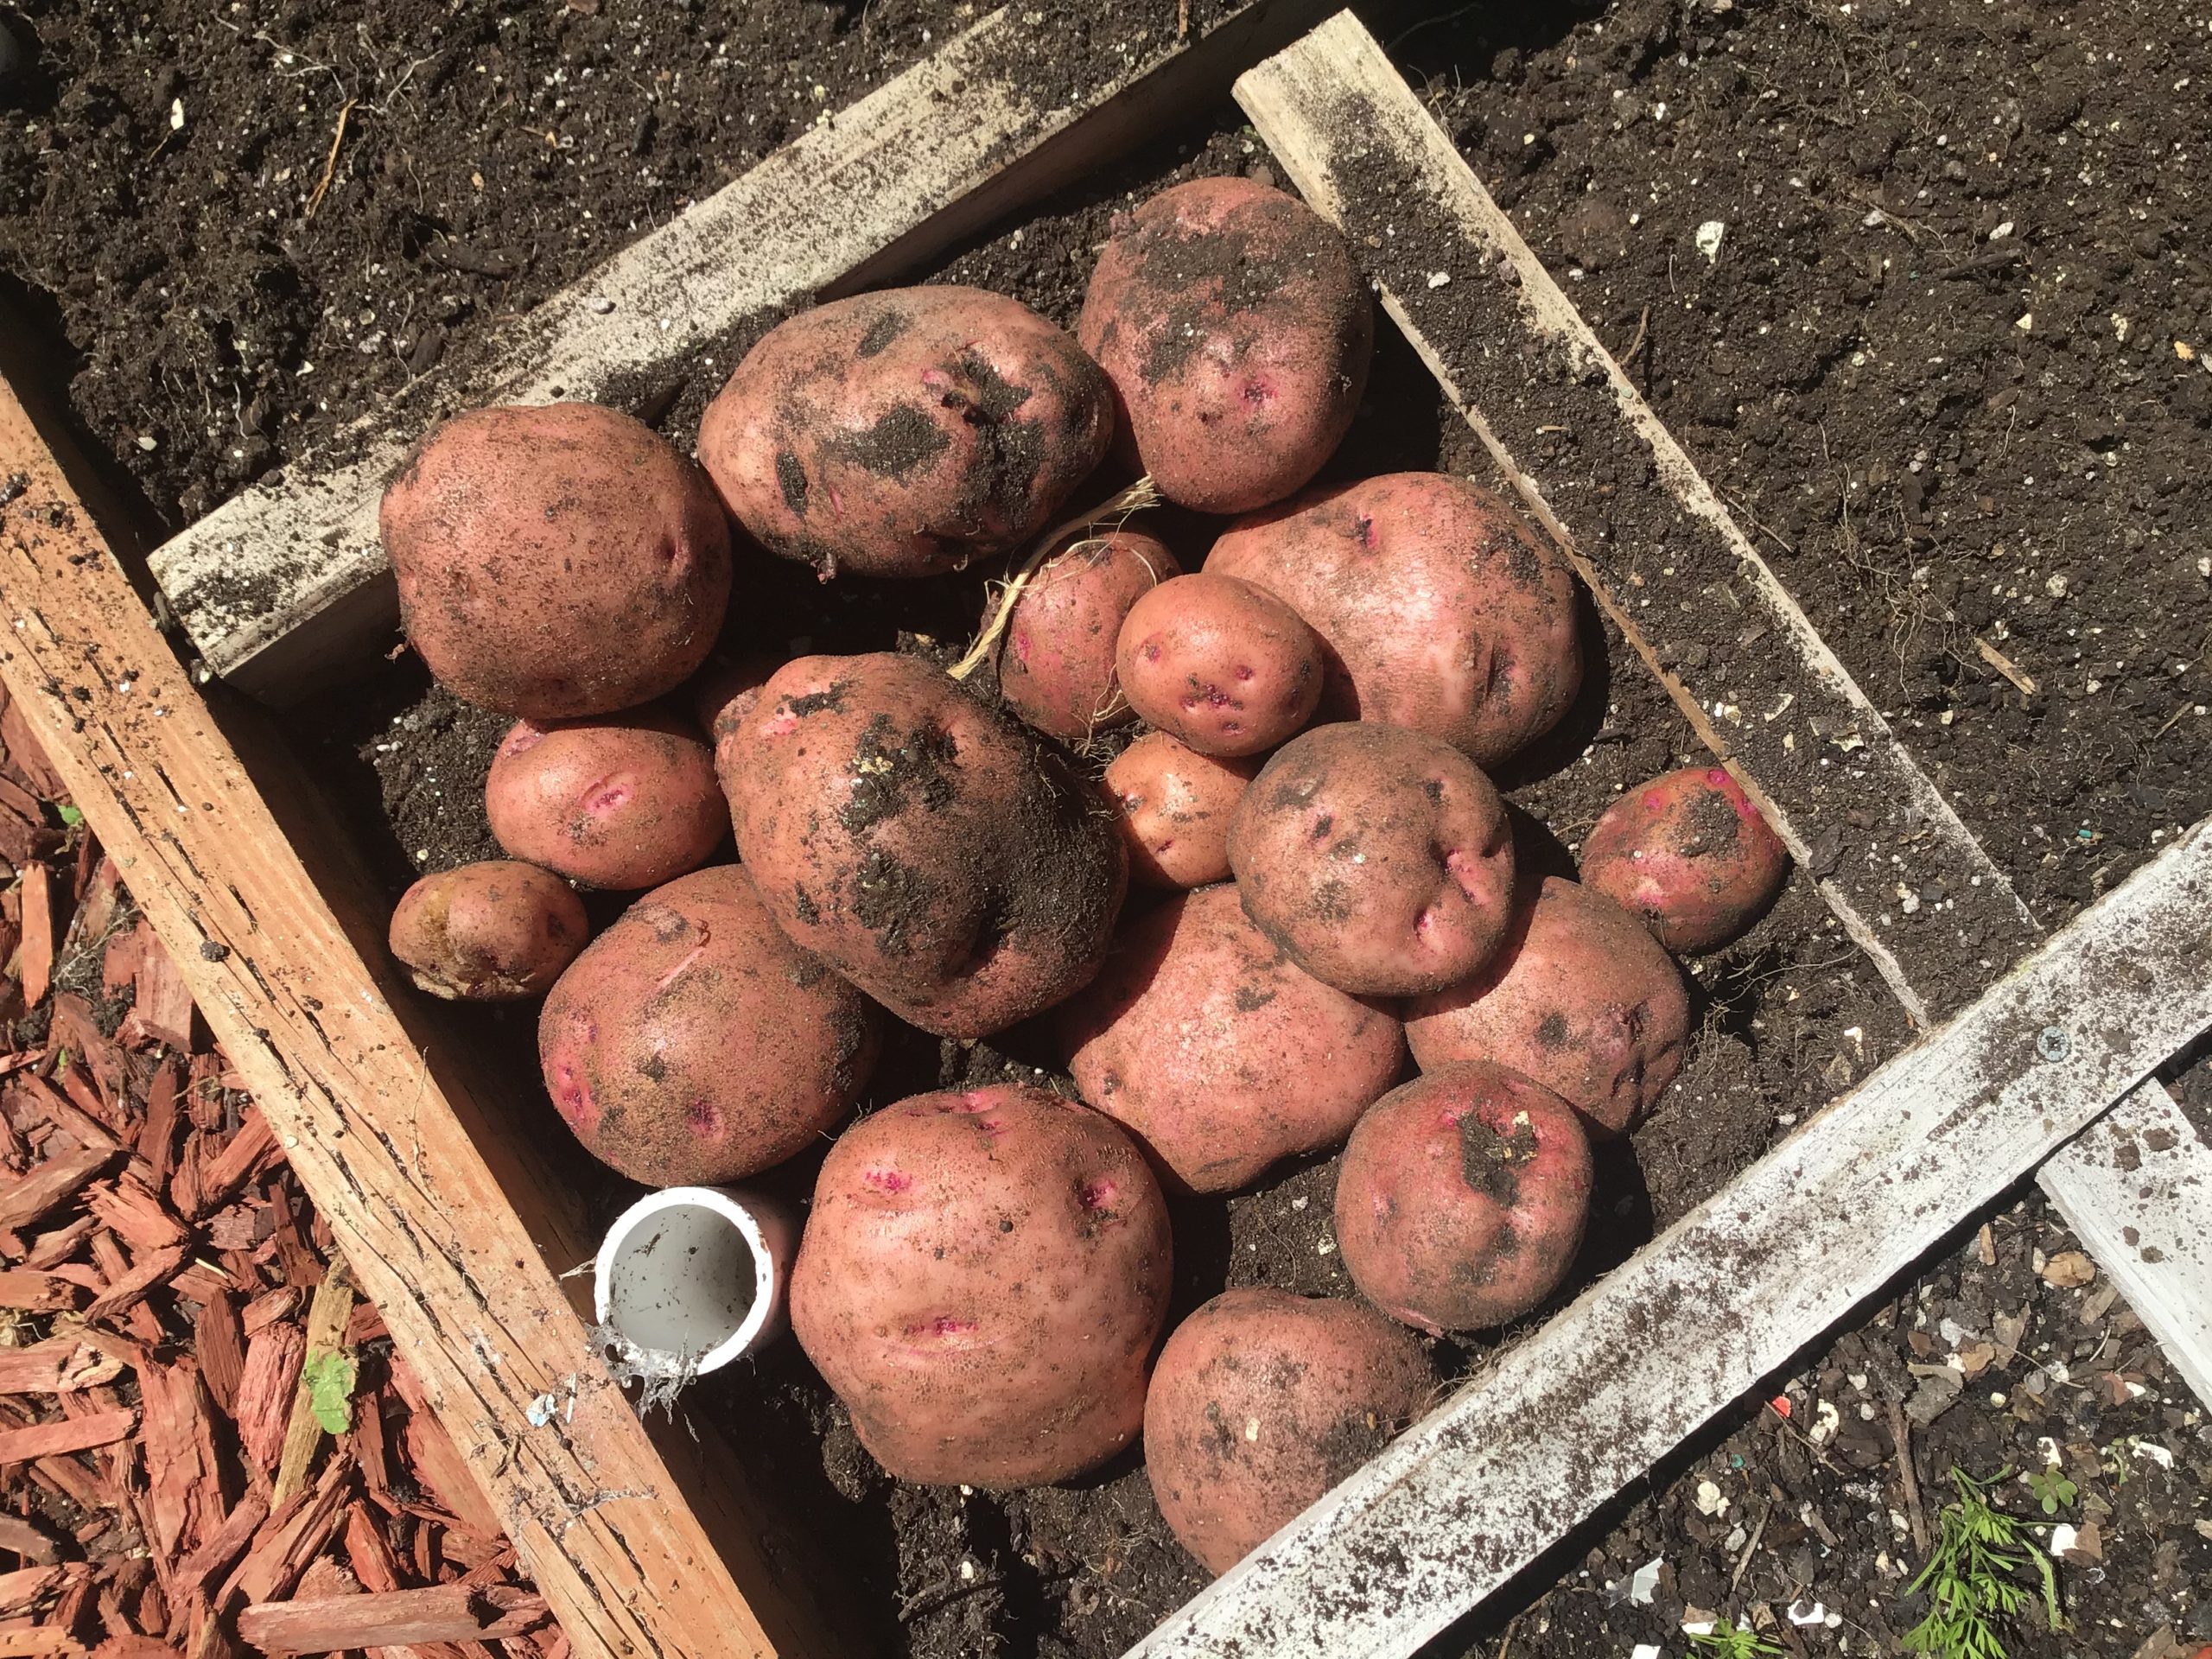
 now you should start to really pack your garden. I’ve been planting corn at 5 day intervals. That way you don’t get all your corn at once. And it will still be big enough to cross-pollinate. Corn is planted 4 per square. This year I did a little mix-n-match with the 3 sisters-squash, corn, and pole beans. It’s an old Indian tradition. I’ve got a nice little write-up on the 3 sisters that can be accessed with a bronze membership or above. I didn’t do the full out 3 sisters though. I have my regular pole beans planted-4 squares across(that’s 32 seeds). The next 4 rows will be my spring treat corn. Then I have another 4 squares planted with butternut squash. In theory the pole beans are supposed to climb up the corn stalks. But our corn is not big enough, early enough to keep up with the pole beans. If I wanted to do it right I should have started my corn 2 or 3 weeks earlier. That’s difficult to do in northern Utah. Then you get the pollinators-bees, working on the squash and beans. What I’ve really got is corn that’s sandwiched between pole beans and squash. That’s my square foot version of the 3 sisters. Tomato plants should be in, along with peppers and all your herbs. Make sure you leave squares available for garlic, shallots and onions. These work at keeping pests at bay. Think about where you’re putting your basil and remember that this goes very well next to tomatoes. Plant your melons, cucumbers and squashes-but keep them separated. The last thing you want is your cantaloupe having a strange cucumber taste. Potatoes should be in, along with some carrots. What’s left? Whatever your family eats. For us, that includes beets, carrots, and all sorts of lettuce. Because your gardens are so small, you can protect it from higher temperatures with shade cloth. Lettuce is hard to germinate when it gets into the mid-80’s. But if you cover it and give it some extra water, you’ll be able to have salad greens all summer long-there’s nothing worse than having all those great tasting tomatoes if you don’t have any lettuce to enjoy them with….[ois skin=”below post”]
How do you know when radishes are done?
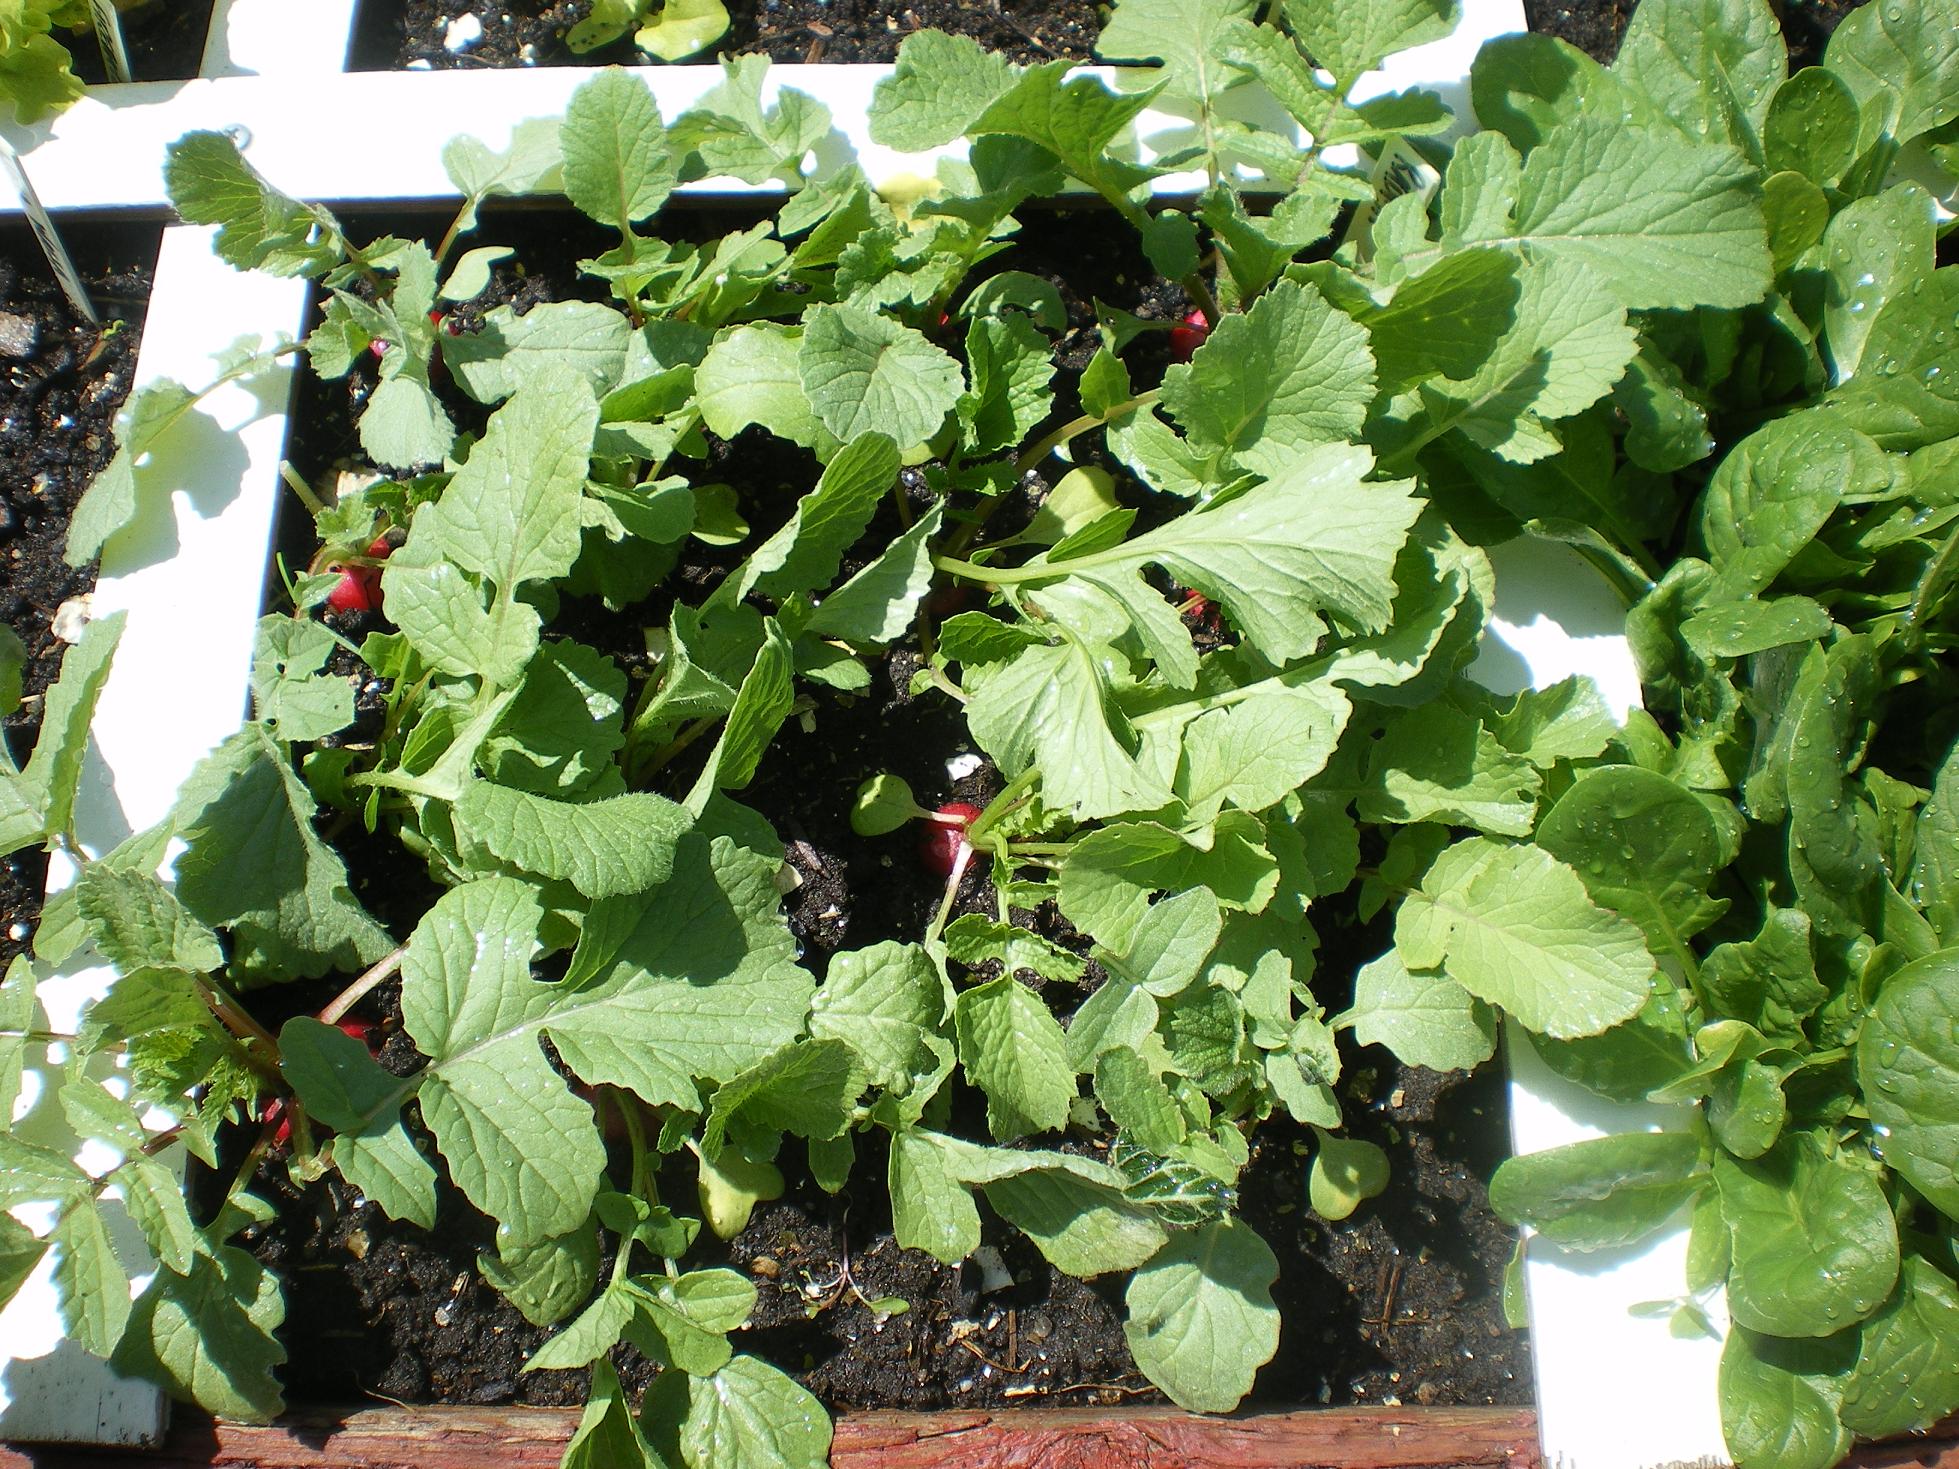
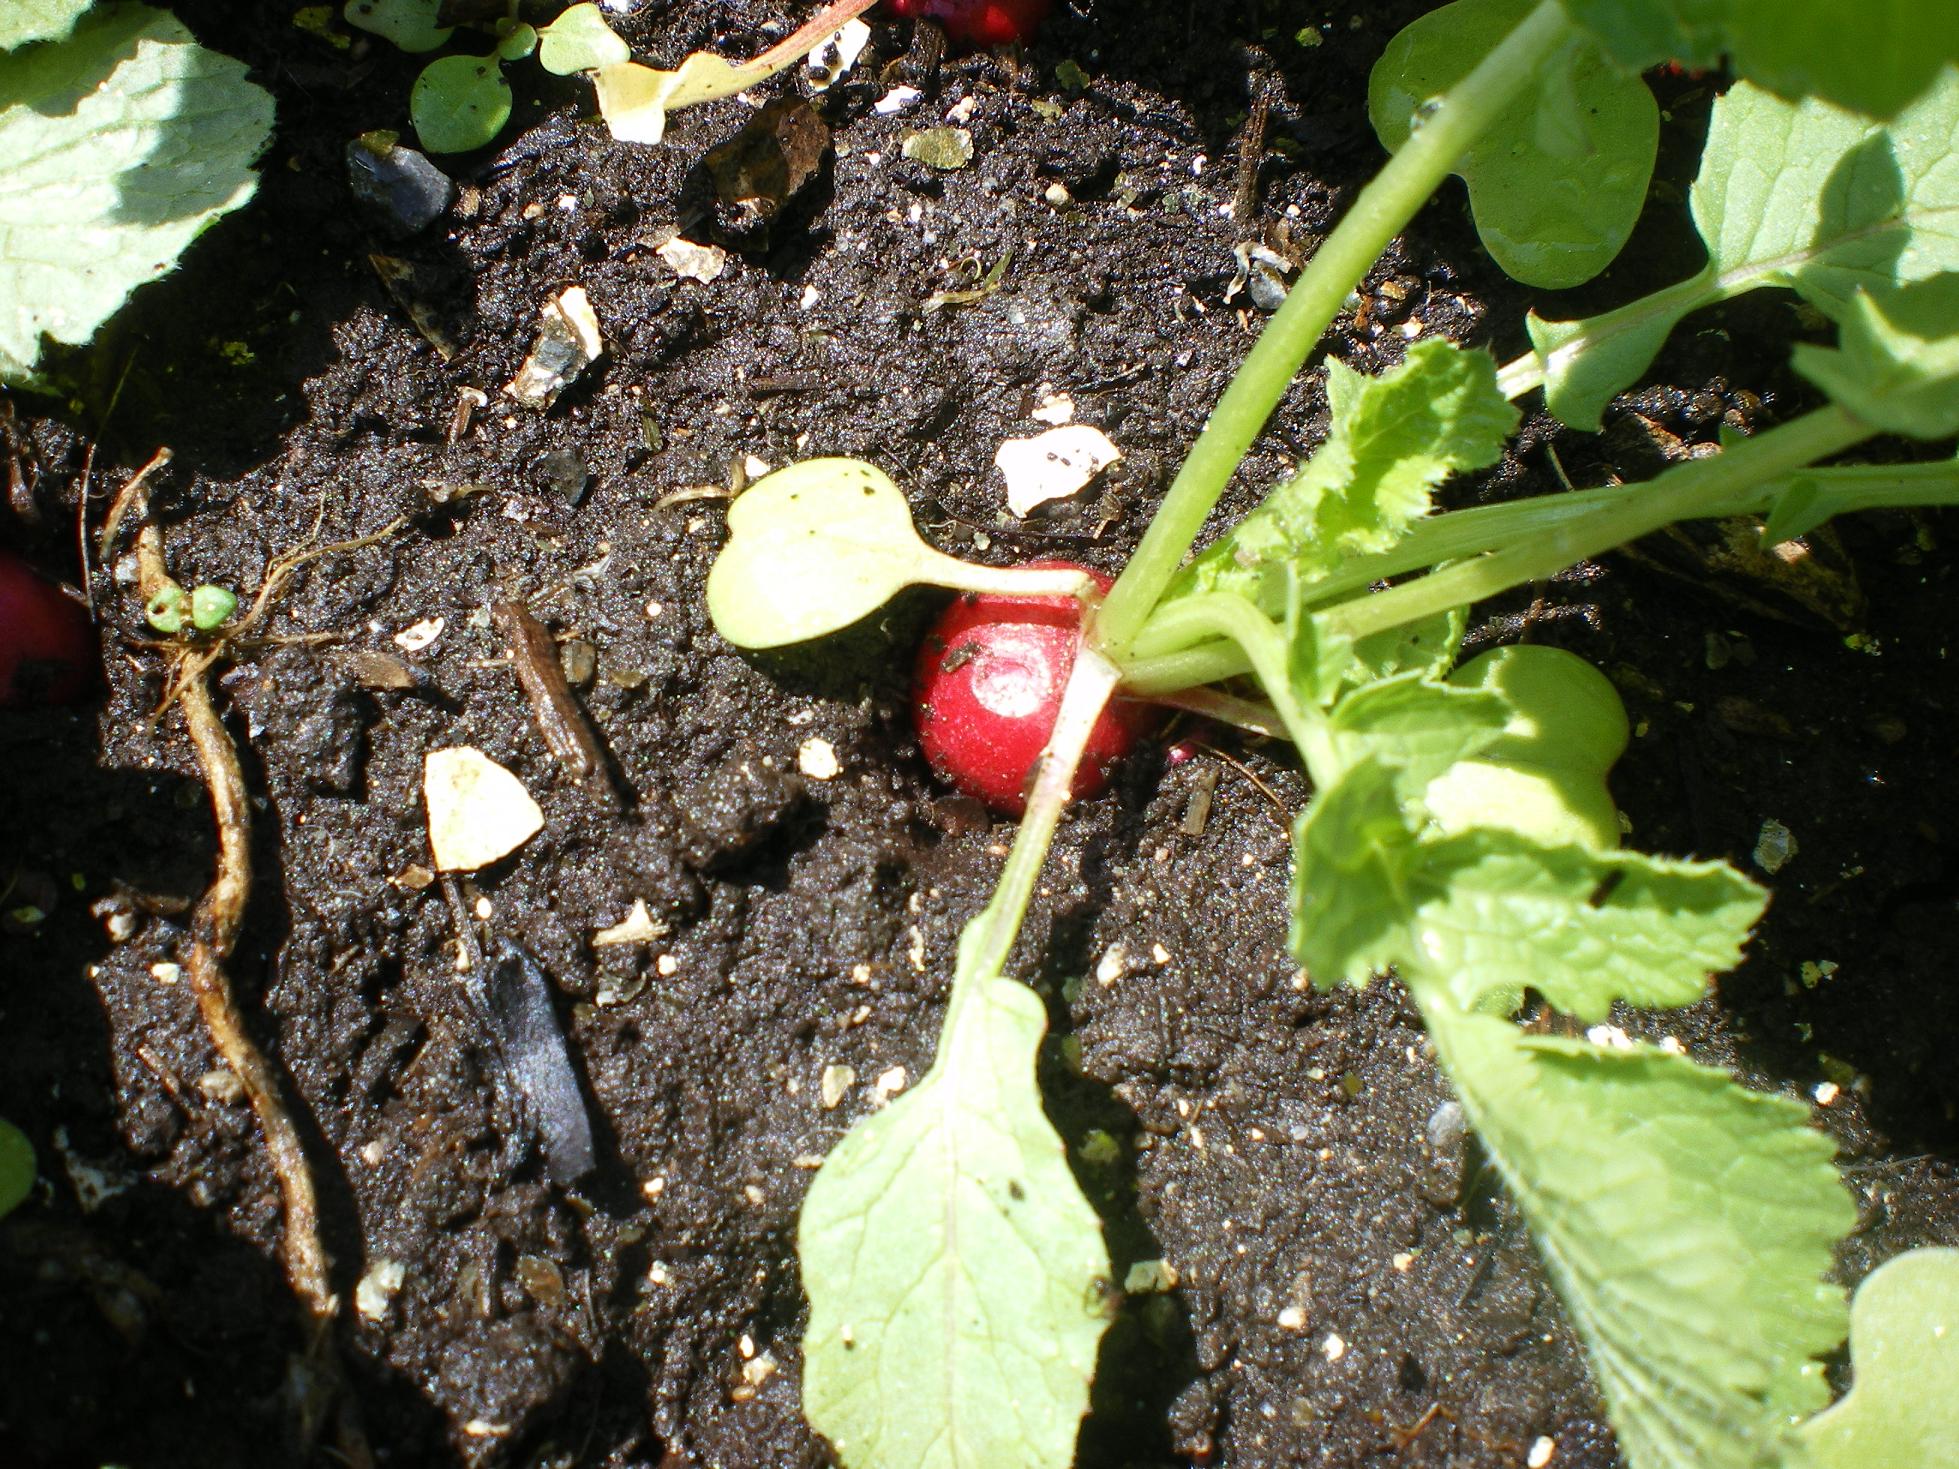
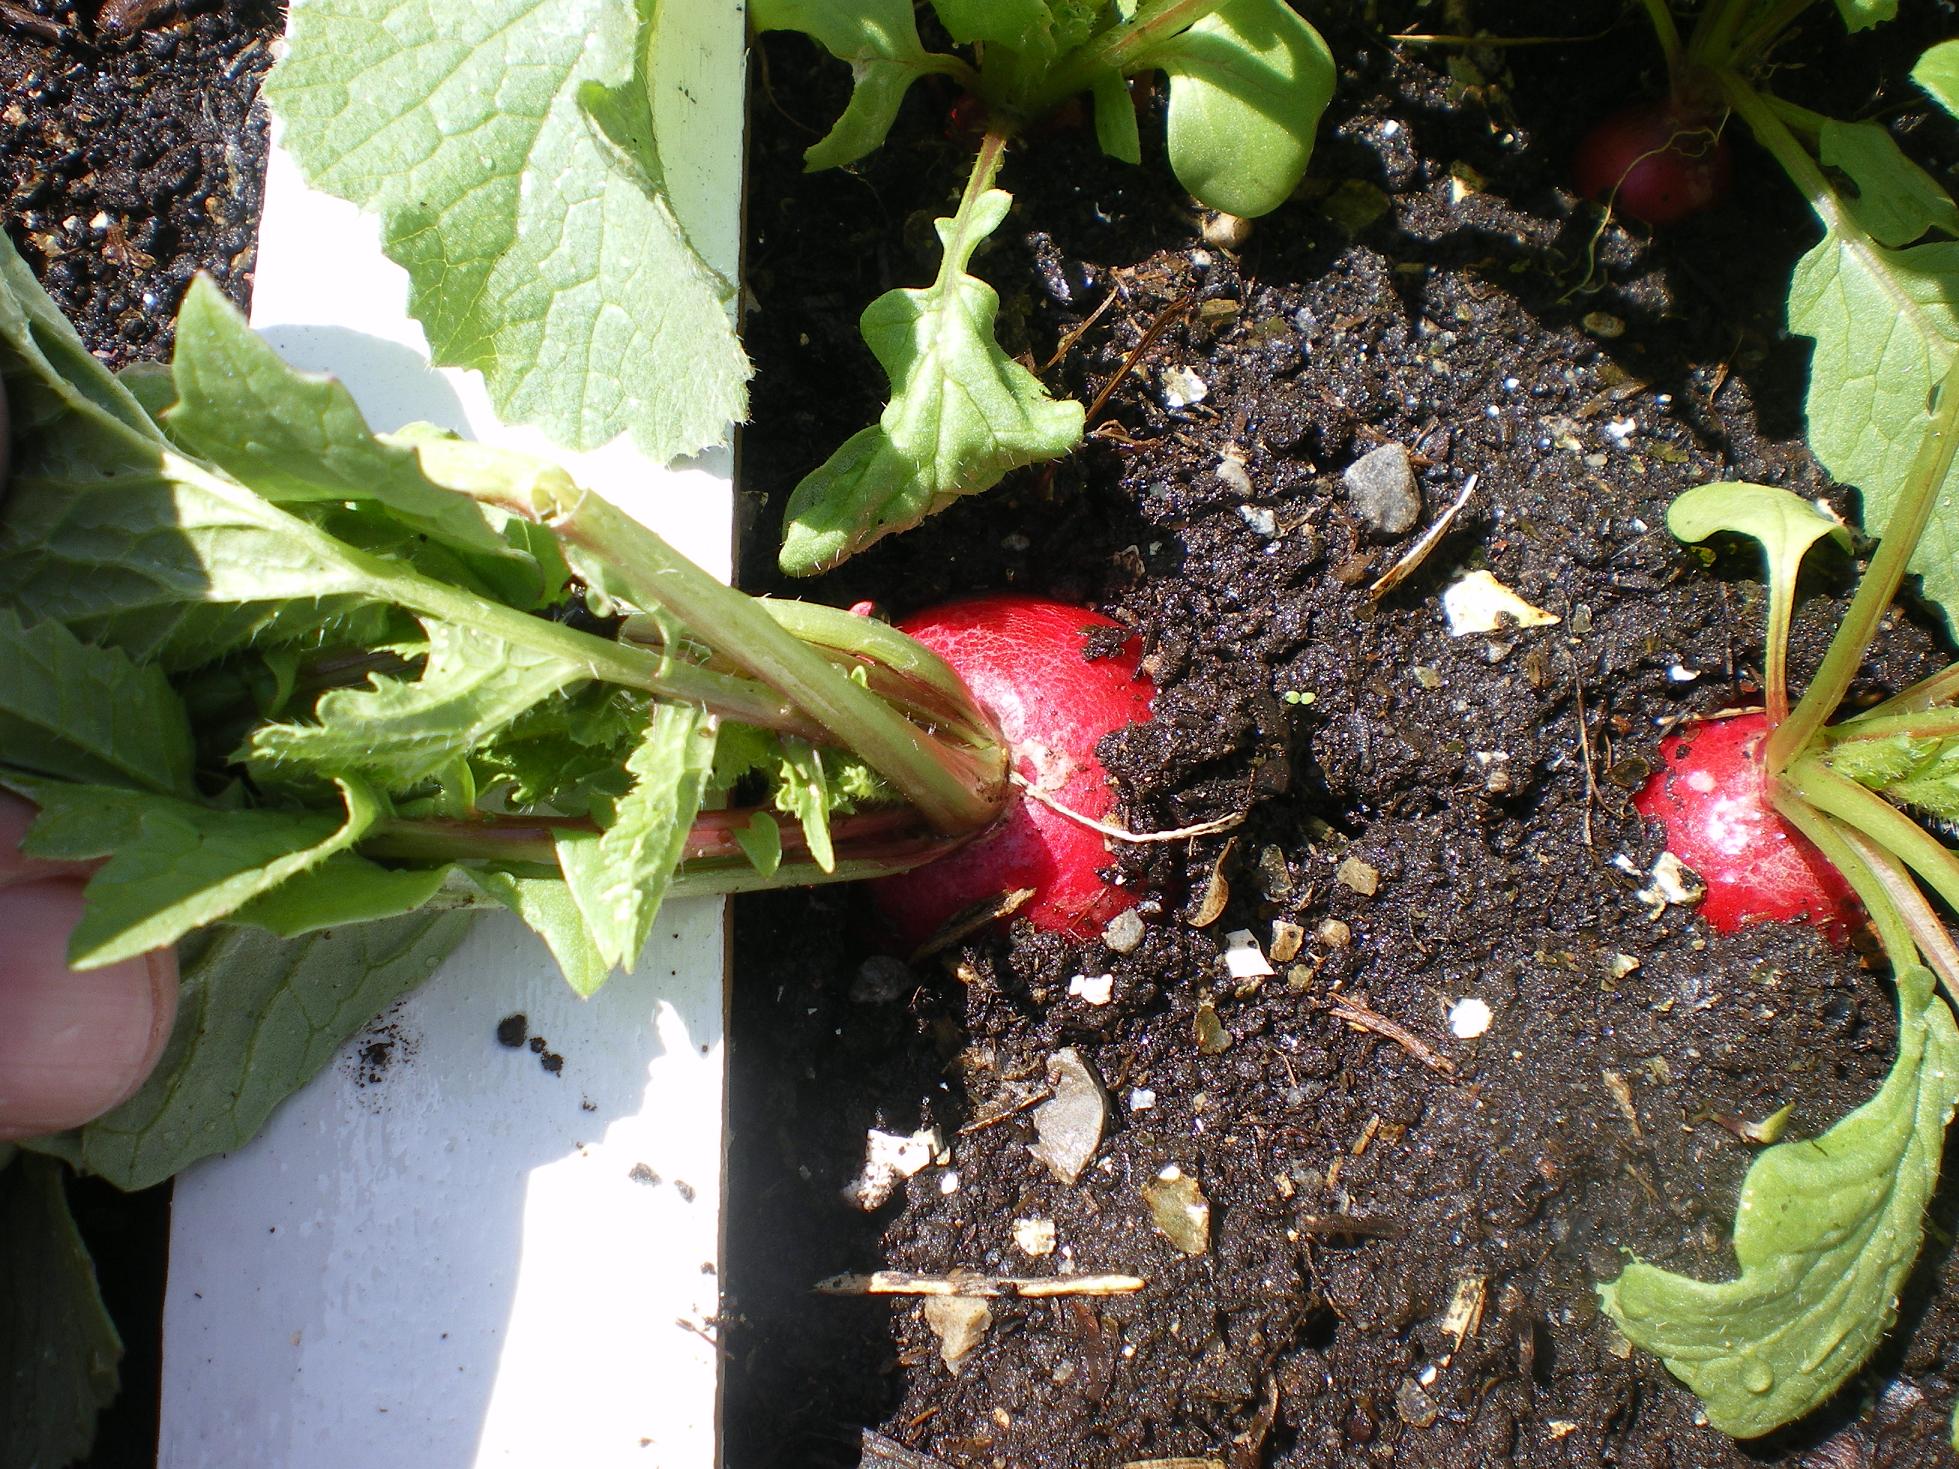 I was surfing the internet a few weeks ago and ended up back at the square foot garden foundation website in the forum area. I don’t mean to be critical but there is some really bad advice given to other square foot gardeners. I think that poor information will lead to poor results. I’ve been following a couple of conversations-without comment-to see how some of this advice would pan out. And it’s been met with a brand new SFGer who is now frustrated because things don’t seem to be working very well. It’s difficult to sit by and watch as this develops. One of the questions this 1st year SFGer asked was:”how do you know when radishes are done?” The answer she got was: “you harvest radishes in 30 days or when the leaves are big.” That was it. So, since the radishes had been in the ground for the allotted time and also seeing big leaves, she pulled out her radishes. You should’ve seen them. The radishes were the size of skinny little pencils. This is not the way to harvest radishes in a square foot garden. I would say a beginning point is 30 days but then you have to look at them. It might be 40 days depending on water and weather. These aren’t like potatoes when you really don’t know what root crops looks like below the soil. There should be no guesses with radishes. The first picture shown is radishes-with big leaves. If I were to have pulled all of these I would’ve been disappointed. How do I know? If you look at the second picture, I’ve lightly scratched back some soil to see how big the radish is. You can see that it’s small. This was the size of the radish this new SFGer pulled out of the garden. If you look at the 3rd picture you’ll notice a different sized radish. You’ll also notice the size of the radish right next to the perfect one. Now I know I can harvest this radish and leave the others in the ground for another several days when I can look again. This square foot gardening really isn’t meant to be difficult. But because it’s do different than traditional single row gardens, some of the basic rules change. That brings me to another point. I found this really cool website a few months ago from a guy who is a homesteader. You know-basically living/growing off the land. Last year was his first attempt at a square foot garden. It looked pretty good to me. You can find him here. You’ll find all sorts of great info at his site, including this experiment he did with a square foot garden…[ois skin=”below post”]
How to harden off those plants….
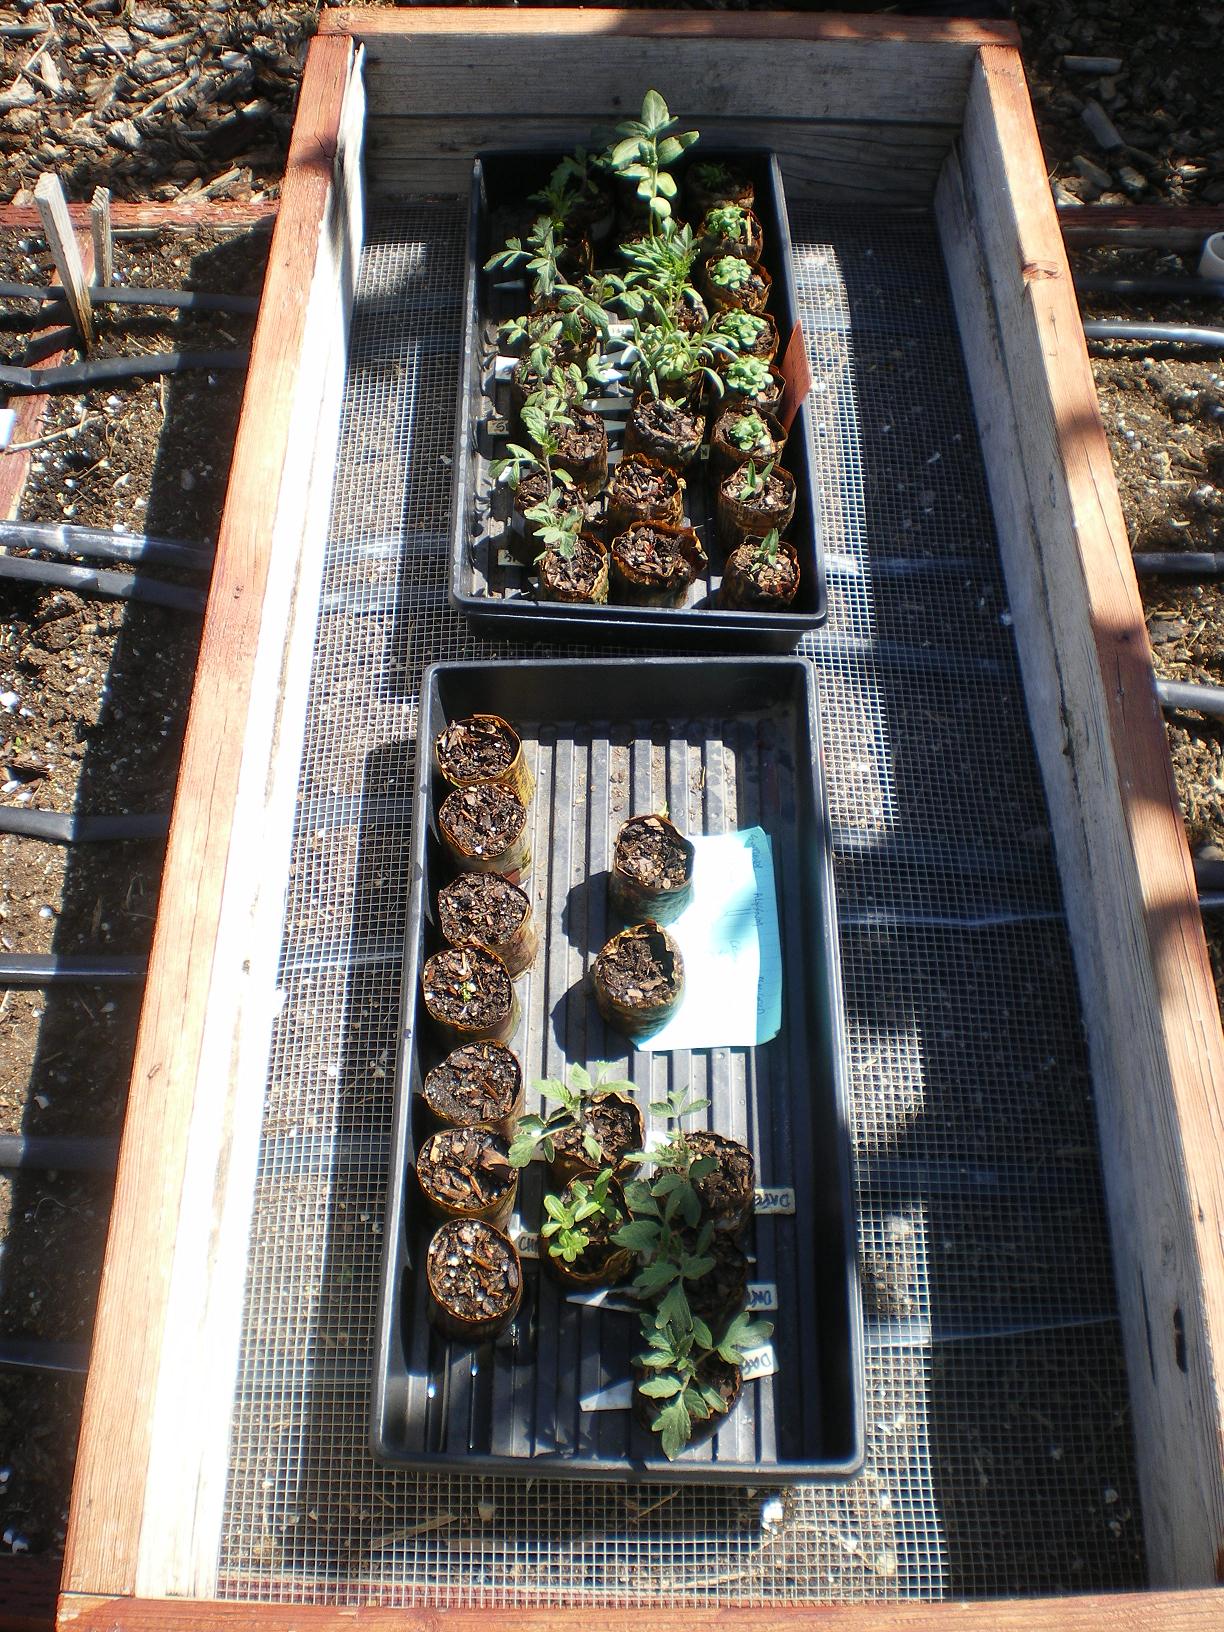
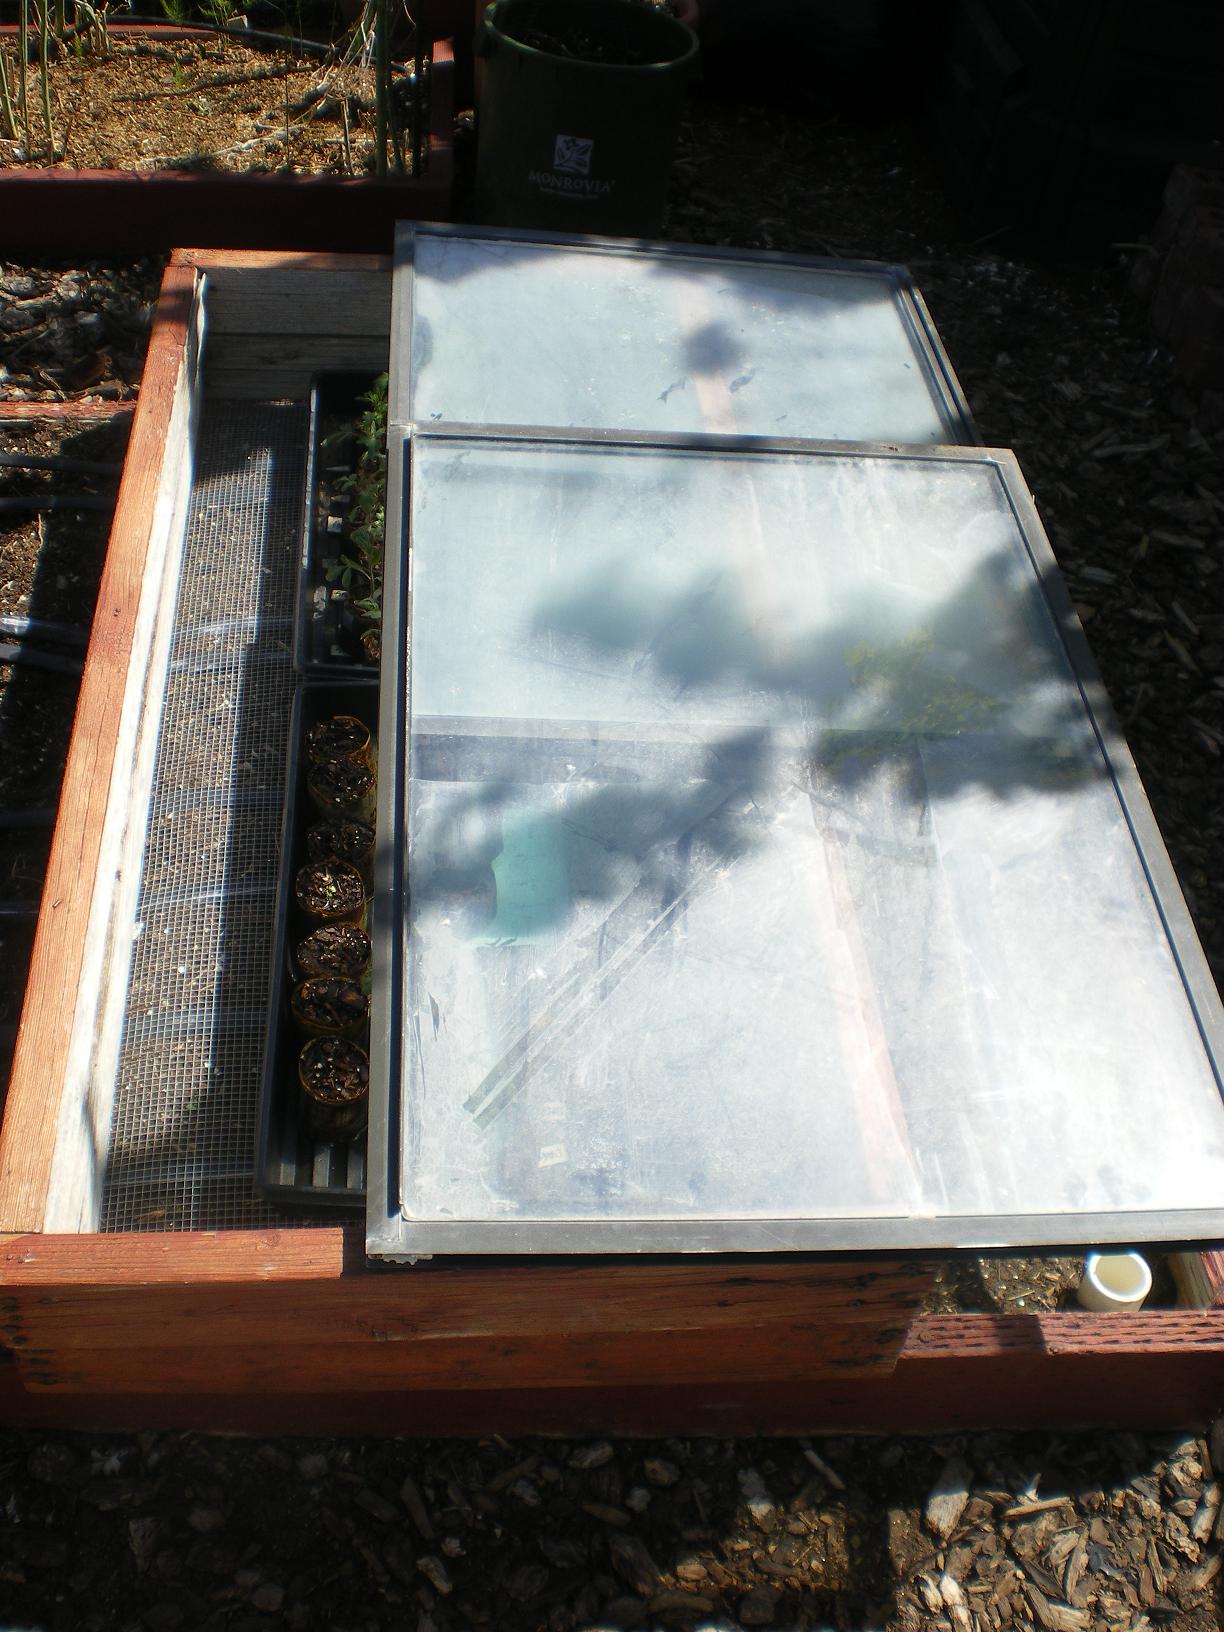 you’ve worked so hard on. The biggest thing to remember is that you’re plants have been in a controlled environment for several weeks now. If you were to plant these in your garden right from the home, they might live if it’s real warm out. But if the evening temperature drops below 50, you might come out one morning to find that all you’re plants have died. You can find all kinds of information on the Internet about hardening off. Many people advocate a process that is 2 weeks long. My experience using that time frame has been successful. But remember, I’m a square foot gardener, so by nature I’m a bit lazy. Could I cut that time down by 50%? I sure could. Here is how I do it. First, once the evening temperatures are at 50 or above, it’s time to start thinking of hardening off. You need to protect from the obvious things-snow and rain. The other main thing you need to protect your plants from is wind. That will dry and kill off your plants as quickly as anything else. Pick a sunny day when there is either no or very little wind. Temperatures should be between 60-75 degrees. Water your plants as you normally would. Then bring your plants out and put them in a shaded area for about 4 hours on day 1. Bring them in at night. Repeat this on day 2. On day 3 water as normal, but put your plants in direct sun for 4-5 hours. I put mine in the 2X4’s shown above. It protects them from wind. This is simply 2-2X4’s places on top of one another. Bring them in at night. Repeat this on day 4. On day 5, cut your water a bit and leave them in the sun for 8 hours. Bring them in at night. On day 6, give your plants just as much as you did on day 5. Place in sun for entire day. At night, leave them outside-but covered as shown in the bottom picture. Temperatures have to be above 50. This is the 2-2X4’s with windows on top of them. I got these from an apartment building who was redoing all their windows. It helps retain a little heat and keeps the wind off the plants. If there is ever any wind during this process, all I need to do is cover my box with the windows. I won’t cover it all the way, but I will make sure that they are getting the light they need and that their getting no wind. Day 7-water to keep moist but let your plants have full sun. In the evening leave them out all night-covered again. Day 8-same as day 7 but now you can keep your cover off at night. By day 9 your plants should be hardened off and ready to be planted in the garden. By reducing your water a little, and by exposing your plants to the sun and the variability of temperatures at night, they should be ready to go. Just remember to keep the wind off them-even if that means you’ve got to cover them at night. Also make to vent your box if the day is sunny and hot. You don’t want it to get too hot under those window. If you don’t have windows like those shown, just cover one of our 2X4’s in 6-mil plastic and staple it to the wood. This will do the same thing as windows….[ois skin=”below post”]
What to start thinking about…
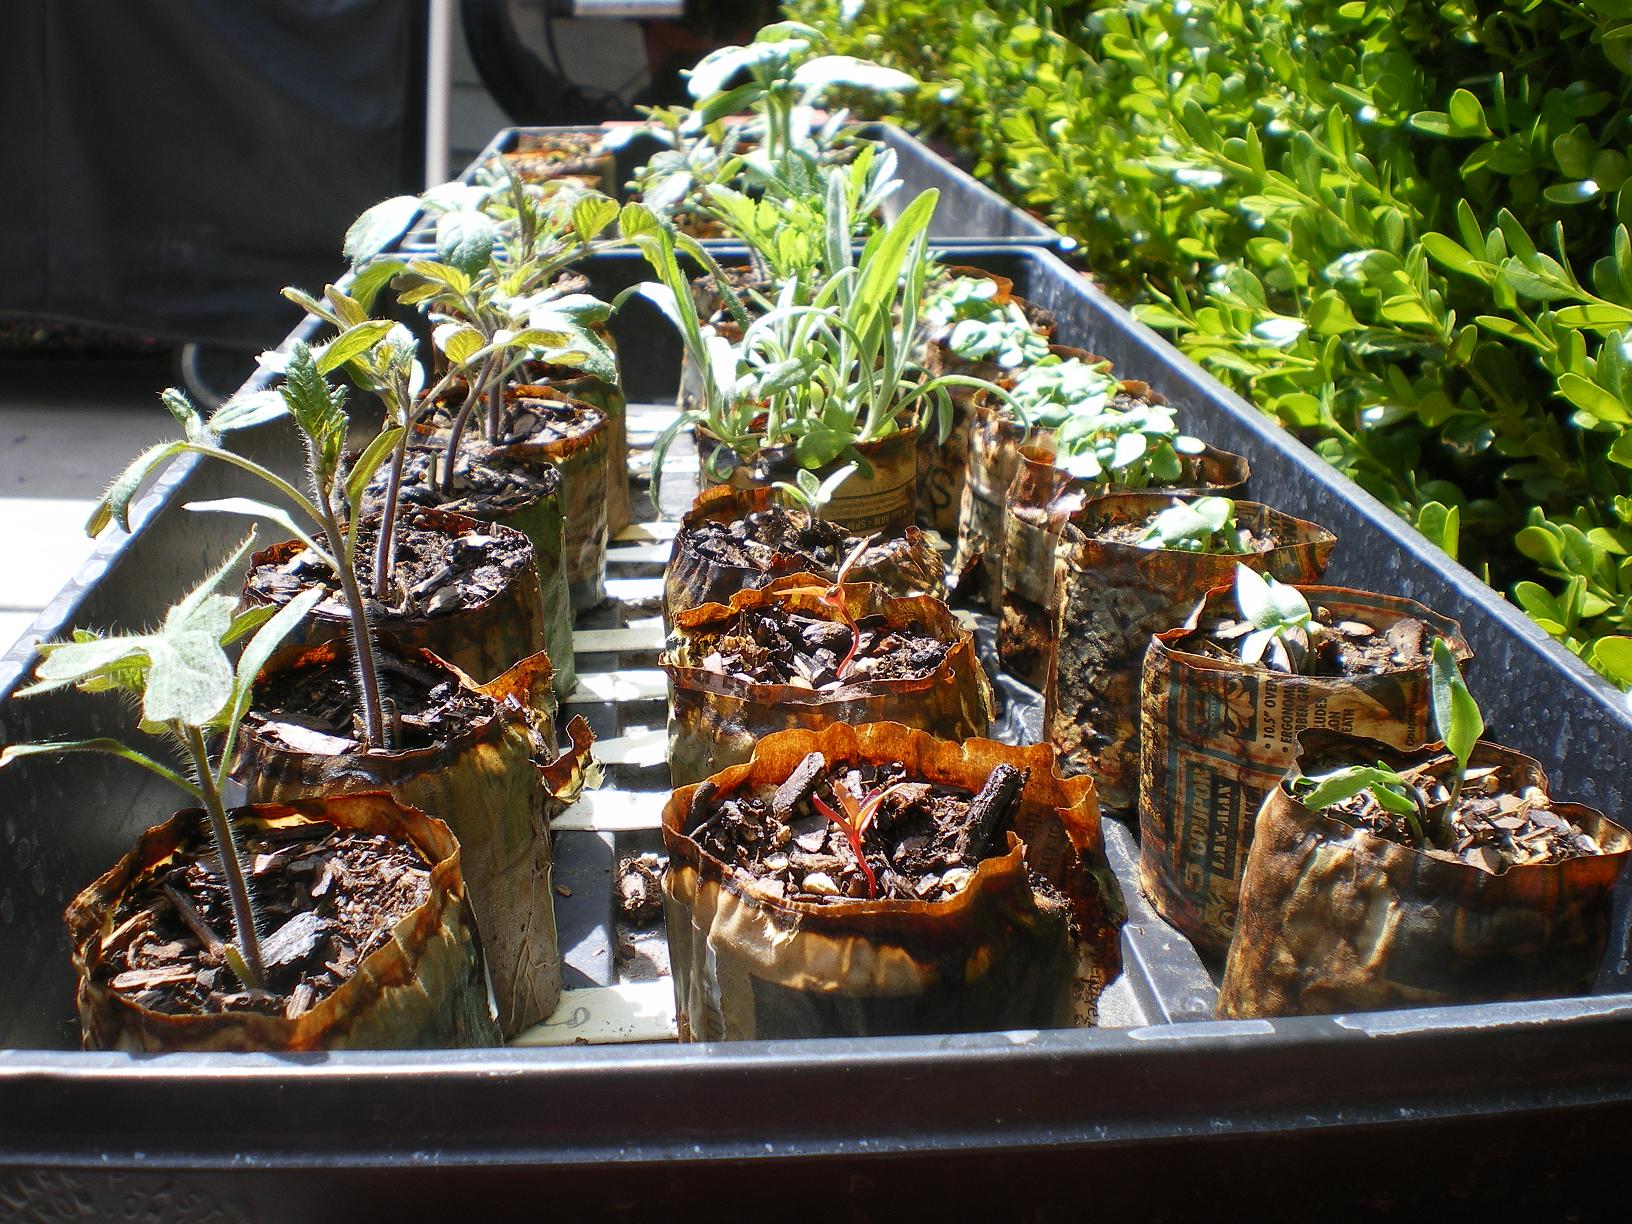 The weather is changing. Sunlight is around a lot longer than it used to be and the danger of frost is quickly disappearing. Hopefully you’ve been able to plant a spring garden full of radishes, different variety of lettuces, and spinach. With Mother’s Day coming up this weekend, it’s time to start thinking about your summer garden. Everything else should be added to the garden now. Tomatoes, carrots, beets, beans, potatoes, cucumbers, squash, peppers, and melons being among them. Don’t forget the rotation of fruit/root/leaf. You will have the perfect rotation of crops if you remember this. I have 8 squares along the back edge of one of my garden boxes that are now filled with lettuce-a leaf crop. They will be coming out and I will follow that with either a root crop(onions,carrots, beets, etc.)or a fruit crop(beans, squash, melons, cucumber, peppers, etc.) My plan is to put in 8 tomato plants where the lettuce used to be. I will plant more tomatoes, but this gives you an idea of the automatic crop rotation in a square foot garden. I planted 4 squares of corn(16 plants)10 days ago. I planted another 4 squares of corn 5 days ago. I’ll continue to plant corn every 5 days until I eventually fill my entire 4X4′ box. And I’ll get a minimum of 64 ears of corn. By the way, this year I’m trying Spring Treat for the first time. It comes up quicker than a lot of other varieties and it’s a little more cold tolerant. The picture showing in this post is what will be going into the garden this week. You’ll remember what these looked like from a previous post when they were just filled with soil. This Pot Maker thing-it’s great. In the next post I will be addressing how to harden-off those plants you’ve been working on and taking care of these past several weeks. You’ll want to know about this-you shouldn’t just put your new plants outside in your garden. They’ve been in an environment of controlled temperatures, no exposure to wind, sun, rain, etc. That all changes when you put them out in the garden and we’ll talk about that next time….[ois skin=”below post”]
We talk about these kind of people when….
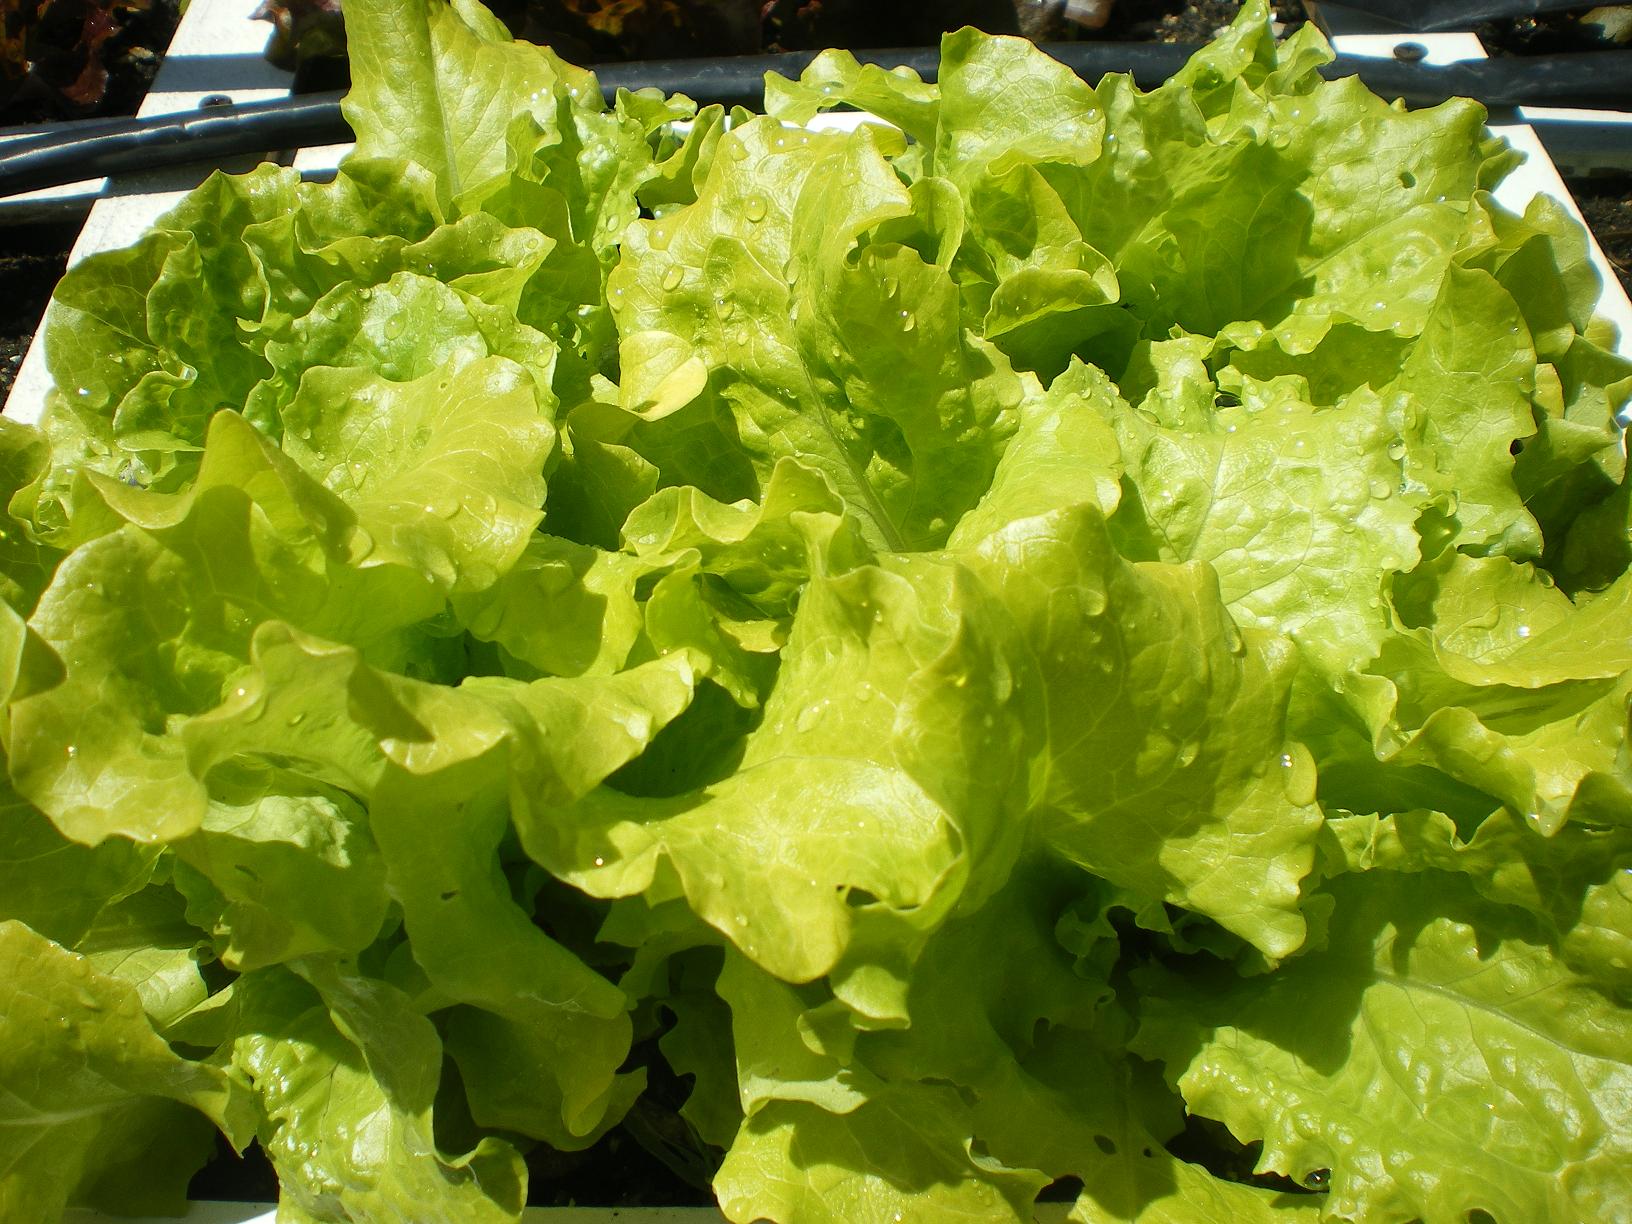
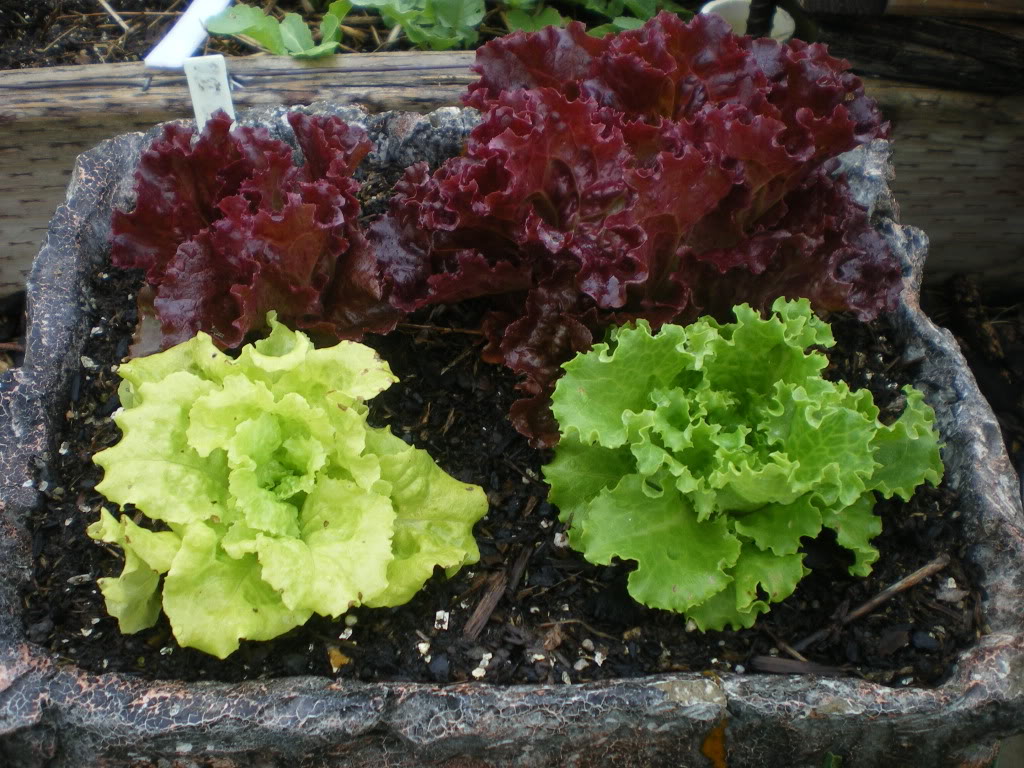 we teach square foot gardening. I wrote an ebook, in part, because of the vast amount of bad information that is floating around out there about square foot gardening. It’s amazing to read and it’s all over the place. This is an example of that. We had a great article about square foot gardening in one of the local papers yesterday. I read it and then saw some of the comments. There was a lot I could talk about but this one will do. Here is what it said: “I also think that the claim that most things only grow in the first 6 inches of soil is inaccurate. Here is a link that discusses root depth (among other things) of common garden vegetables. Most have a tap root longer than 6 inches within 3 weeks of planting! Do you really think you are going to be able to maximize your garden production by stunting the growth of your roots so early on?” How does that old saying go? “A picture is worth a thousand words?” Well, then here you go. This is a picture of 4 perfect heads of lettuce that grew in a 6″ container of Mel’s mix. End of story. We have pictures at the foundation of plants that are 8 feet tall which have been grown in 6″ of soil. Here’s the real problem. Folks who think like this(he’s a master gardener by the way!)have been trained in the university agricultural methods. That’s great-for farming! Not so much for us backyard gardeners. The reason he thinks this way? Simple. In the agricultural courses your taught that you’ve got to have these long tap roots. And you do! The reason why is that these old farming lands have been stripped of much of the nutrients and trace elements(despite all their efforts to amend their soil with manure in the off-season)and these roots have to keep going down, down, down in order to hunt for food(nutrients)and water. The reason why it works in 6″ of Mel’s mix is that everything you need is right there! No need for big tap roots! No need for plants to keep going down in order to find nutrition and water. Our gardens are at least 33% compost while the typical farm land is less than 5%. Therein lies the big difference. So, don’t be intimidated by your master gardener friends. Mel wrote his book and found that the experts, as a general rule, all came to the conclusion that square foot gardening couldn’t work because it’s too easy. And, their right-it is easy…..
[ois skin=”below post”]

