Over and under

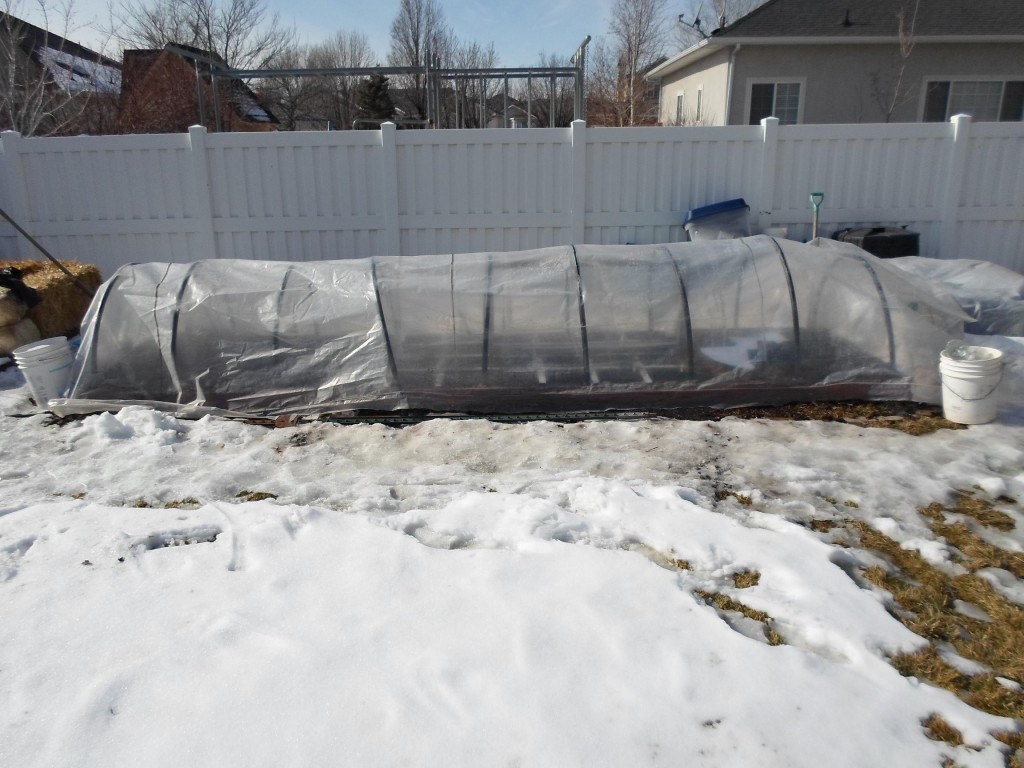
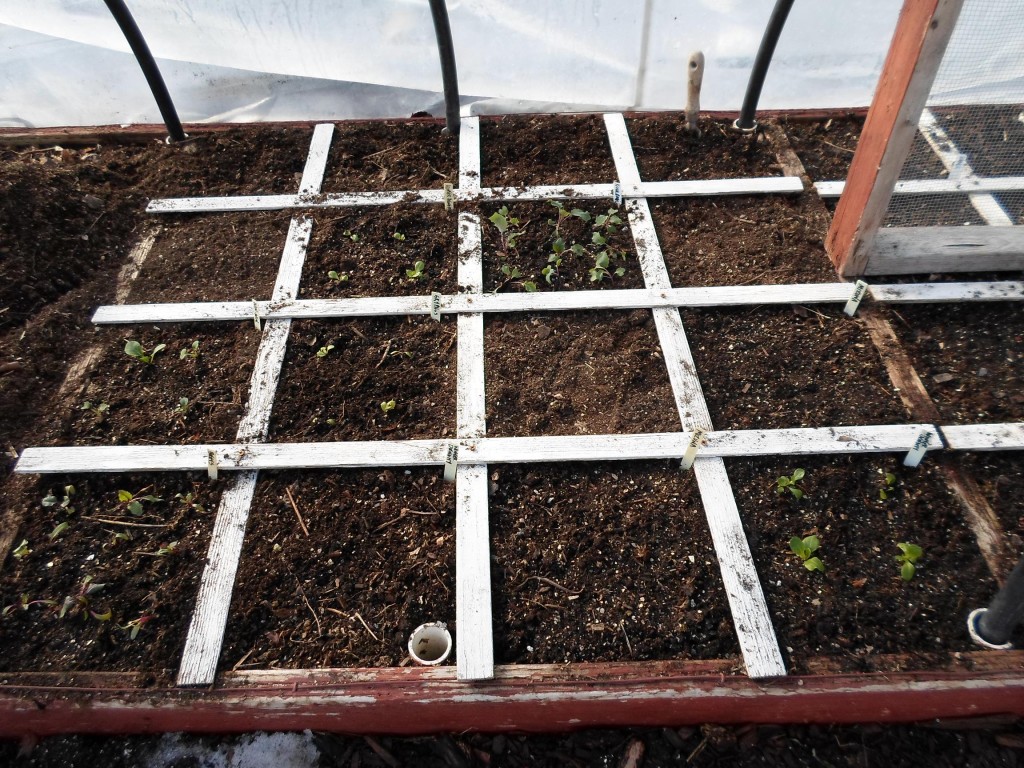
over 020213under 020213It was about 38-40 today. With my plastic over the boxes today it was probably mid-60’s to 70 degrees under the cover. This picture is a different SFG box then the previous post shows. In this one, you can see a few things up and growing: win-win bok choy, winter density lettuce, beets, 2 star lettuce, kohlrabi, etc. There’s a few open squares but that will probably change in the next week. It’s about time for me to place an ad in the local newspaper to see if anyone is interested in buying what this box will be producing. Last time I counted I’ve got about 14 different items that will come out of this particular SFG box. This list includes lettuce(4 varieties), greenhouse tomatoes, spinach, kale, bok choy, mizuna, tatsoi, arugula, mache, kohlrabi, radishes, carrots, beets(and greens), and cilantro. While at Sprouts the other day, I noticed the price for a head of loose-leaf organic red lettuce-$1.99. It was really small. I also saw the price of an organic kohlrabi-$2.99 each! Holy smoke. When folks buy from me they get at least 4 heads of lettuce that are bigger and better tasting than what you buy at any store-easily worth $2.50 each. They get a small container of tomatoes, and a combination of at least 5 other things from the list mentioned above. I deliver and it only costs them $20 a week. I think that’s a great deal-what do you think? Some of these Asian greens-man, are they good. Especially for stir-fries.[ois skin=”below post”]

The SFG as of February 1st

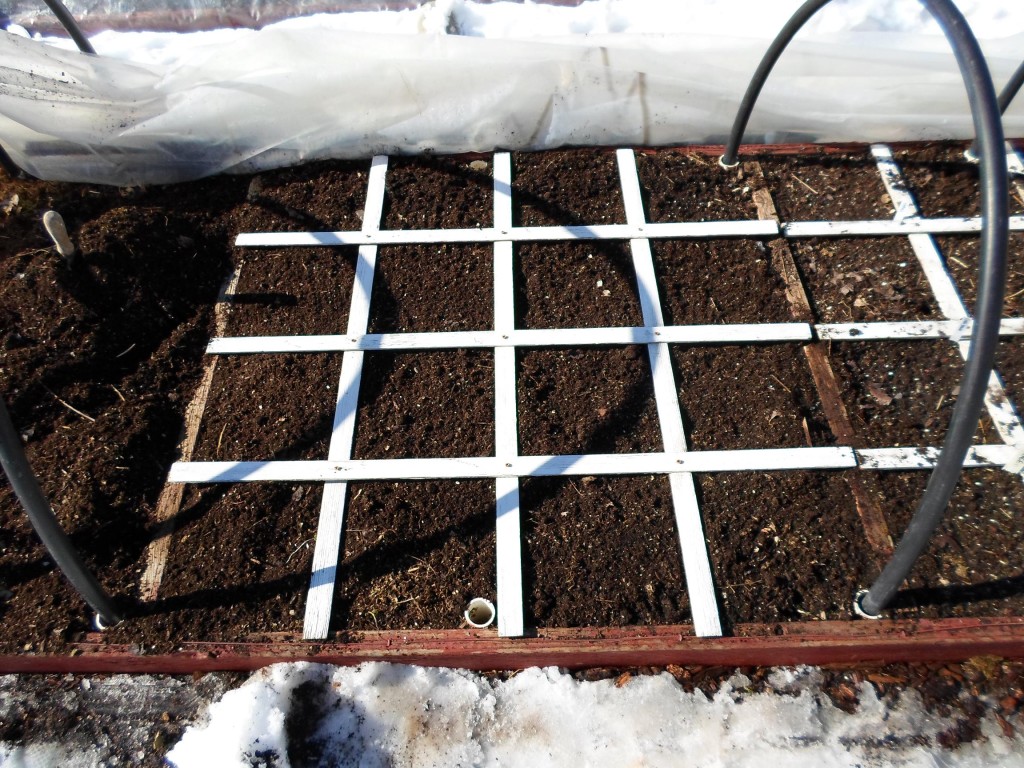
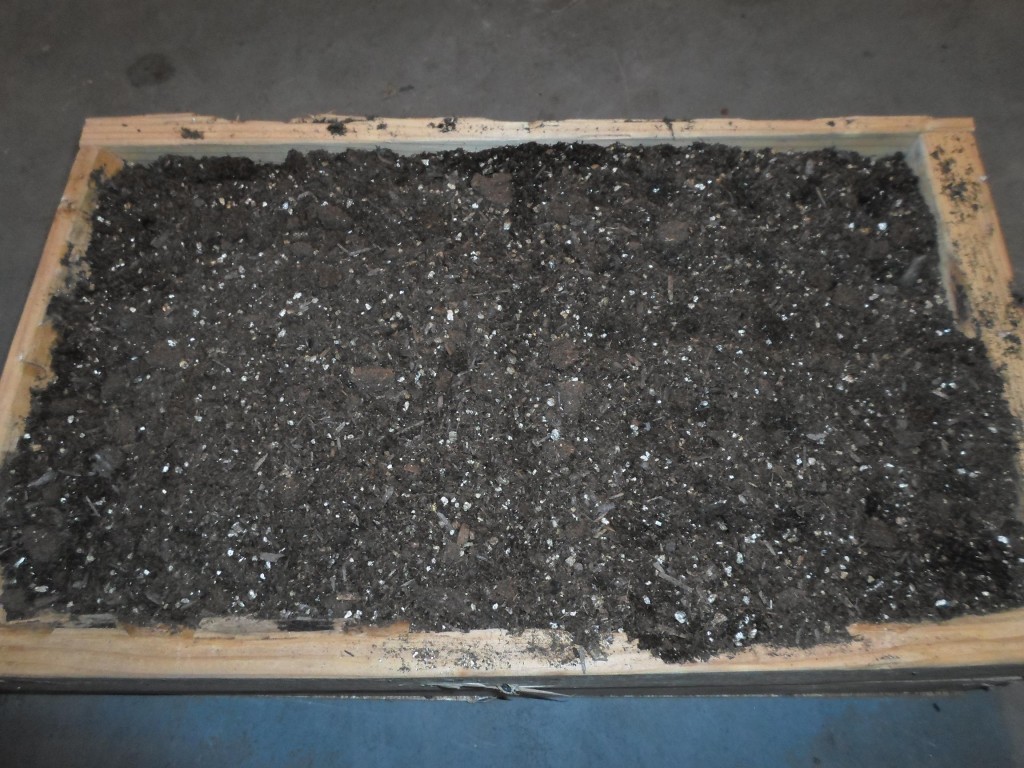
20113 sfgI love all folks who garden-especially those who grow our food-the farmers. But for me, the traditional row garden is too much work and farming is too big for my taste. We’re just a family of 3 now, so this 148 square foot garden is enough for us and 5 other families. It takes some planning to be as efficient as you possibly can be, but it’s pretty easily done. Take this picture for example. Even though our temperatures have been single digits for almost the entire winter at night, when I lifted up the low tunnel today my soil was perfectly loose and warm. If you can see the trowel off to the left side of the picture, you’ll notice it’s sitting a lot higher than the prepared bed. If you’ve been following this blog for any period of time, you’ll remember that I build my boxes up more towards the middle at the end of the growing season. That way, when it’s time to plant, I have 100% pure compost(which is where it came from)sitting in a square foot bed. I can move this extra dirt over to an empty SFG bed, and then start planting. When all these SFG beds are planted, I’ll have a fair amount of excess compost-always a good problem to have. I’ll place the extra compost in a large pot somewhere in the garden and when it’s time to amend a new square foot, I’ll have perfect soil to do it with. At that early of a date my compost is not even close to being done. Think of this as preserving compost. It’s in perfect condition just waiting to be used, and when you need it early in the season, your main compost pile isn’t ready. This is the perfect fix. It’s been protected all winter from water, snow, and ice. It took me about 5 minutes to prepare this bed. That’s my kind of gardening.[ois skin=”below post”]

Seedling tray as of January 30

seedling trayIt’s been so cold out here! With temperatures in the mid teens and low 20’s, it’s not safe to put these seedlings in the garden-even with protection where you have no heat. You’ve seen my unheated low tunnels that are perfect for protection when temps get down to the upper 20’s, but that’s about the extent of it. This upcoming fall/winter I’ll be doing something a little different that will hopefully allow me to harvest throughout the entire winter. I can’t do it now because the plants must have been up and growing before the first frost. I’ve got 4 trays just like this under a normal shop light in our basement. I think I’ll be able to put them into the garden within the next 7 days. And that’s good because they’re starting to get a little leggy, but they’ll be fine. A few folks have asked me if the potmaker cups can take on water. These have been watered every day-a few times with a pretty good dousing for almost 3 weeks. But you can see they hold up perfectly-at least for the 4-5 weeks until they need to go into the gardens. I’ll have 144 plants that will be ready for planting very soon. With the exception of two greenhouse tomato plants(Sakura from Johnny’s)everything else are cold-tolerate crops. Some of them are things I’ve never grown that my handful of customers will hopefully enjoy. In my next post I’ll show you how easy it is to build a square foot garden box, and how to do it free. Spring isn’t too far away and I’m planning on a very small crop of items to be ready by April 15th. This should be a lot of fun. With a square foot garden you have so much less work that you never seem to get your fill when it all ends in the fall.

[ois skin=”below post”]

Some questions on starting seeds with the potmaker

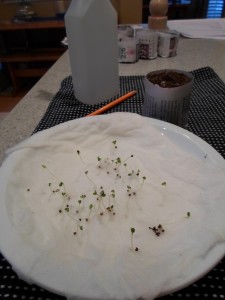
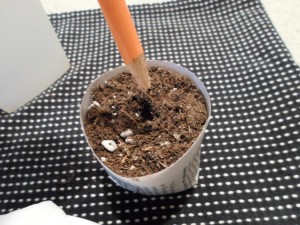
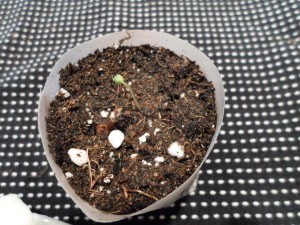
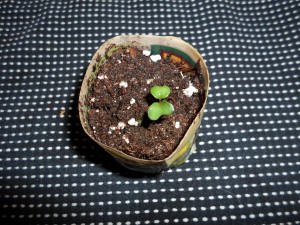
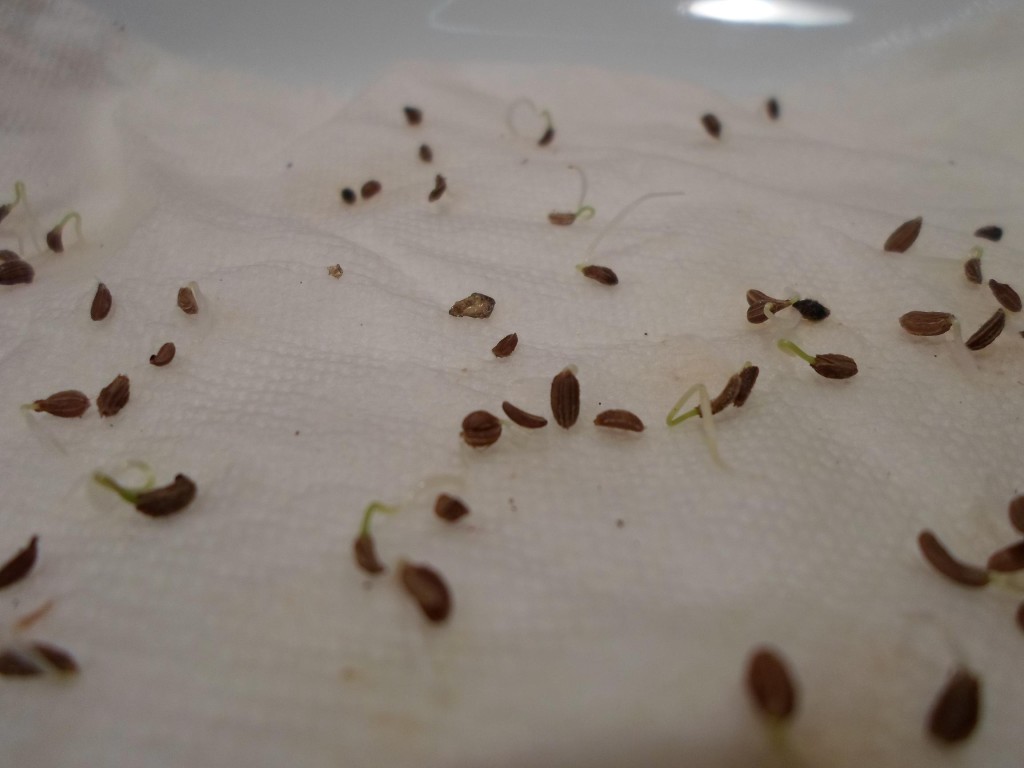
arugula sproutingspotmaker step 1potmaker step3kohlrabi transplantI’ve had a few questions on what to do once the seeds sprout on the napkin/plate shown in a previous post. It’s all very easy. You can throw the seeds that haven’t sprouted away. These are seeds that you would’ve normally planted in your garden and ended up wasting a lot of time by trying to get them to grow. Once sprouted on the napkin, it’s safe to plant into cells(potmaker cups for me.) You just poke a hole in the growing medium with a pencil and then place your small, sprouted seed in that hole. You don’t have to plant it very deep and you cover it lightly with soil. Sometimes I’ve just laid a sprouted seed right on the surface of the growing medium without even burying it. Then you lightly water-being careful not to drown it. In 3-4 days you’ll get something that looks like the last picture. These are all shots of kohlrabi-something I’ve never grown before but tasted for the first time a few weeks ago. I loved it.

[ois skin=”below post”]

What happens when you don’t store things correctly

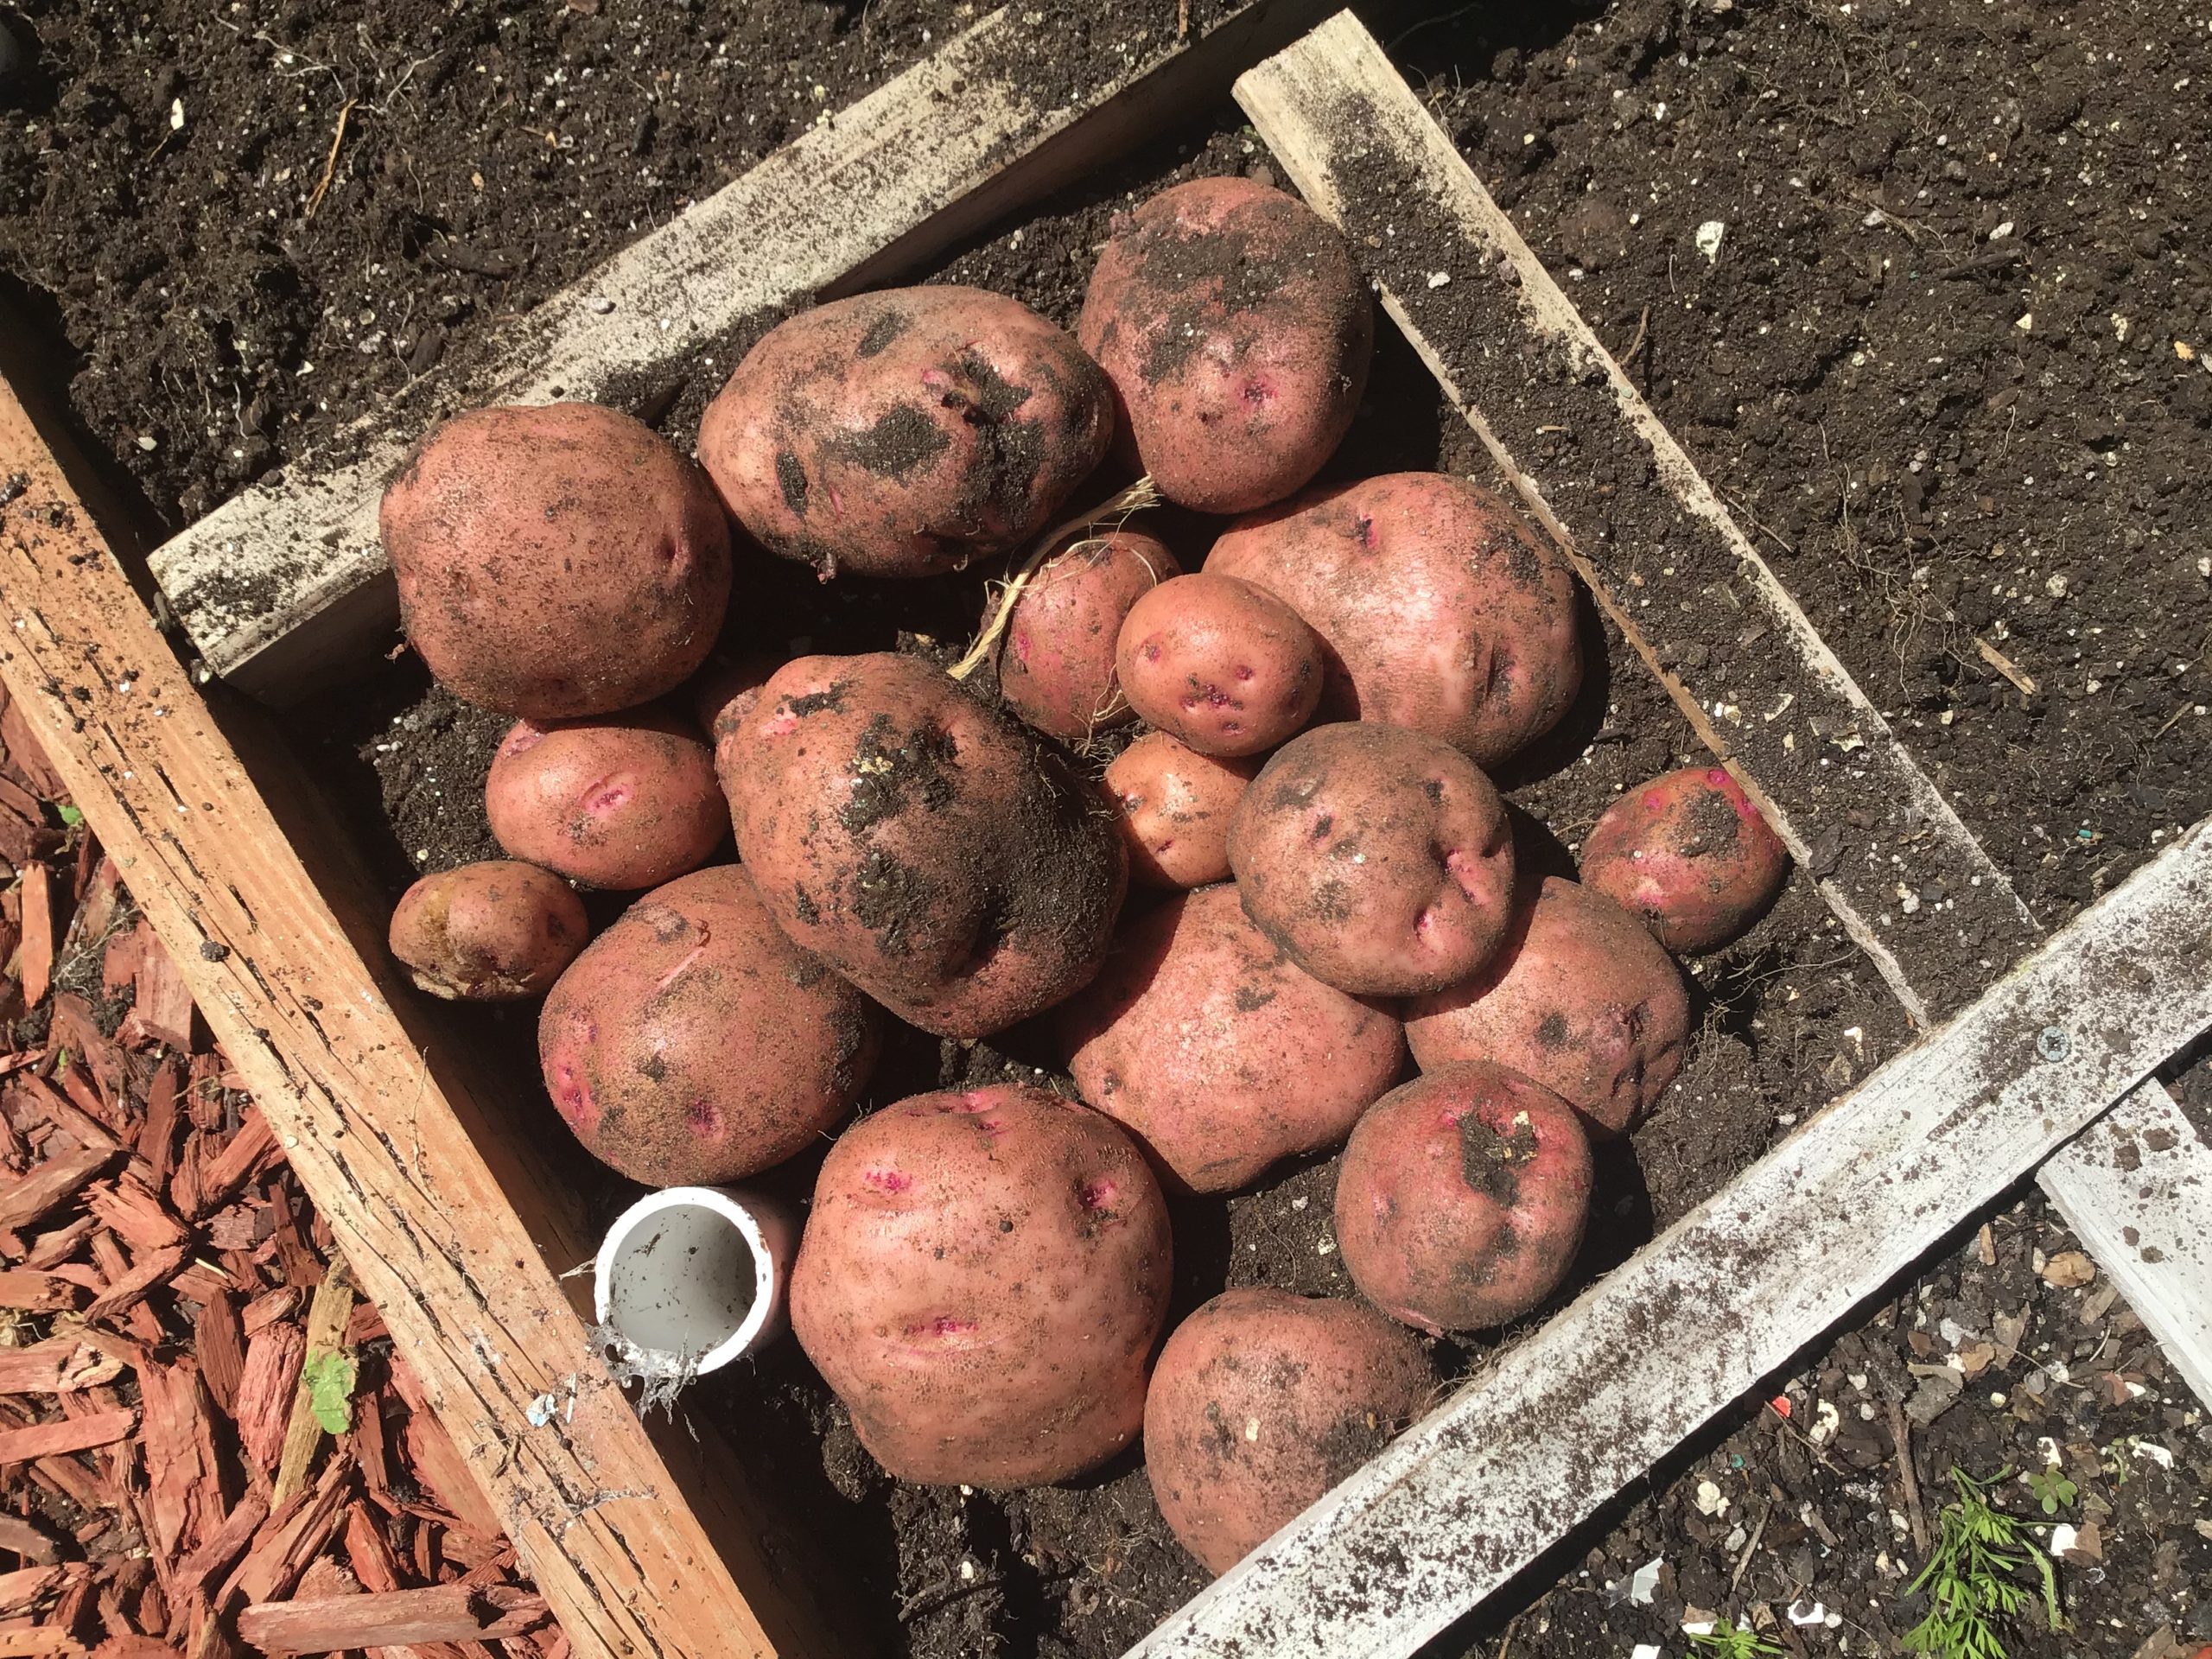
ruined squashDon’t you hate it when you work hard at something only to discover that something you did ruined it? That’s the story with my banana squash. I’ve only got two left over from my summer square foot gardens. But they’re both like this. You can see the dark, soft patches over most of the skin. I left this in my garage thinking it was warm enough in there for winter squash. I was way off. These can withstand cooler temps, but not freezing temps-at least not for very long. With the windchill, it’s been below zero for quite a while. I think we had about a 10-12 day period of this. My garage isn’t insulated but it’s obviously protected from the wind so I thought I was safe. This is the first time in as long as I can remember that it’s been this cold so I didn’t even think about my squash being stored in the garage. I also ruined about 20 pounds of potatoes because I stored them outside where it was not only cold(freezing), but water got in the container and did its damage. In the next year I’ll be writing a small ebook about correctly preserving your harvest. All the tip and tricks. I know how to do it-though this picture would suggests otherwise-I just haven’t had to worry about temperatures this low for such an extended period of time. I’ve got some other things I’ll be sharing about how to have your own little cold storage area right in your gardens. It’ll be fun, but in the meantime, I’m a little bummed out about a lot of my storage items. Learn how to store them the right way. It’ll save some heartache.
[ois skin=”below post”]