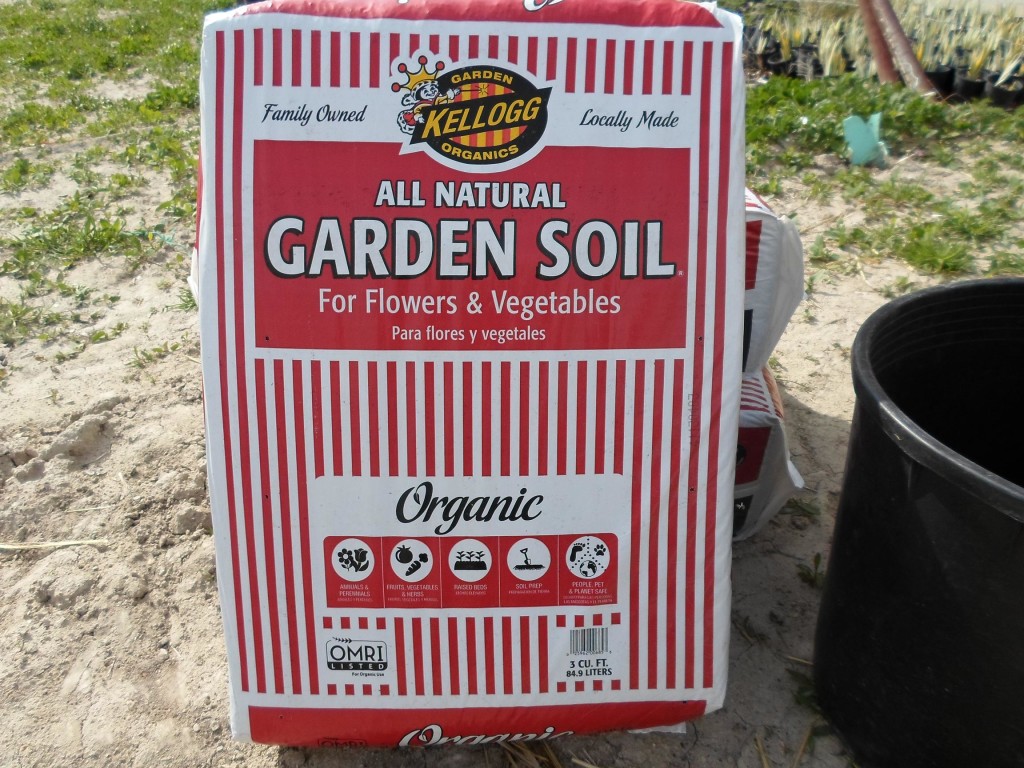
 Making compost is not only a lot of fun, it’s also very easy. And you can’t buy compost as good as you can make in your own backyard. One of the best parts about homemade compost is that it’s all free! I spend quite a bit of time attempting to explain how easy it is to make your own. I know there’s a lot of expertise out that that might be of value, but you don’t need a lot of knowledge to do it correctly. In the SFG system, we use a basic mix of course vermiculite, peat moss, and a blended compost made up of at least 5 different ingredients. This mix has gotten to be very costly-about $70 per 4X4′ square. But it’s only a one time expense. If you make your own compost you’ll never need to spend another cent on Mel’s mix. If you choose not to make your own compost, you’ll always need to have access to some commercially available compost. As you read from previous posts, my favorite commercial compost is made by Gardener & Bloome. It’s got about 10 different things in it, and then I add all of my extras-egg shells, banana peels, orange and lemon rinds, moldy strawberries, old grapes, potato and carrot peelings, dried grass, dried fall leaves, horse manure, etc. You can see how easy it is to get to that minimum number of 5 ingredients. If your interested in learning what you need to know about composting, there’s an easy chapter on how to do it in my ebook which you can find on my site. While at Home Depot today, I ran across this brand of compost-Kelloggs. It too looks excellent and is very similar to the ingredients found in the Gardener and Bloome product. I know there’s formulas about how much of what to add in order to make compost. You don’t need to know all of that. I’ve had tremendous results doing it the way I’ve done it for 13 years. I just layer everything together, make sure I mix it well, mash all the larger pieces, and then moisten it to resemble a rung out sponge. In 6 weeks I get a great compost blend-something no store bought package can offer. One good season of successful composting under your belt will have you asking yourself:”why haven’t I been doing this all along?” Learn how to do it so you don’t have to spend another dime on buying the commercial brands at the stores.
[ois skin=”below post”]
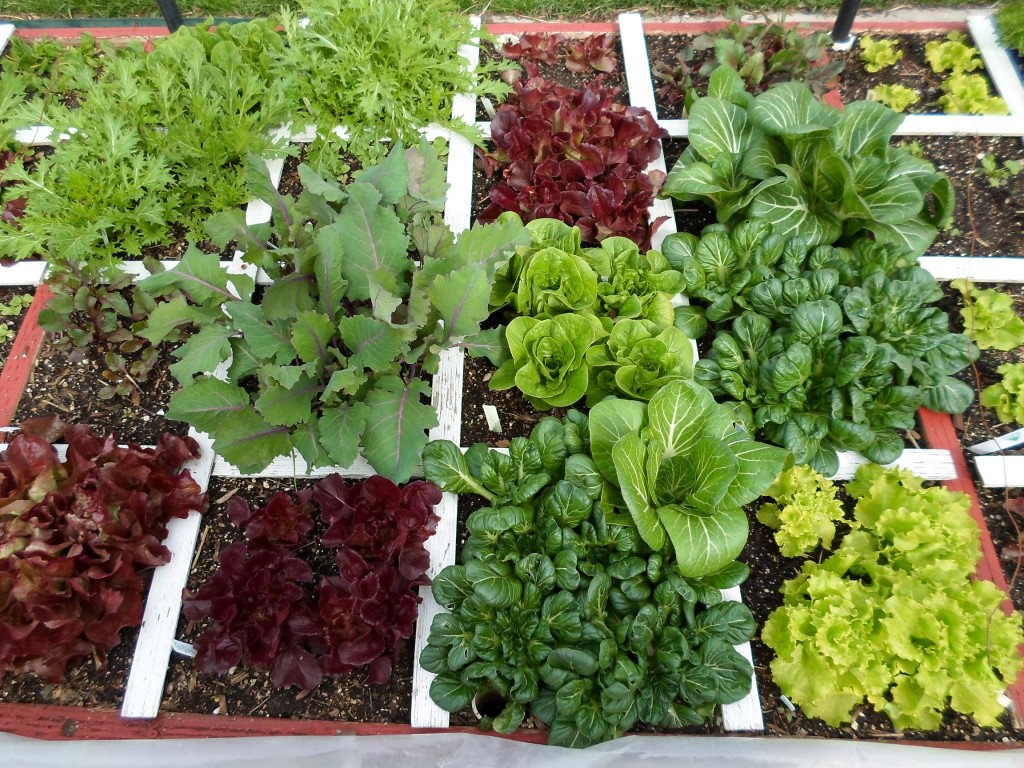
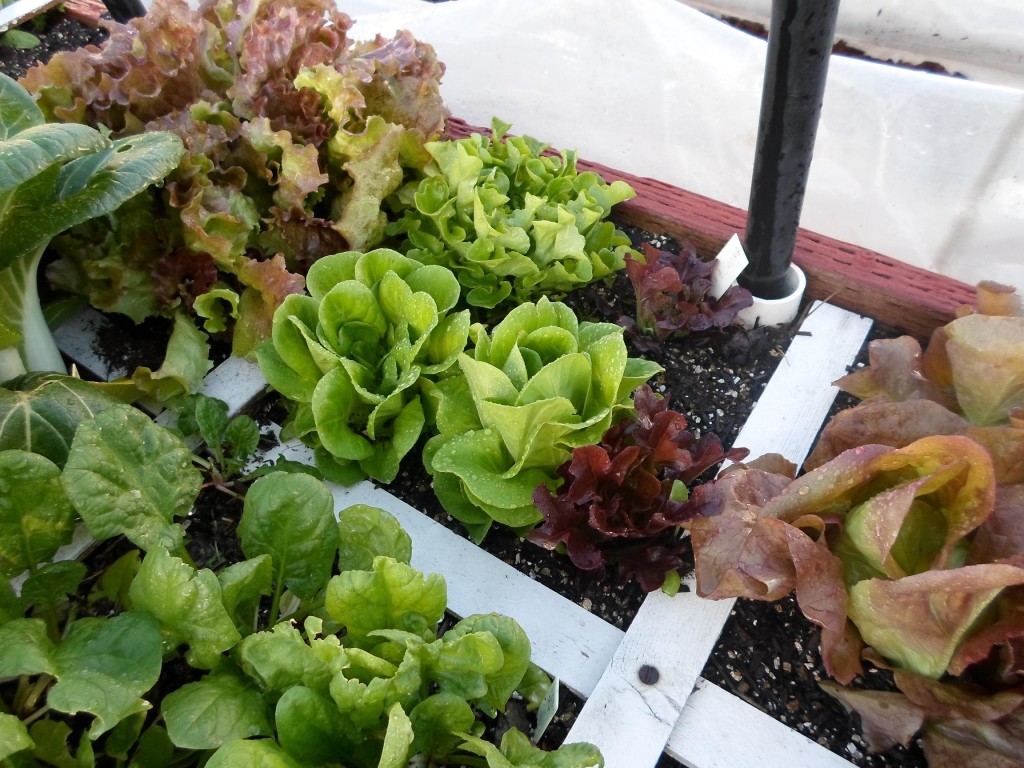 The SFG method is so easy. You can take all sorts of classes, become a certified instructor, read a lot of books on it(a great thing), teach others how to do it, etc. But it’s all just this simple: build a box, fill it with Mel’s mix, put a grid on it, and then start planting with the 1, 4, 9, 16 spacing. Keep your gardens watered correctly and bingo-that’s it! I’ve been harvesting all year at this point with no break and now the efforts are starting to pay off. I’ll keep my gardens covered at night just in case it gets a little too cold, but the hard work of covering and uncovering every day is coming to an end very soon. Several of the summer crops are already in-tomatoes, cucumbers squash, and peppers. If you live in the Salt Lake City area, keep an eye out for the upcoming SFG “Lite” classes. You can find more information about them on the site. Can’t wait for the summer gardening season…
