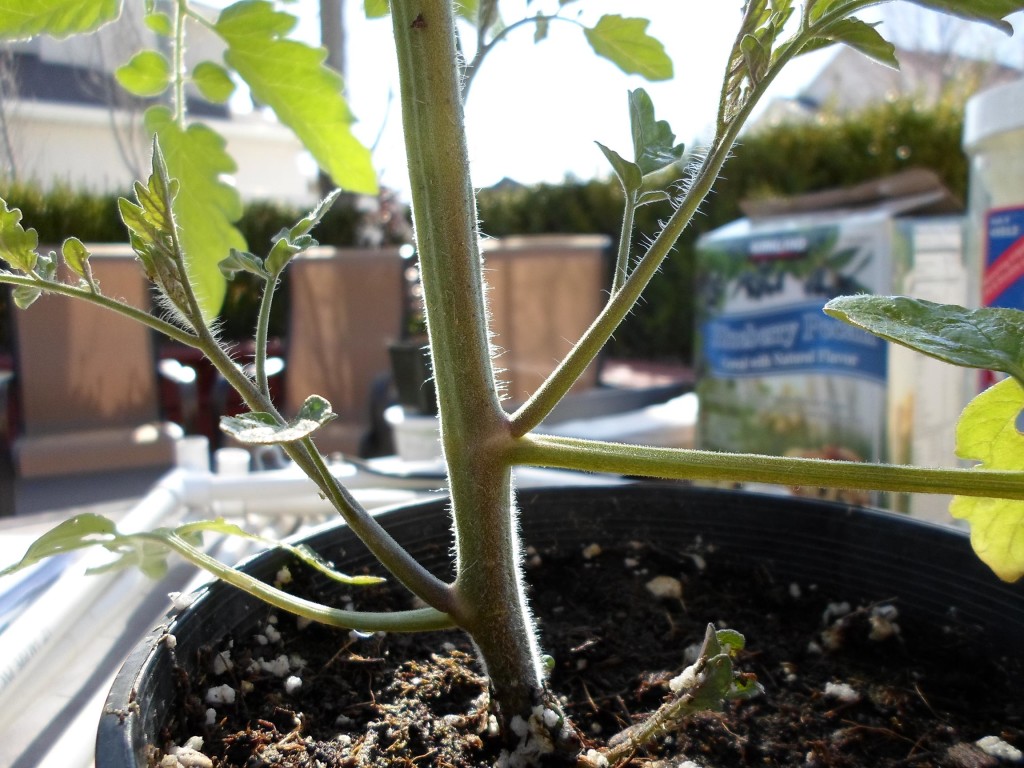
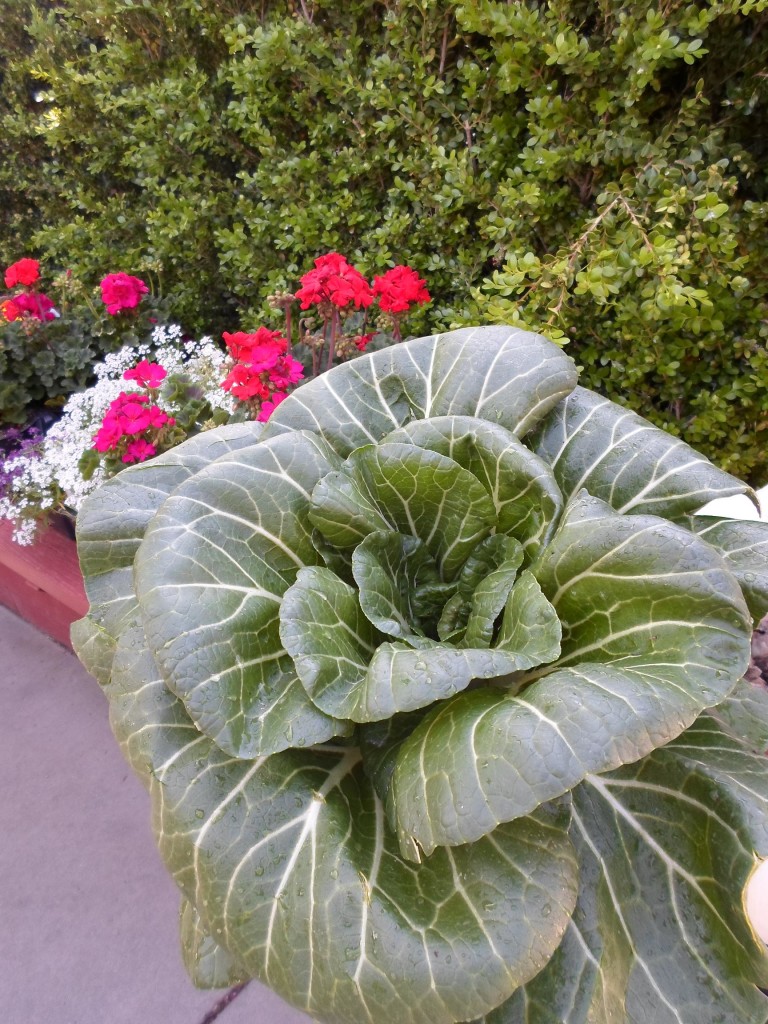
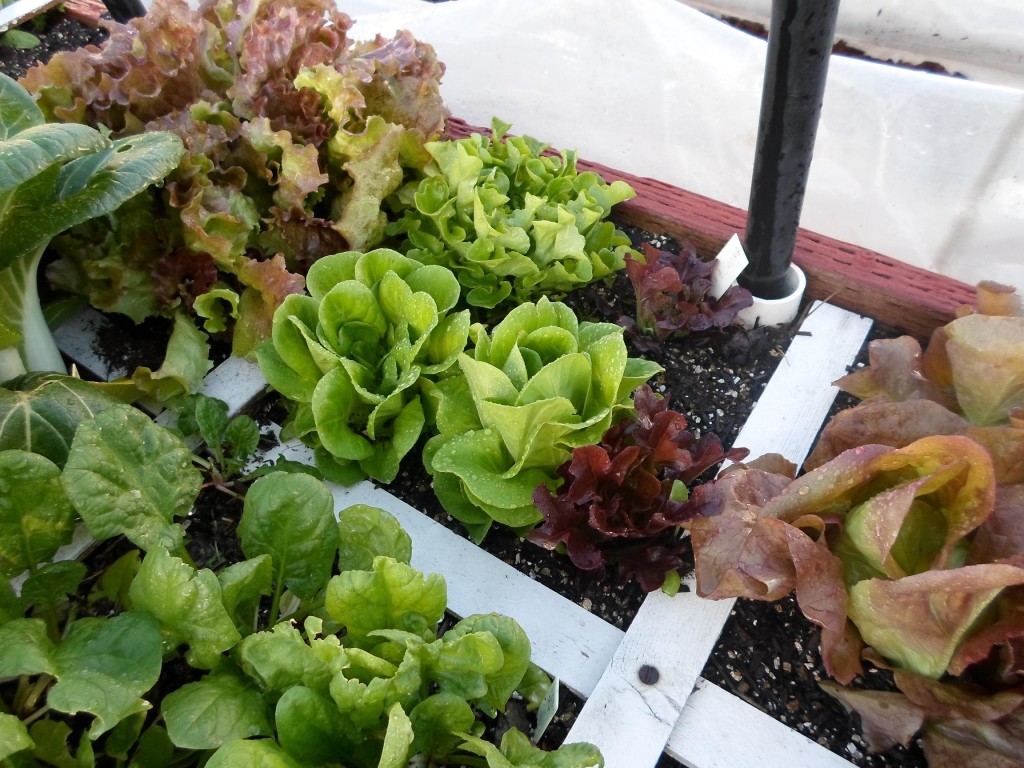
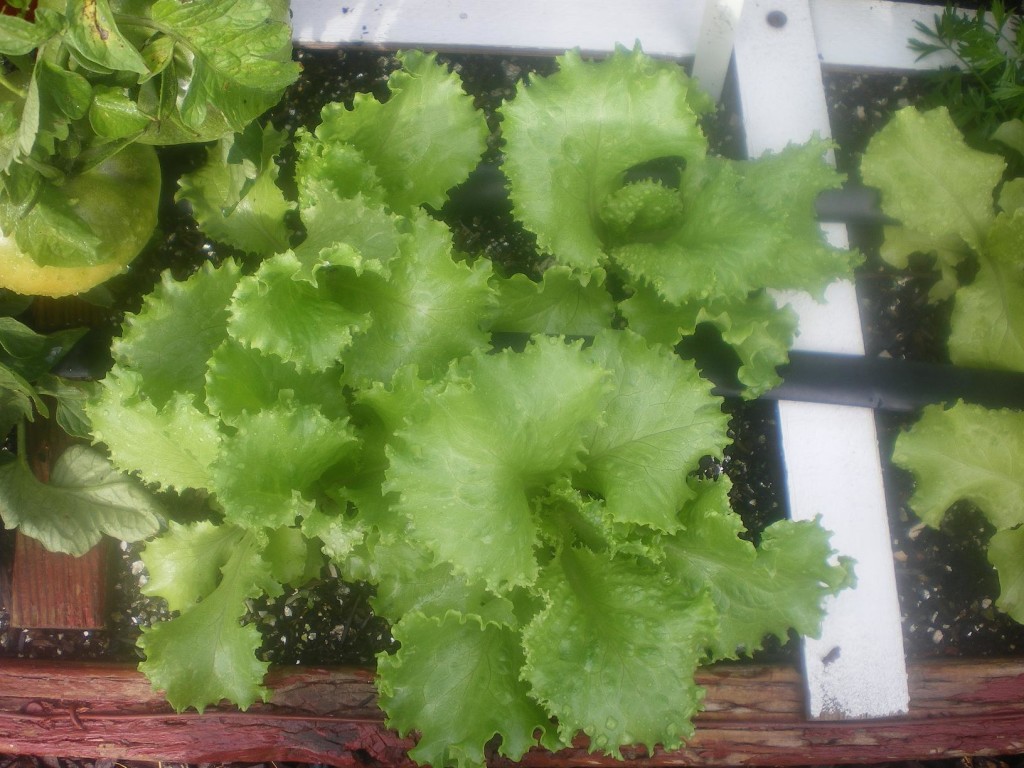
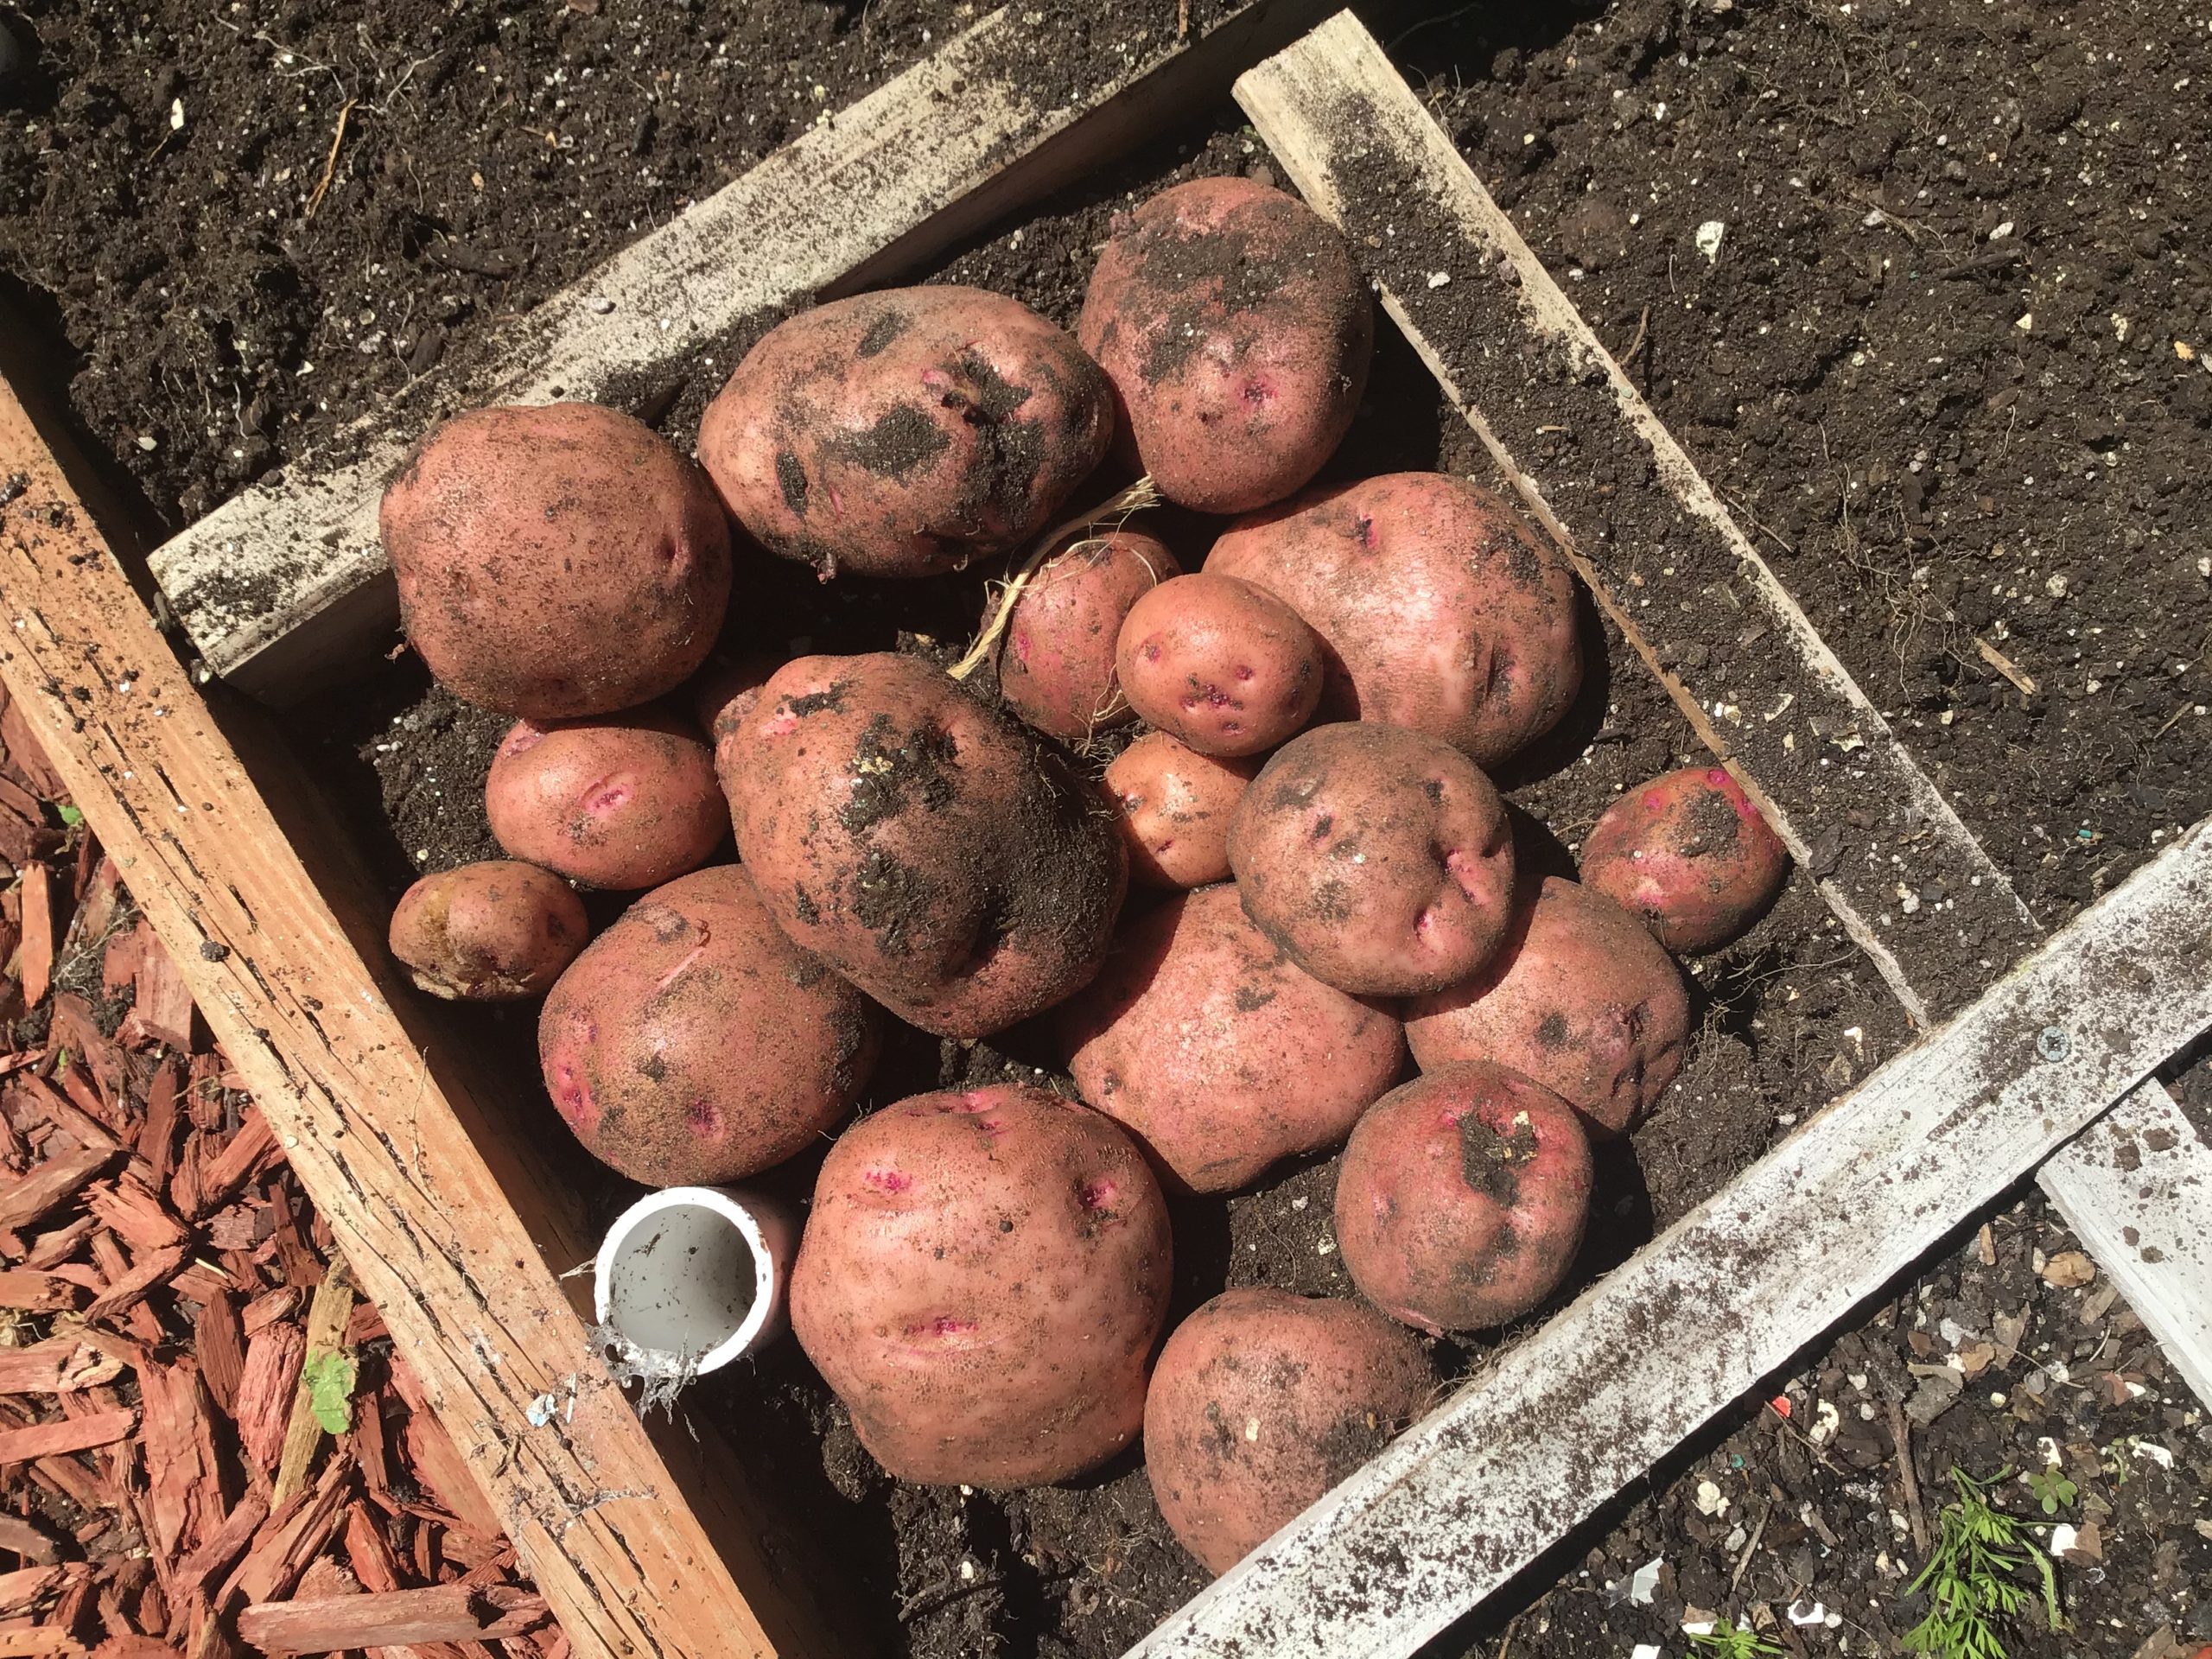
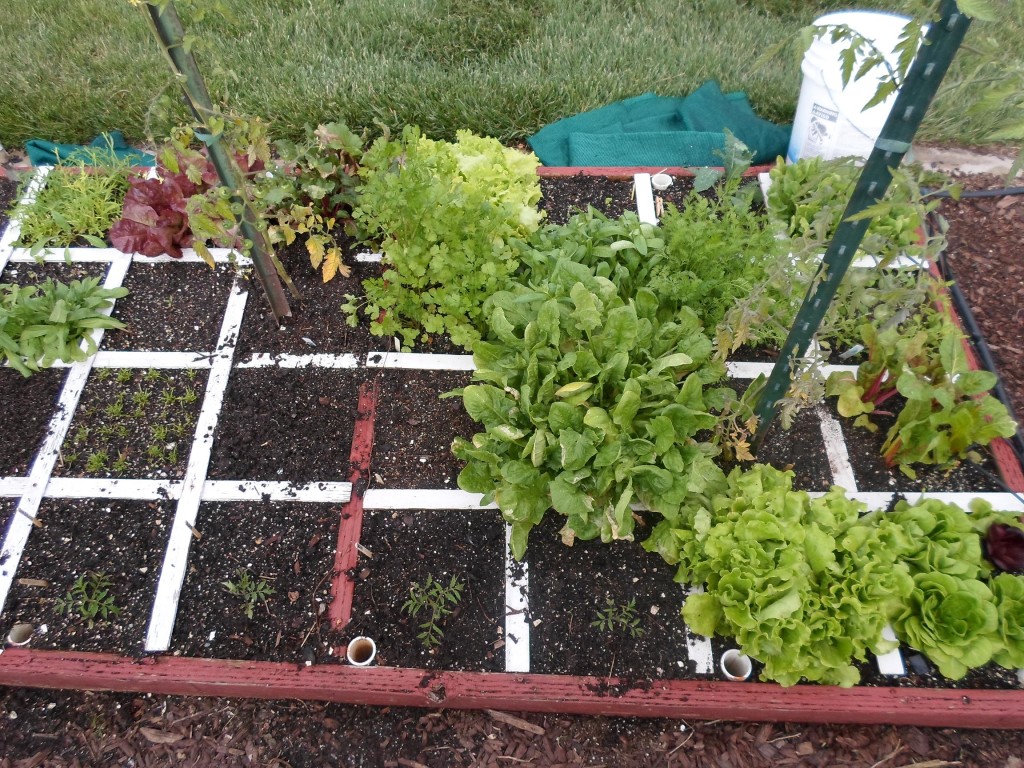
Author Archives: Jim

About Jim

I'm a certified square foot gardening instructor that enjoys teaching others how to grow their own great, healthy, organic food. I also enjoy cooking, biking, playing my guitar, reading, and card magic.

Tomato suckers

sungold sucker 330By making sure you buy the right kind of tomato plants(indeterminant)you’ll be able to grow them until they get to be 7 feet tall or even higher. The second trick for growing vertical tomatoes is to pinch back the suckers. Many folks might ask: “what’s a sucker? How do I know if I’m pinching back the right thing? The sucker is coming right out of the middle of the joint that’s pictured. I’ve also heard it referred to as that which is growing “in the crotch.” It might be an odd saying but it seems to help folks understand what to pinch back. In longer growing seasons you can actually take this “sucker” and plant it somewhere else in your garden and it’ll grow an entirely new tomato plant all by itself. This is the key to grow your plants really tall by the end of the season. This particular tomato plant is from Johnny’s. The variety is Sun Gold, and it’s said to be the sweetest cherry tomato available-even sweeter than Sweet 100’s. Unfortunately, I put them out a little too soon and didn’t cover on a freeze and now they’re gone. I’ve got others growing that are close to the taste, but not quit. I hope the information/picture on the sucker helps out…

[ois skin=”below post”]

Pretty good looking head of poc choi

perfect head of poc choiHere in zone 6 we’re pretty much in the clear for anymore frosts or hard weather. As it starts to warm up-and it was 90 and high 80’s the past two days-it’s about time to start thinking summer garden time. I’ve got about another 3 weeks of harvesting all the leftover spring crops. Two nights ago I replanted 10 squares with summer crops. If you’re interested in an easy and great crop rotation plan, you might consider my eBook where I talk about this. It’s all easy and it minimizes the likelihood of pests, critters, and diseases. But now is the time to start planting things like tomatoes, beans, peppers, cucumbers, varieties of cut-and-come again lettuce, zucchini, the other squashes, and finally corn! I like to throw in a flower or two not just because of looks but to also attract pollinators to the garden. My preference for this is bachelor buttons. They do the trick, last a long time, and look great. As a side note, I’m now a bee-keeper. It’s been fun to watch and the greatest part is I don’t get stung! These bees are great for pollinating but they’re not aggressive and they don’t have a hive to protect. But they don’t make honey so I miss out on that one. I also miss out on bees stinging the neighborhood kids and creating a whole other host of problems.

[ois skin=”below post”]

So easy


cross look at lettuce-051313The SFG method is so easy. You can take all sorts of classes, become a certified instructor, read a lot of books on it(a great thing), teach others how to do it, etc. But it’s all just this simple: build a box, fill it with Mel’s mix, put a grid on it, and then start planting with the 1, 4, 9, 16 spacing. Keep your gardens watered correctly and bingo-that’s it! I’ve been harvesting all year at this point with no break and now the efforts are starting to pay off. I’ll keep my gardens covered at night just in case it gets a little too cold, but the hard work of covering and uncovering every day is coming to an end very soon. Several of the summer crops are already in-tomatoes, cucumbers squash, and peppers. If you live in the Salt Lake City area, keep an eye out for the upcoming SFG “Lite” classes. You can find more information about them on the site. Can’t wait for the summer gardening season…

[ois skin=”below post”]

You don’t have to buy new seeds every year

conceptThis time of year finds many of us out planting away with some brand new packets of seeds. In the square foot gardening method, we only plant what we intend to eat, in other words, if we know we will eat 20 salads in a week we will only plant 20 seeds(5 squares.) And if you’re not that confident that your single seed in each hole will come up, maybe you’ll plant 40 seeds. Either way, you’re still going to save 98% of that seed packet during your first year. If you went into a nursery and told them you’ve got some seeds left over from the previous year, you know what you’re going to hear. “Those are no good-you’ll need to buy some new seeds.” My experience, as well as many others, says otherwise. Seeds need three things to grow: warmth, light, and moisture. To store your seeds so that they will be good for many years down the road you simply reverse that process. You’ll need to store your seeds in a place that is “cool, dark, and dry.” That usually takes us to the crisper section of the refrigerator. Done this way, you will have seeds that may last up to 10 years! Right now I’ve been able to sprout tomato seeds that are 10 years old this year. Many of my seeds are 4, 5, or 6 years old. While it’s true that you lose a percentage of viability over time, all that does it tell us that we will not be planting 2 or 3 seeds in each hole, but maybe more like 6 or 7 if the seeds are really older. It’s not necessary to buy seeds every year, although the temptation is almost too much to take when the seed catalogs start arriving in the dead of winter. This picture shows concept lettuce which was started with seeds that were 5 years old.[ois skin=”below post”]

Great composting


kellogg compostMaking compost is not only a lot of fun, it’s also very easy. And you can’t buy compost as good as you can make in your own backyard. One of the best parts about homemade compost is that it’s all free! I spend quite a bit of time attempting to explain how easy it is to make your own. I know there’s a lot of expertise out that that might be of value, but you don’t need a lot of knowledge to do it correctly. In the SFG system, we use a basic mix of course vermiculite, peat moss, and a blended compost made up of at least 5 different ingredients. This mix has gotten to be very costly-about $70 per 4X4′ square. But it’s only a one time expense. If you make your own compost you’ll never need to spend another cent on Mel’s mix. If you choose not to make your own compost, you’ll always need to have access to some commercially available compost. As you read from previous posts, my favorite commercial compost is made by Gardener & Bloome. It’s got about 10 different things in it, and then I add all of my extras-egg shells, banana peels, orange and lemon rinds, moldy strawberries, old grapes, potato and carrot peelings, dried grass, dried fall leaves, horse manure, etc. You can see how easy it is to get to that minimum number of 5 ingredients. If your interested in learning what you need to know about composting, there’s an easy chapter on how to do it in my ebook which you can find on my site. While at Home Depot today, I ran across this brand of compost-Kelloggs. It too looks excellent and is very similar to the ingredients found in the Gardener and Bloome product. I know there’s formulas about how much of what to add in order to make compost. You don’t need to know all of that. I’ve had tremendous results doing it the way I’ve done it for 13 years. I just layer everything together, make sure I mix it well, mash all the larger pieces, and then moisten it to resemble a rung out sponge. In 6 weeks I get a great compost blend-something no store bought package can offer. One good season of successful composting under your belt will have you asking yourself:”why haven’t I been doing this all along?” Learn how to do it so you don’t have to spend another dime on buying the commercial brands at the stores.

[ois skin=”below post”]