Author Archives: Jim

About Jim

I'm a certified square foot gardening instructor that enjoys teaching others how to grow their own great, healthy, organic food. I also enjoy cooking, biking, playing my guitar, reading, and card magic.

Early start on peppers with a pot maker form

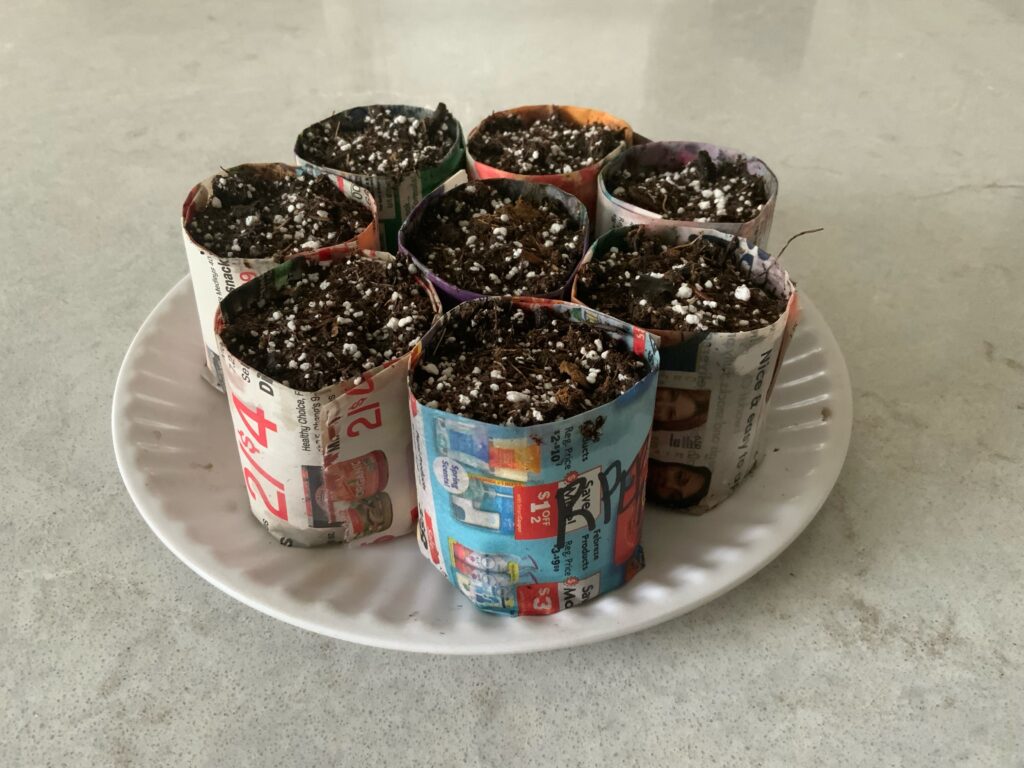
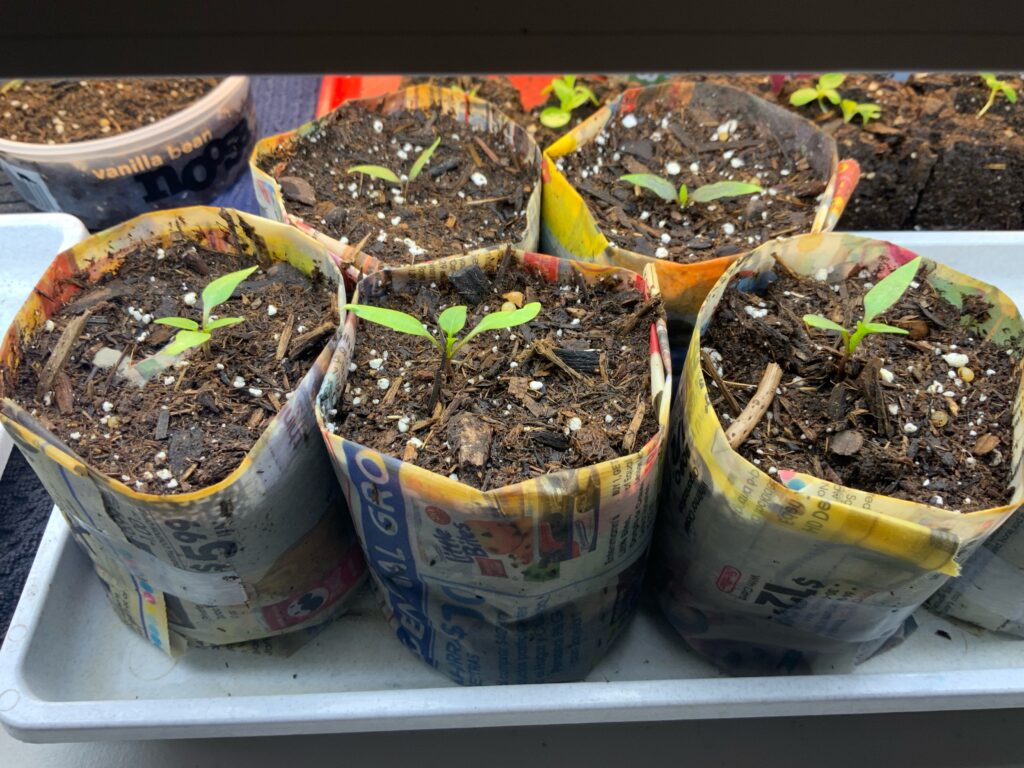
The pot maker is a great gardening tool to have at your disposal. For those who have taken my seed starting class, you know what these are and how they work. I bought mine 20 years ago from Burpee and it will out live me! You’ll not be needing to buy any more of those plastic cells that crack after the first year of use. These are made with only newspaper.

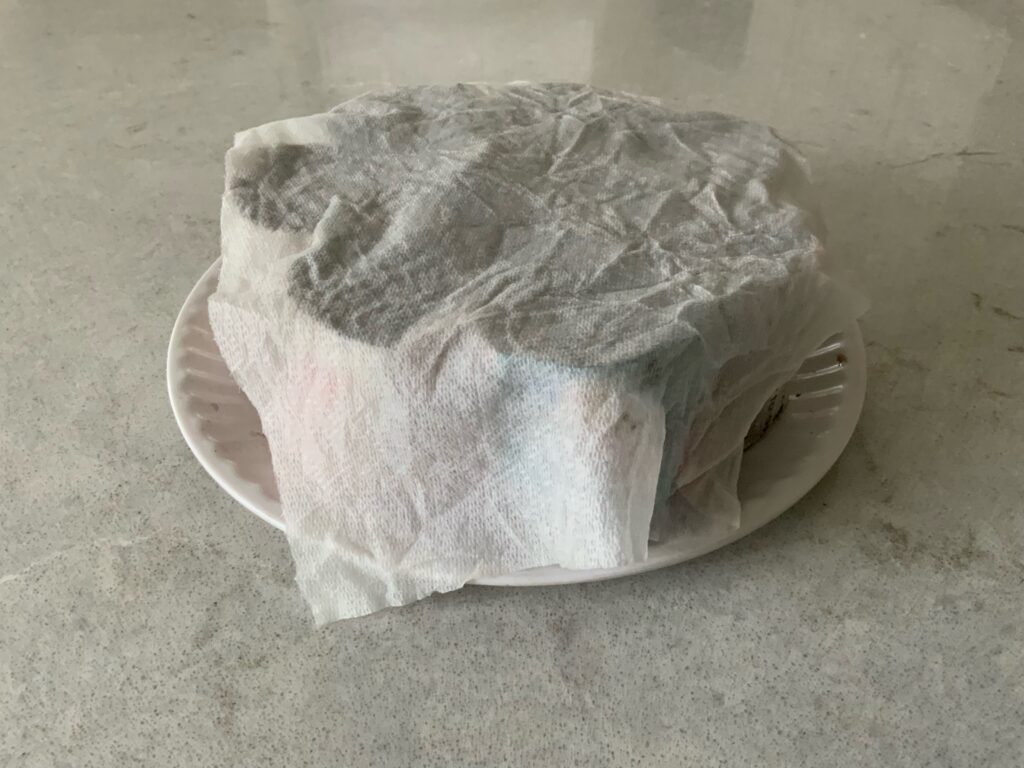
While this technique is something that a farmer couldn’t do because of the overwhelming amount of work it would take, it’s perfect for the small grower at home. It’s really a good way to do it if you’re growing just a few crops of something. I’ll only be growing 5 pepper plants this year, so I’ve put them all in pot makers and will start them inside until it’s safe for them to be transplanted into the garden. You can see that I’ve got 8 pepper plants in pot makers-just to give myself some wiggle room because the seeds are several years old. However, I did sprout all of them using the paper towel method. Those who have taken the seed starting class also know how to do this. 

Another advantage of planting right into the garden with the pot maker is that it minimizes transplant shock, which slows plant growth down by about 2 weeks. Sink these right into your soil-paper and all, and within a few weeks, you’ll not even be able to spot the newspaper. It’s really a good way to get things going for a quick start in spring. The wet paper towel over the pepper plants are used to keep the tops moist.


How to have a really early square foot garden

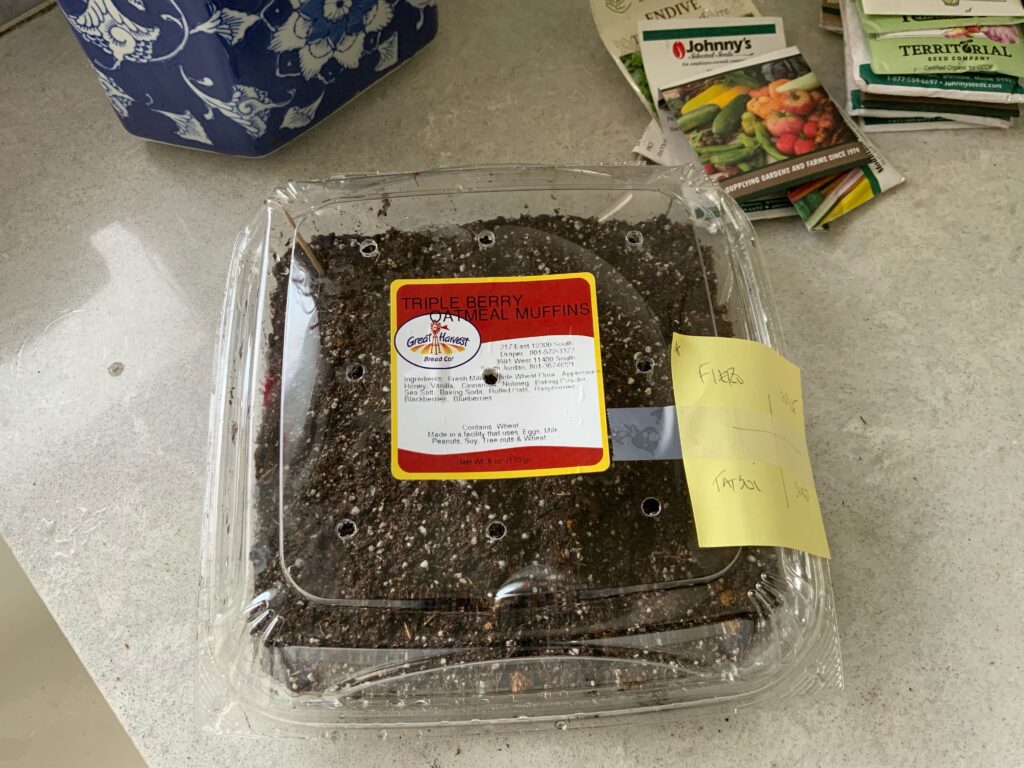
Or any garden for that matter. This is how I do it. I use many different kinds of containers but this one had 4 blueberry muffins from a local store. Clean it out and then poke holes in the top (6) and bottom (4). I use a screwdriver that’s been heated over a flame on the stove and then push it through the plastic. Make it easy!

I then fill with moistened potting mix. This container isn’t very deep so it will be used for salad greens type of crops. No root crops in this shallow of a container. I then seed fairly heavily so that when they come up I can separate them into individual starts to put into squares.

If it freezes, so what? If it snows, it doesn’t matter? These seeds know when it’s time to grow. As we get into the warmer months of late winter, take a peek every once in a while to make sure it doesn’t dry out. If it looks dry, just run some water over it and then cover again. 

These containers will develop a fair amount of condensation in them. Thats what you want. You’ve got it vented which lets excessive heat escape but it also keeps your soil moist. 

I have chard, radicchio, tatsoi, and endive in this container. 

Farewell for a season, with one final tip

As we enter the winter holiday season, many have put their gardens away for the year and are taking a much needed break from the work but hopefully benefited with an abundant harvest. I wish you the best of what the season has to offer and hope to see everyone again in a few months. 

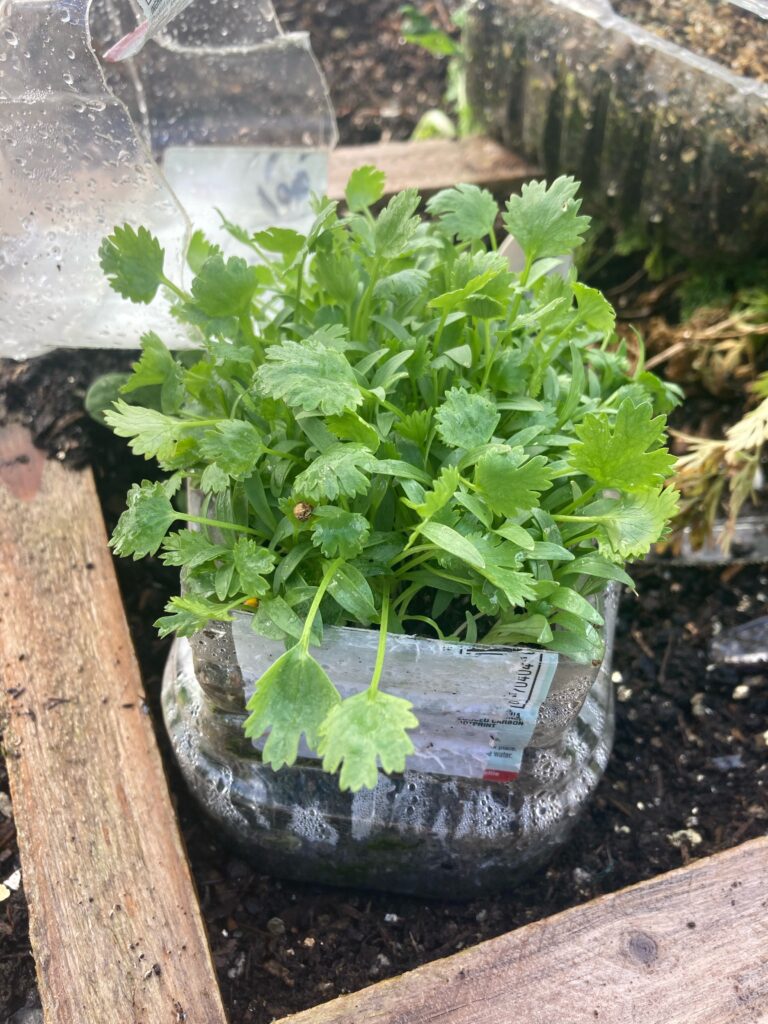
My last tip of the year is for those who want to get an early jump on the spring season. It requires no work after seeding the tray. Simply take a plastic container of your choice (Costco rotisserie chicken carton is great), moisten some potting mix and then fill the container up to the top. Spread seeds generously over the surface, cover with a fine layer of soil, water in gently, and then cover it up. I take a screwdriver and heatit over an open flame on the stove to then push through the top in order to create holes to vent. At this point, place it outside in the area that gets the most sun during the winter months. Do no work. It will be slower to germinate at this time of year but it’lll work. Especially as the days start to get longer during the last week of January. 

The time will come when you’ll want to seperate your seedlings up to plant in the garden. You’ll have so many transplants!  Like maybe 75! One of the best things is they require no hardening off. They’ve been accustomed to and have grown in the harsh weather conditions for months. Depending on your weather, you won’t need to water until late February or early March. It may be earlier if you live in a warmer climate. Just don’t let it dry out in the spring.

For those interested, I will have many new classes available next year. All virtual so you can learn from the comfort of your home. These will include: square foot gardening 101 for beginners, 201 for advanced square foot gardeners, making compost, seed starting, the earliest spring garden, growing micro-greens at home, the fall garden, and the winter garden. Lots of work to be done on my end but I think you’ll enjoy them. Especially as we go to the market and discover lettuces are now $4 a head! More for organic. And, probably going higher. Learn how to be a great gardener without the hard work and hassles of the traditional garden. Square foot gardening really is the way to go. No heavy digging, no hard work, no thinning, no weeding, no kidding. See you on the other side. 

The efficiency of a square foot garden

This might look like a boring picture but there’s a lot too see. The pole coming out of the ground was once a  very thriving cherry tomato plant growing vertically in only 1 square. That’s it. Our evening temperatures have been mid- low 50’s and that marks a change with tomatoes. It changes the  quality of the taste and they become mushy and begin to fall off. There were still a lot of green cherry tomatoes on the plant but there’s not enough time for them to ripen. 

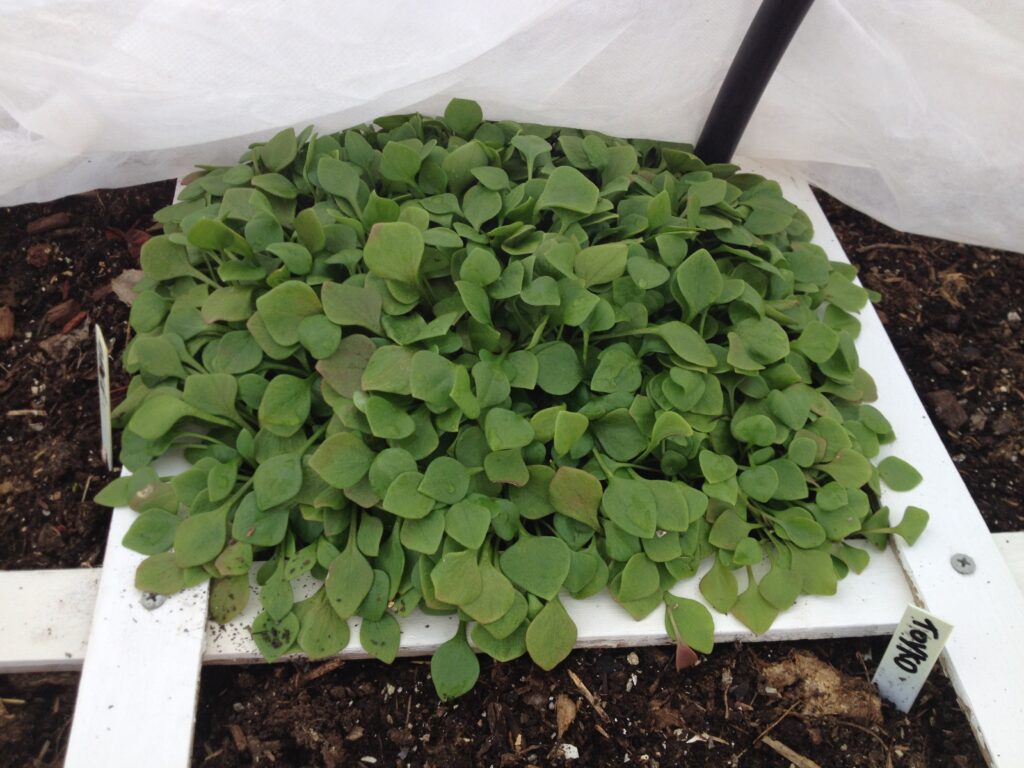
Looking more closely, you’ll notice 3 areas of lettuce coming up in the front of the square. I planted this a couple of weeks ago so that it will be perfectly timed to grow before the freeze hits. It’ll only be baby lettuce leaves, but these hold up much better than their more mature lettuces which turn soupy after a couple of freezes. 

I want to make sure my new lettuces get all the sun possible at this time of year. If I pulled up the entire tomato plant it would uproot the lettuces which you see growing. So, I will simply cut off the branches and the lower stem and now I have a square that will grow into winter. I’ll leave the stem in the ground until the lettuces are harvested. 

Beginning in January, this single square housed 25 carrots, 9 spinach plants, an 8′ cherry tomato plant, and now 3 heads of leaf lettuce which will remain until late December or early January. 

Not bad for one square foot. I’ve got 174 of them. 🙂

An arugula story

I’ve never liked arugula. It was always to spicy, too hot. I could pick it out of a mixed salad right away without even seeing it. 

One evening I was at a really nice restaurant where they had a set menu for the event I was attending. When I got there the salad dish had already been placed on the table. It was very good. I heard the server (old school = waiter) tell the person next to me we were eating a mixed arugula salad. What? I couldn’t taste that edgy salad green at all!

Sure enough, as I looked closer I could spot the arugula. I asked the server where they got it and he told me it was a commercial greenhouse operation about 20 miles to our west. I got the name of the business and gave them a call. While they did confirm they do service the restaurant I was at, they also told me they don’t grow the arugula-the get it from a farm in California. After pestering the person on the phone, she finally gave me the name of the farm-Earthbound. We all know Earthbound. 

I then called Earthbound Farms. I told them of my experience eating a salad I thought I would never like and how I was able to trace the product to them. I’m leaving out a lot of the story but this took a lot of detective work. I explained to Earthbound that I simply wanted to find out what variety of arugula they grew. “I’m sorry but that is proprietary information and we don’t give that out.” 

I told her I wasn’t a competitor and that I’m a simple home gardener living 800 miles away and am no business threat to them. It did no good. 

So I began trialing lots of different kinds of arugula over the years. After much time, I think I found the variety. If I didn’t, I can at least grow an arugula that I like which adds a nice touch to my mixed salad greens. 

It’s Astro arugula. But I still had some work to do as it still ended up with too much edge for me. Thinking back to my dining experience, this was during the holiday season. Cold. Chilly. Snow. The breakthrough was discovering that if you grow arugula in cooler weather and harvest it as a baby green, it looses a lot of the edge. That’s the secret to those who don’t like arugula because of it’s spice. Try growing Astro in the early spring and then again for a fall harvest. It really makes a big difference when grown in cooler temperatures.