 The pot maker is a great gardening tool to have at your disposal. For those who have taken my seed starting class, you know what these are and how they work. I bought mine 20 years ago from Burpee and it will out live me! You’ll not be needing to buy any more of those plastic cells that crack after the first year of use. These are made with only newspaper.
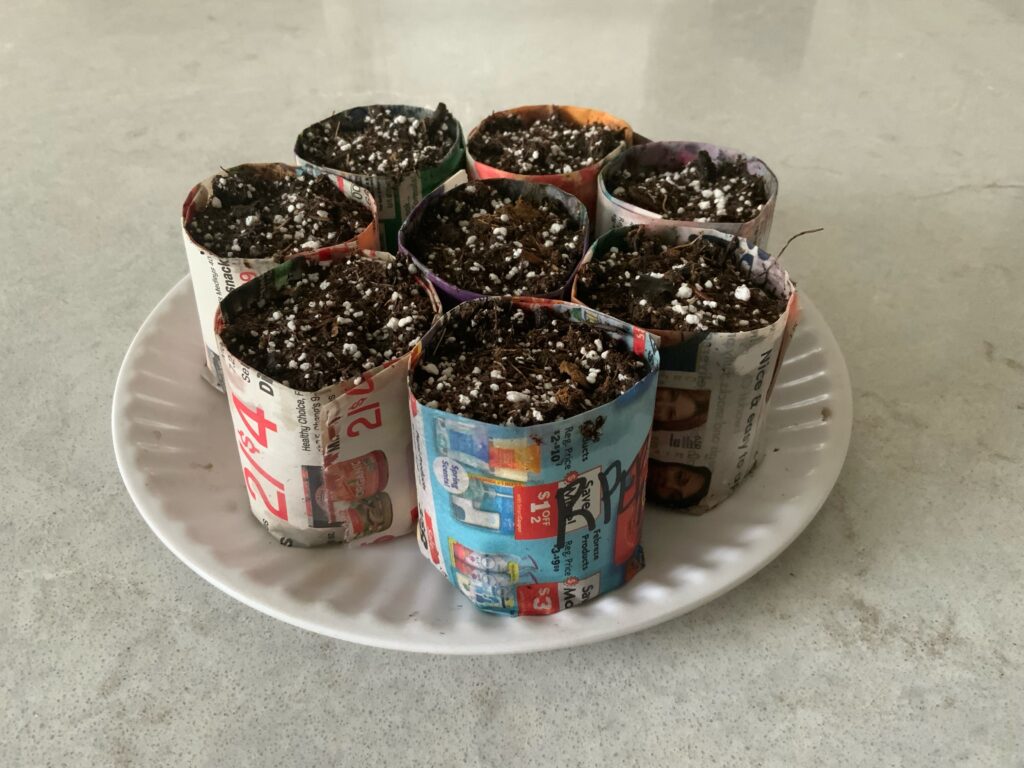
While this technique is something that a farmer couldn’t do because of the overwhelming amount of work it would take, it’s perfect for the small grower at home. It’s really a good way to do it if you’re growing just a few crops of something. I’ll only be growing 5 pepper plants this year, so I’ve put them all in pot makers and will start them inside until it’s safe for them to be transplanted into the garden. You can see that I’ve got 8 pepper plants in pot makers-just to give myself some wiggle room because the seeds are several years old. However, I did sprout all of them using the paper towel method. Those who have taken the seed starting class also know how to do this.
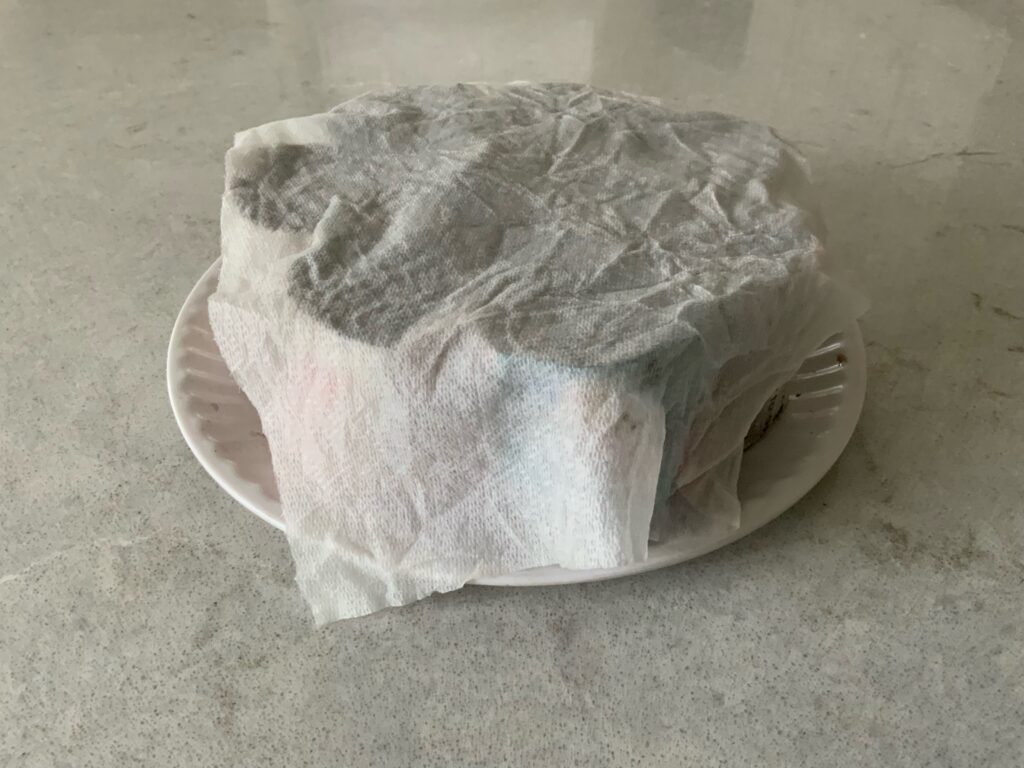
Another advantage of planting right into the garden with the pot maker is that it minimizes transplant shock, which slows plant growth down by about 2 weeks. Sink these right into your soil-paper and all, and within a few weeks, you’ll not even be able to spot the newspaper. It’s really a good way to get things going for a quick start in spring. The wet paper towel over the pepper plants are used to keep the tops moist.