Category Archives: square foot gardening

A brand new square foot gardening technique

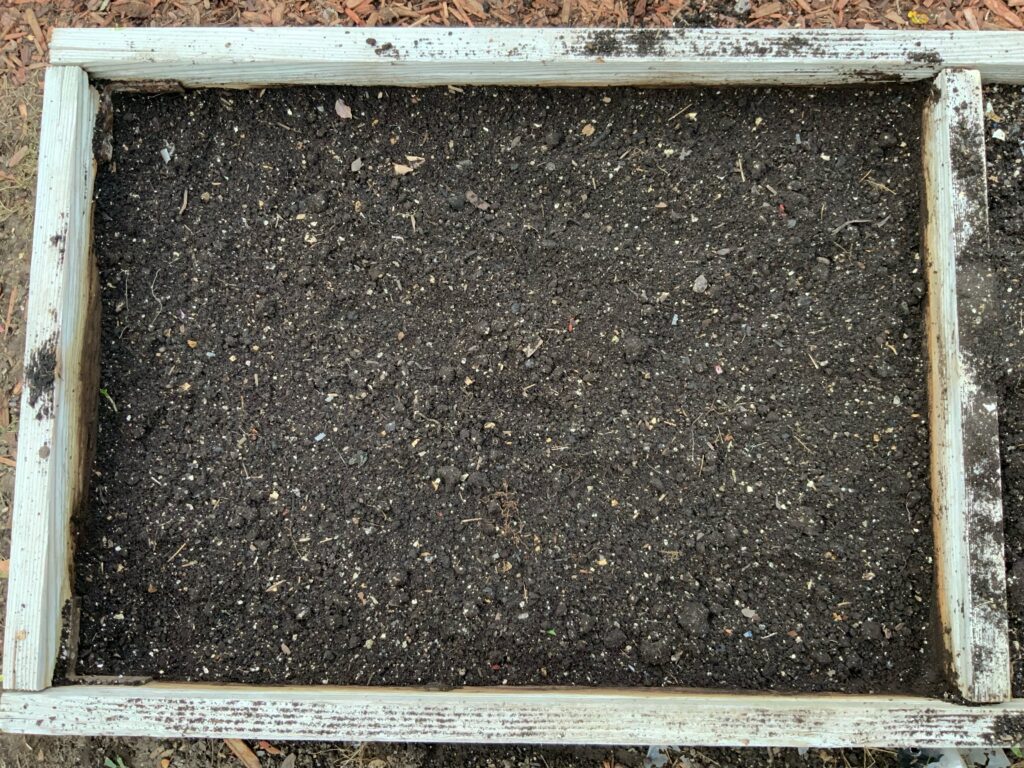
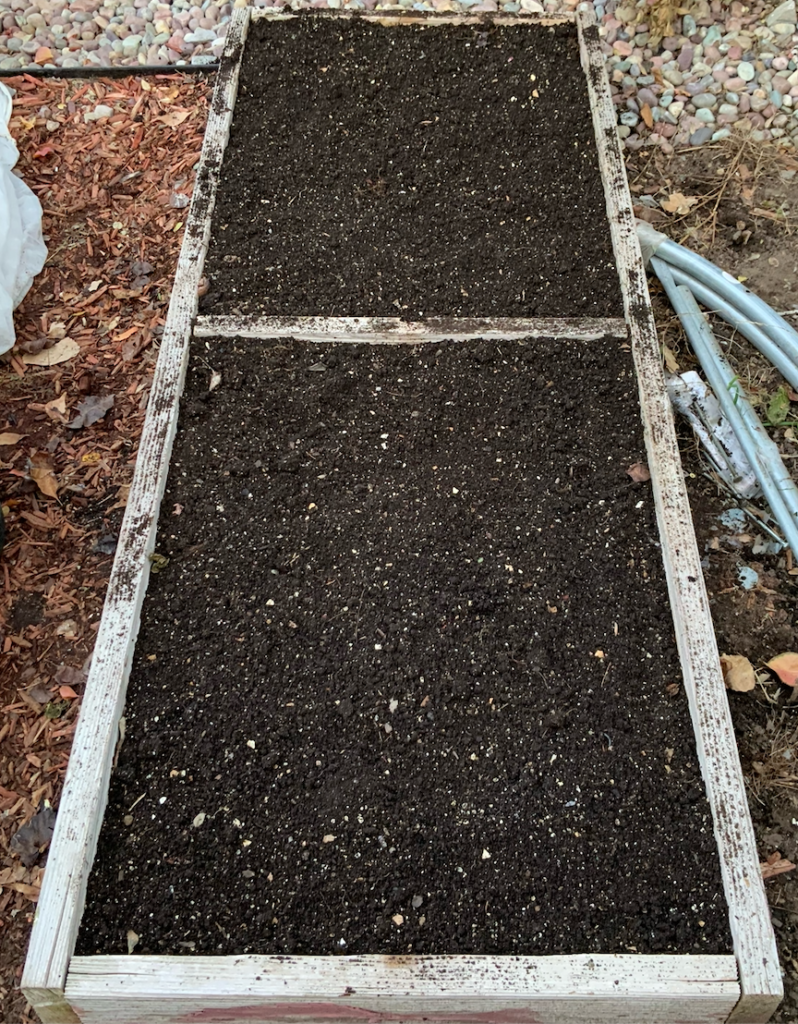
I don’t think I’ve seen this before and it came out of an experiment that i tried last year. And if it’s been done, I’d like to see the picture. I just needed to duplicate it, and I have. This square is still not done growing. Lots to go!

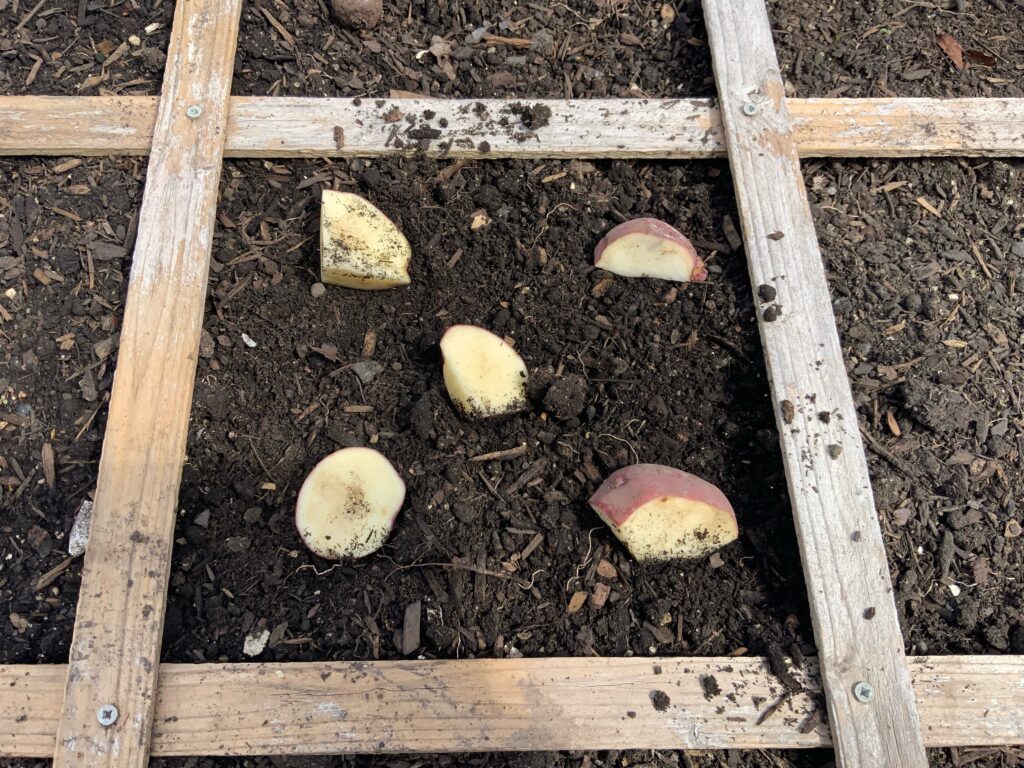
When I interned with the master himself-Mel Bartholomew, we did lots of things. For all lettuces, we always planted 4 per square. If there were some of the larger lettuces around such as something like Encino, we didn’t know about it or maybe Mel decided he didn’t want to grow it. But, if we had, that would have been planted at one per square because the packet says “thin to” 12 inches. 

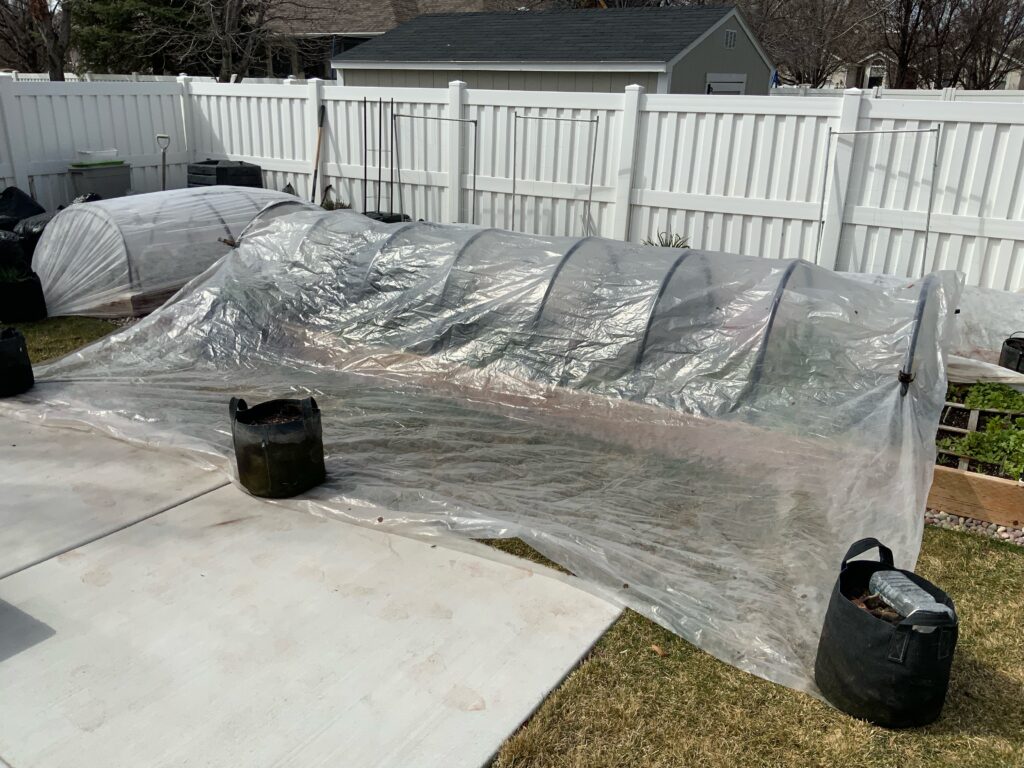
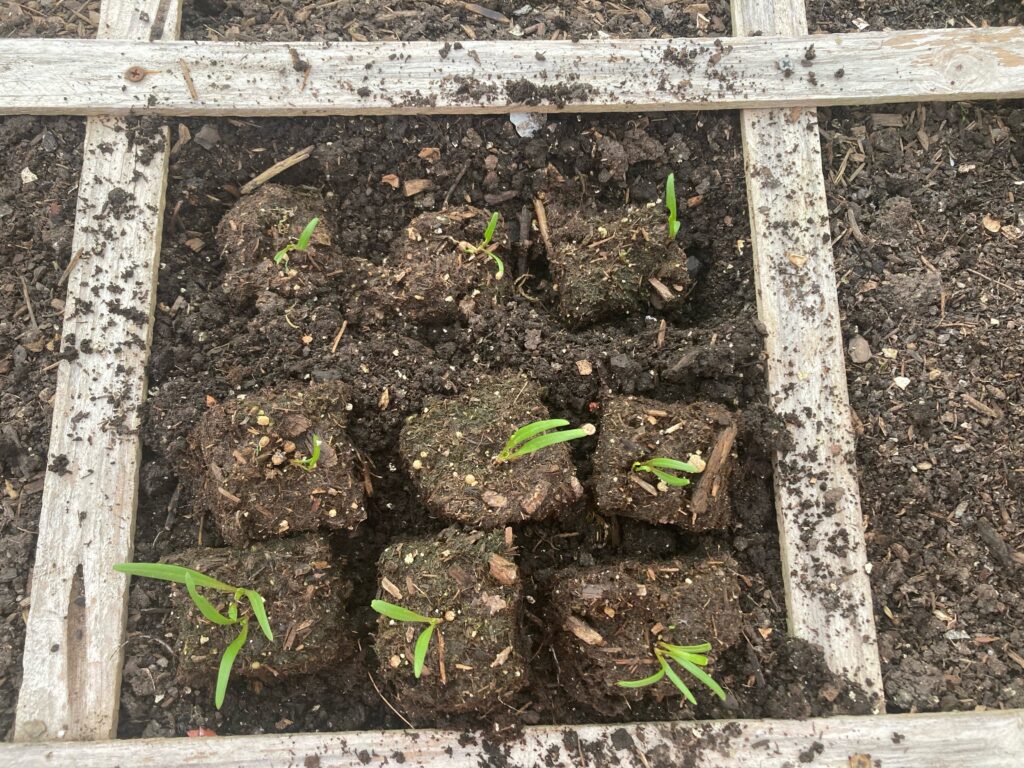
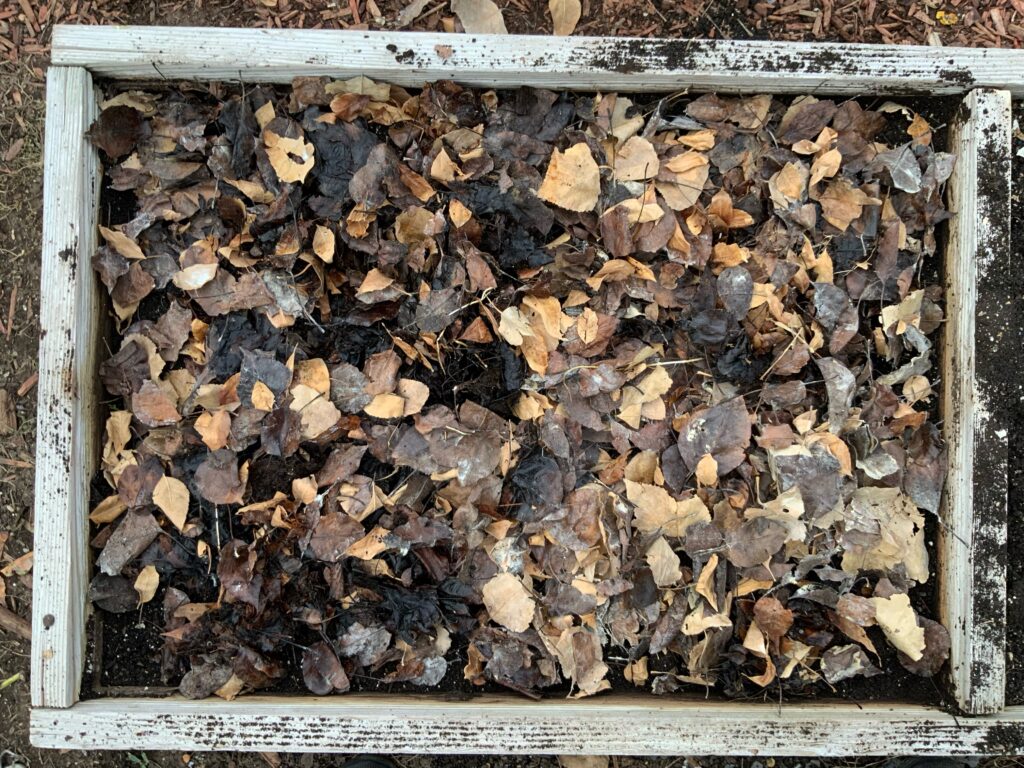
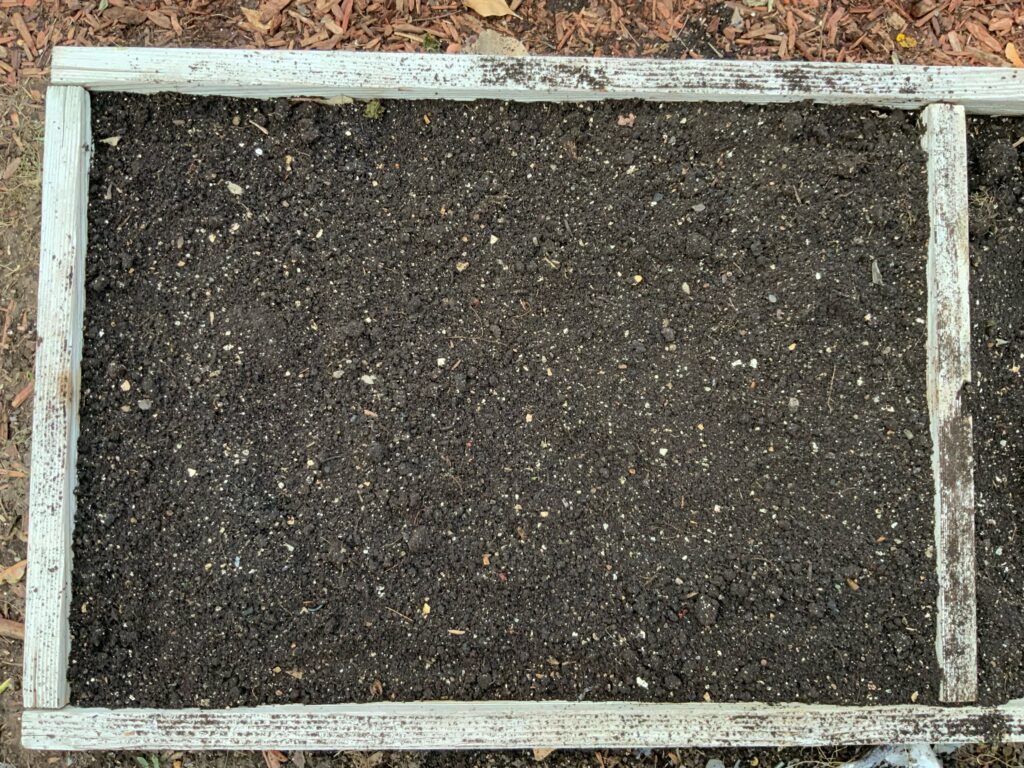
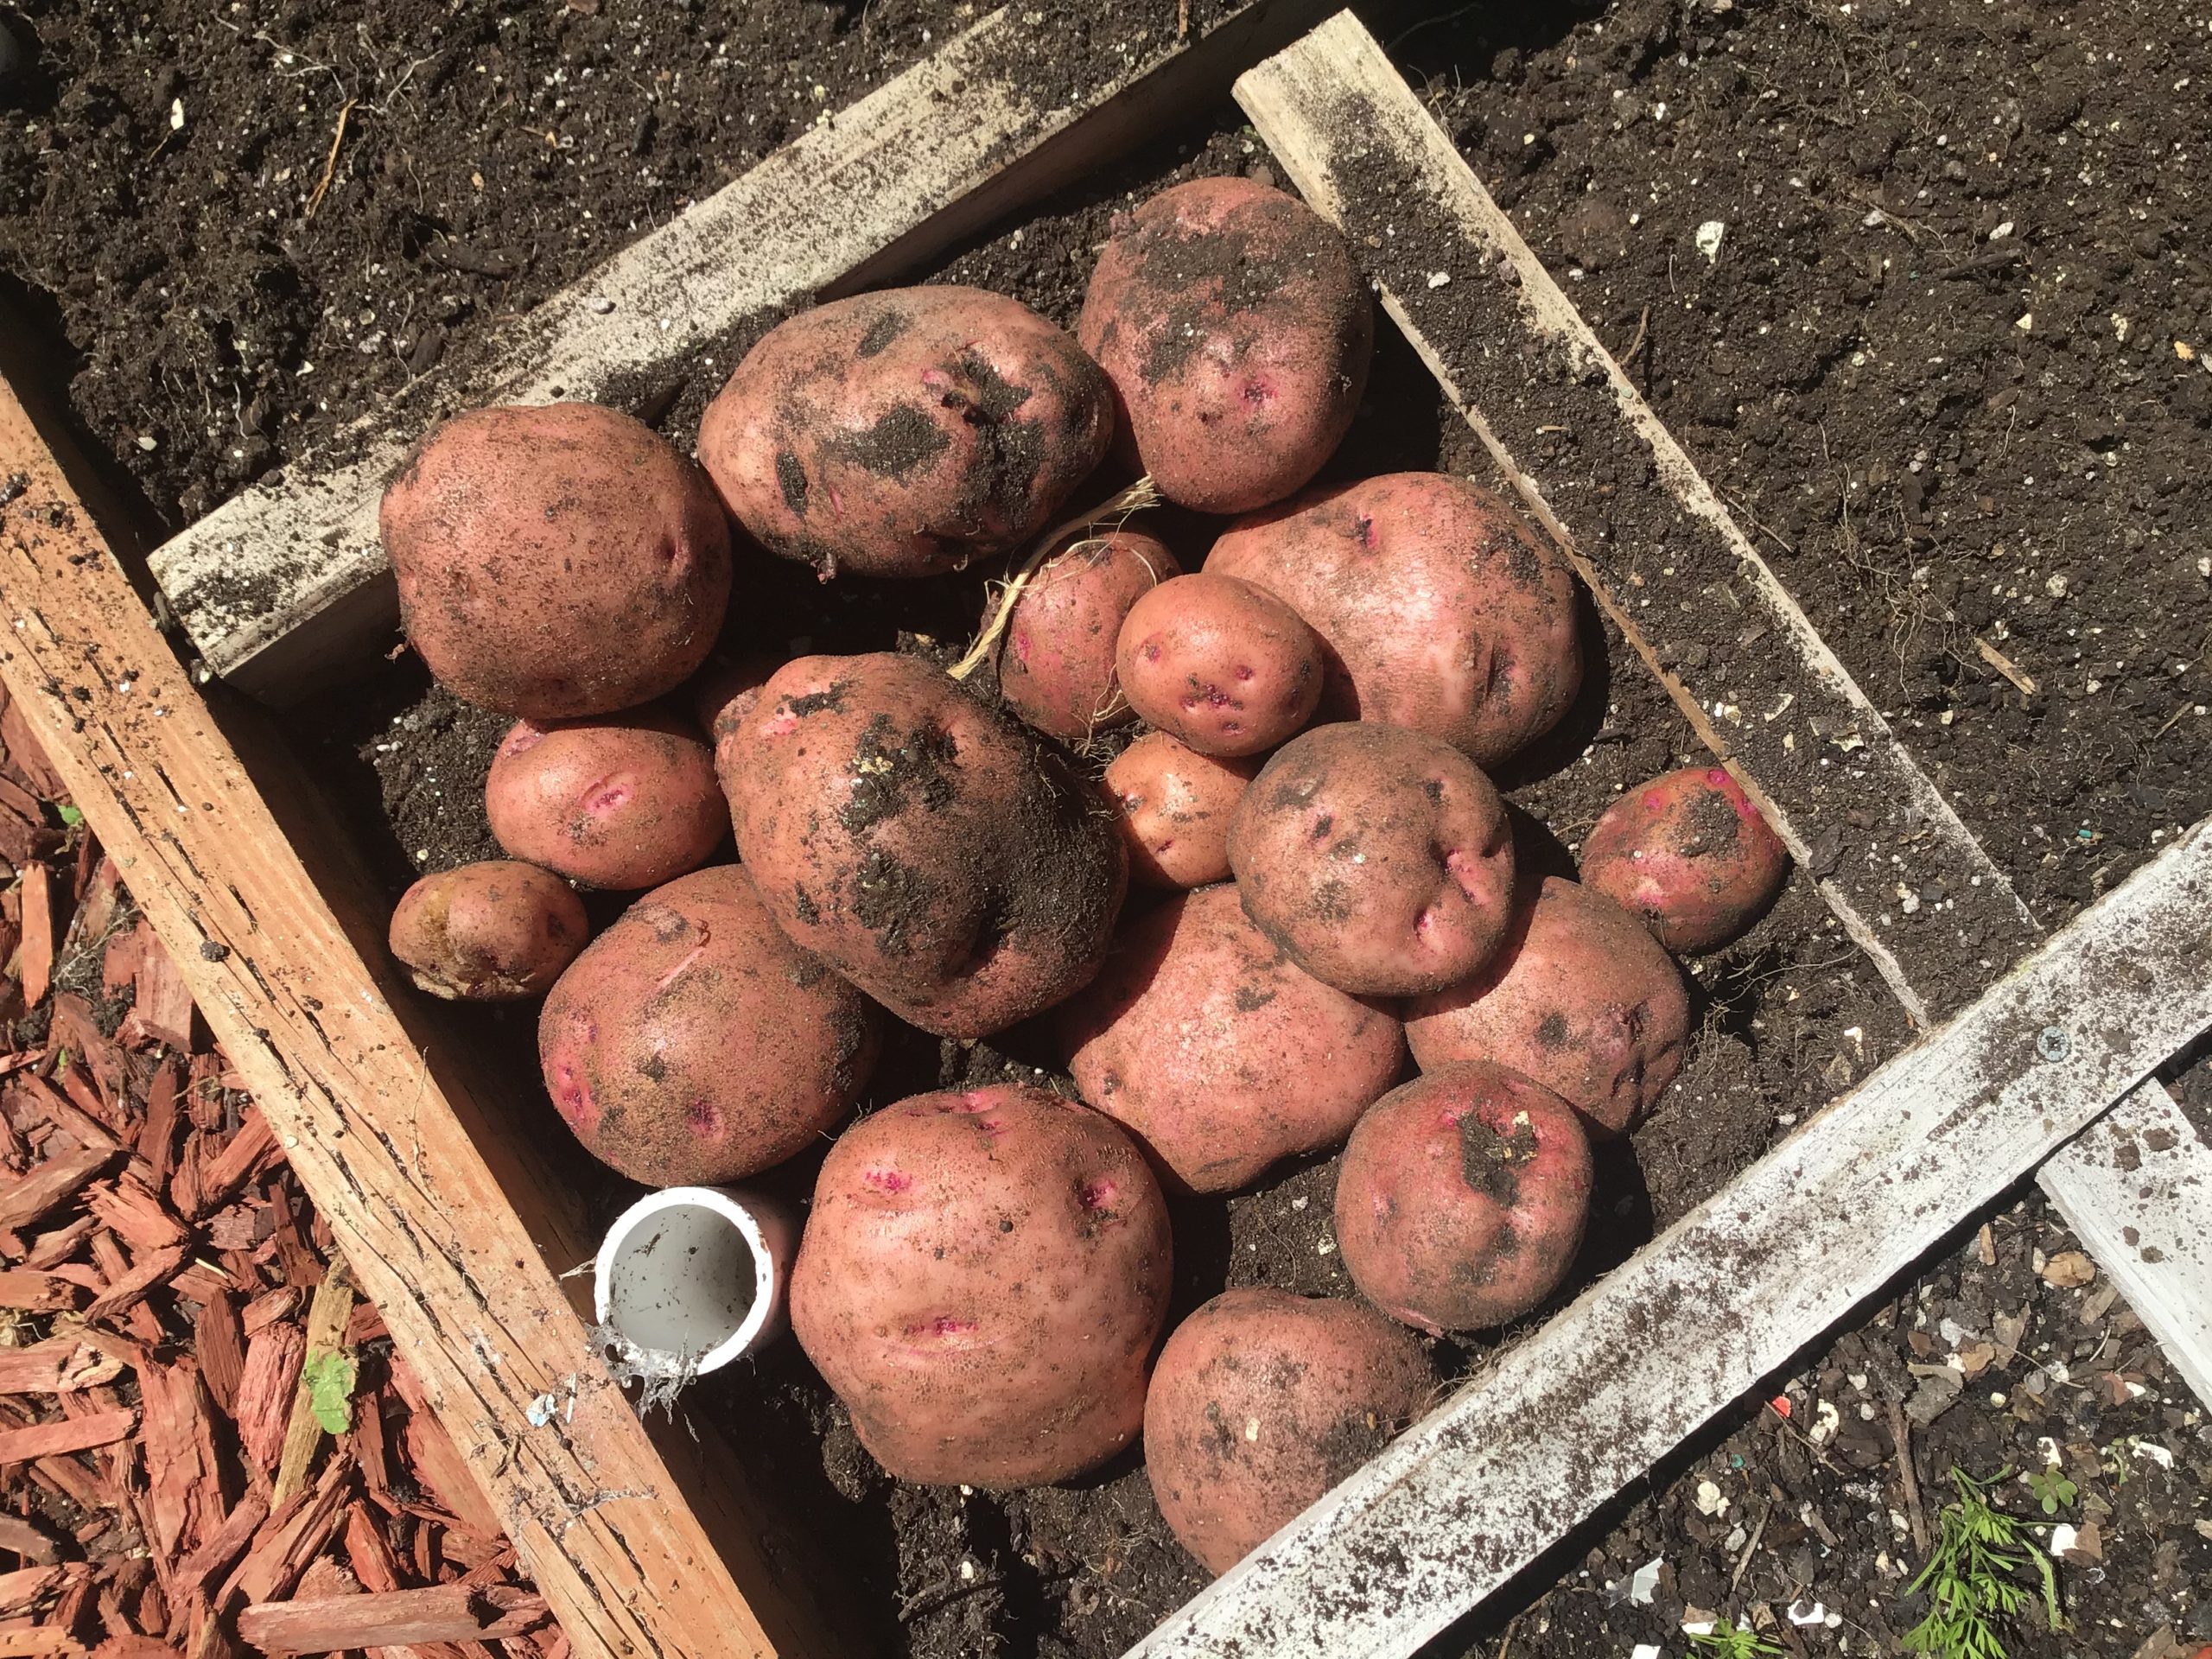
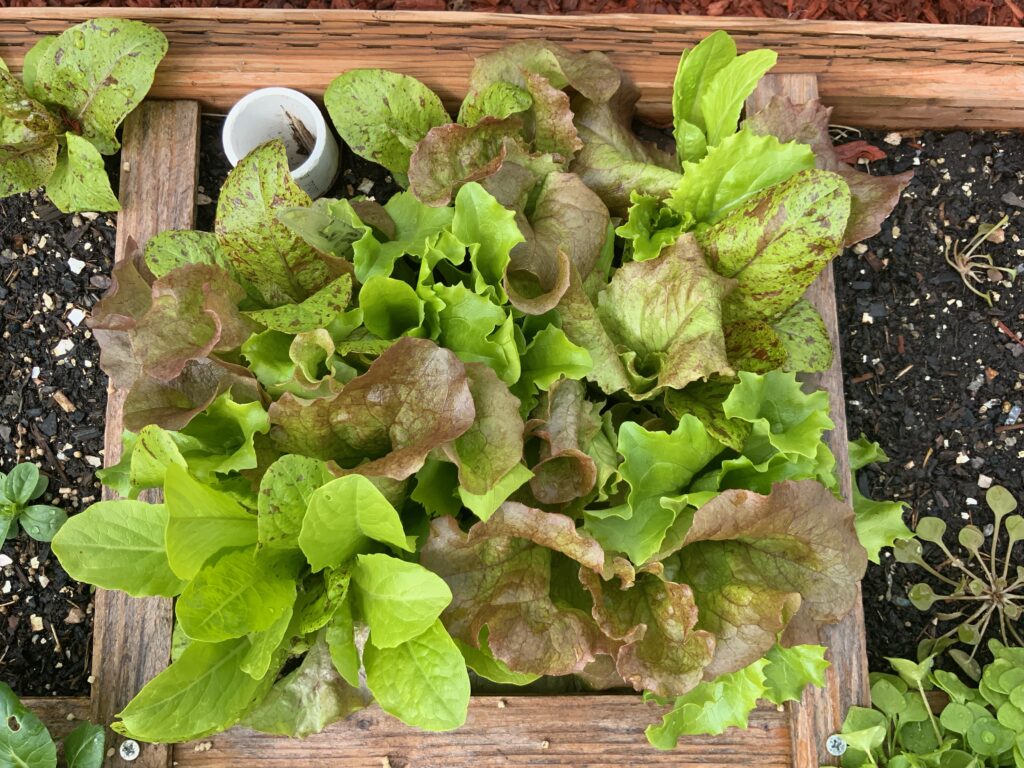
This new planting is what I’ll call bunch or plug planting. This particular variety is such a favorite of mine. Five different kinds of lettuce. Not only does it taste great, it looks great. It started with an over-seeded winter sowing (see earlier posts.) When it was bulging out of the container, I started removing bunches, or plugs of lettuces and then planted them-4 per square. The end result? Look at my garden last year. Big and billowy lettuces of red and green all over the garden. We’ve had the best tasting salads around, we saved lots of money, and all we had to do was harvest and clean. I’m not paying the prices at the store for the low quality/quantity they have available. 

Come out to one of my classes. I’ll show you how to do it the right way as I was taught from the inventor of the system. I sure do wish he was still with us. He was way ahead of his time. I miss the phone calls we used to frequently have. I’d start asking questions, then he would start asking questions. We talked about doing so many things with the foundation-things that have, sadly, not come to pass. We would exchange ideas for hours sometimes over lunch or dinner. We’d talk about life, retirement, money, how to take the SFG system all over the world. We talked of travel, about the safety of the food supply. We talked of farmers, of gardeners, of the volunteers with the foundation. He knew my family. I knew about his. I knew about where he lived and what he did for a living, and why he came out of retirement twice. I knew how he became a millionaire. I saw how he saved money. I saw the interest he would take in others if they expressed an interest in learning about the SFG. I saw how he would talk to chicken, horse, and mushroom compost places. I saw how he talked to produce managers to gather things that would eventually be thrown in the trash which ended up being used for our many composting classes in Eden, Utah on the Montessori school grounds. I was also there when they told Mel the foundation was no longer able to be there, which helped prompt him to eventually move to live in San Diego. The last few years of Mels life-he didn’t even own a car! That wasn’t because he couldn’t walk because he surely could. “Why do I need a car?” he asked me. “Everything I need is within walking distance!.” So out went the car. This post is turning out to be all about Mel. Maybe I should have a dedicated post to just him? Man, I sure do miss him. 


Square foot garden potatoes

There are probably a lot of ways to plant potatoes. For me, I don’t want to leave them out for several days before planting, and I don’t want to worry about hilling. This is the method I learned. Cut your seed potatoes so the each piece has at last 2 eyes. I bury them right into the soil, cover completely, and start watering. They are planted 6 or 7 inches deep and will be ready in 4-1/2 months. I like them big.

I spent $2.50 on 3 pounds of Red Pontiac potatoes. By the time I cut them up, I had enough for 8 square feet. That will yield somewhere around 45+ pounds when finished. And the taste? You’ll never beat them! 

My experience is that potatoes do best in garden soil, not so much in grow bags, tires, wood boxes, etc. These will start to pop up in about 4 weeks, and in the SFG, they are planted 5 per square. 


Putting old man winter to bed for a season

For years it’s always been a problem to clean off the plastic which has covered my winter garden for 4-1/2 months. They’re a real mess. Melted snow mixed with mud, birds flying overhead, worms all over the place, your muddied footprints, etc. If you wash them down and don’t let them dry you end up with algae on the plastic when it’s time to use them again. If you don’t hose them down they look terrible with caked on mud, leaves, dirt, etc.

Using just spring clamps to hold the plastic down on each end and grow bags to hold the other ends down, I can easily wash front and back and let them dry in the sun. It only takes about 20-25 minutes to dry out. I have the back opened up so it doesn’t get too hot. Then it’s just a matter of folding them up and putting them away until needed. 

Hosing and cleaning plastic is always a challenge when you lay it on the ground. You have to anchor all the corners and then you have pooled water all over on the surface. You lift up and shake the plastic and then the wind catches it like a parachute. Having these quickly erected poly tunnels make things so easy. I can now clean my plastic without worrying about wind and pooled water everywhere. 

Another reason to take one of my upcoming fall or winter gardening classes, all of which will be posted right here on my blog. 

Spinach soil blocks

Planted with soil block on 2/12 and placed in the garden on 3/8. This spinach is ready to go in a little over 3 weeks from start to planting. If you haven’t learned about soil blocking-you should check into it. No fancy soil needed, no replacing the ever cracking 6-cell  plastic containers, transplant shock minimized, and little work to do indoors. 

Soil blocking can be one of the strategies used for an extra early spring garden provided you’ve got some kind of protection from the elements. It doesn’t have to be fancy either. Four pieces of rebar, some sturdy PVC, and 4-6 mil UV protected plastic can give you all that’s needed.

If you’d like to learn how to soil block and to also have a really early spring garden, you can follow my class schedule here on this site. Classes are held at public locations but also in a very comfortable environment at my home. Space is always limited and I never have enough room for everyone who wants to attend, but I try my best. I’ll  even teach you how to do it on a budget so you don’t have to buy the fancy soil block unit that will cost you about $50-60. 

For those who might be interested in learning how to be a square foot gardener, my class on that is Saturday, April 20th at my home. I’ve only got 3 more seats available. Imagine, a garden where you don’t have to weed or thin. A garden that gives you 100% of the harvest in only 20% of the space. No hard work. No heavy digging. No need to root-till. It’s the way to go. Details can be found on this home page. 

Prepping your square foot garden for winter and….

Setting you up for major success in the next growing season. While my work for making compost is done for the year-at least the active part-there’s one last item that I’ve done for years to continue improving the tilth of the soil. 

If you live in an area where there’s freezing temperatures but can still work your soil it’s not too late. I remove 4-5 inches of soil, add a layer of fall leaves, and then put the soil back on top. When you come back in the spring to plant, you most likely won’t be able to find any leaves. The earthworms have been doing their job all winter long. 

This is a great way to continue improving your growing medium with a free and natural resource. Don’t throw those leaves away! Save and use as many as you can and then use the remainder next year to make the best compost around.

If you’d like to learn more about how to make that compost, you can find the recorded class available on this site under the “shop” section. You won’t be sorry. When you learn how to do it you’ll never need to buy another fertilizer again. Ever.