Category Archives: Seed starting

Spinach soil blocks

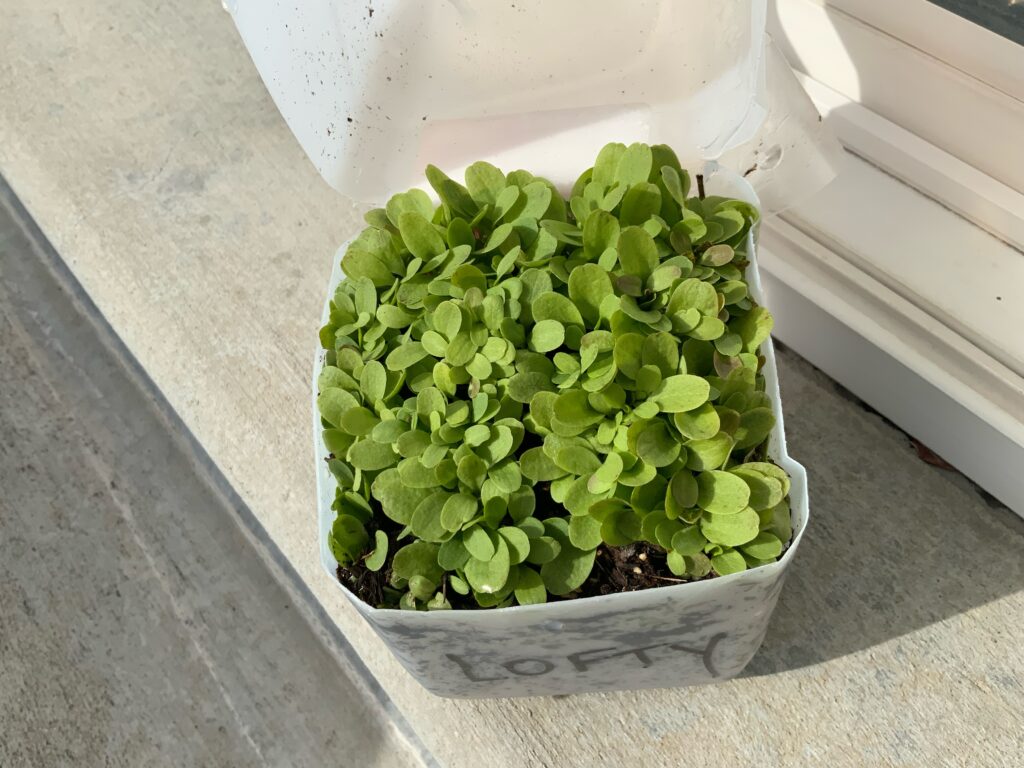
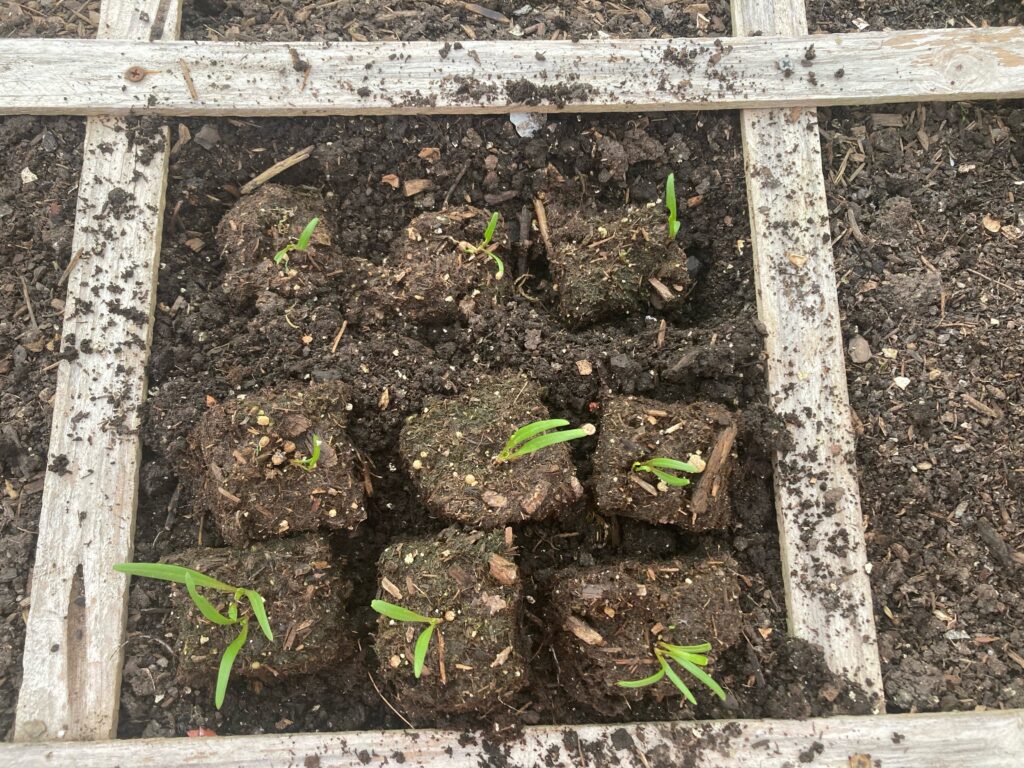
Planted with soil block on 2/12 and placed in the garden on 3/8. This spinach is ready to go in a little over 3 weeks from start to planting. If you haven’t learned about soil blocking-you should check into it. No fancy soil needed, no replacing the ever cracking 6-cell  plastic containers, transplant shock minimized, and little work to do indoors. 

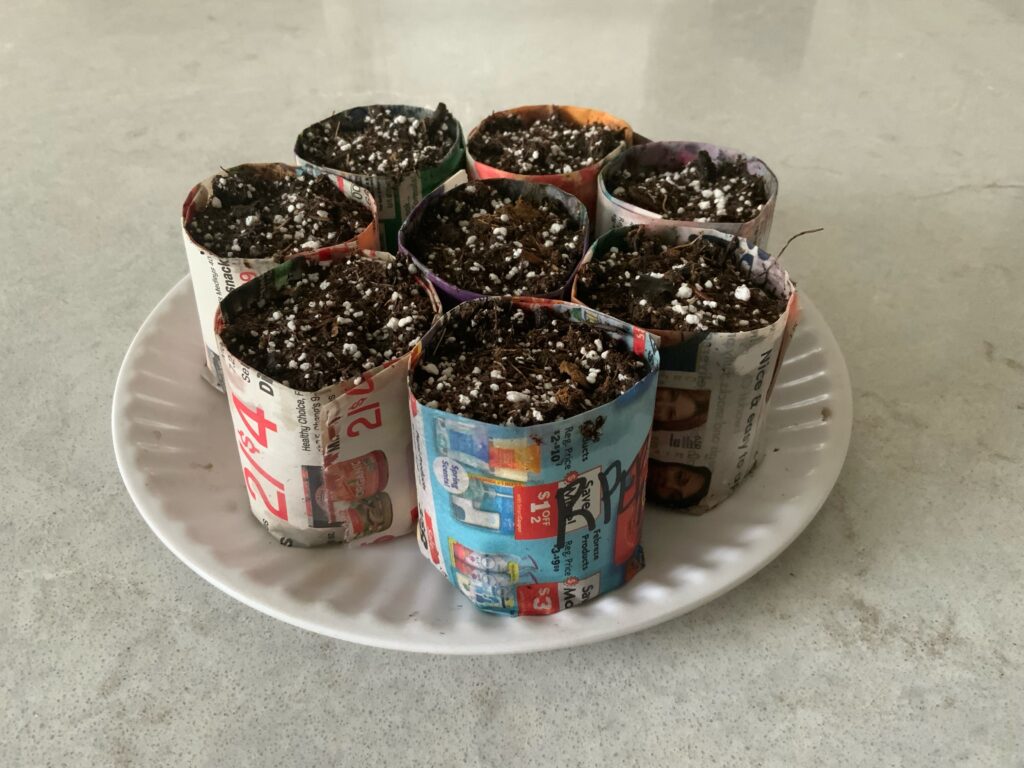
Soil blocking can be one of the strategies used for an extra early spring garden provided you’ve got some kind of protection from the elements. It doesn’t have to be fancy either. Four pieces of rebar, some sturdy PVC, and 4-6 mil UV protected plastic can give you all that’s needed.

If you’d like to learn how to soil block and to also have a really early spring garden, you can follow my class schedule here on this site. Classes are held at public locations but also in a very comfortable environment at my home. Space is always limited and I never have enough room for everyone who wants to attend, but I try my best. I’ll  even teach you how to do it on a budget so you don’t have to buy the fancy soil block unit that will cost you about $50-60. 

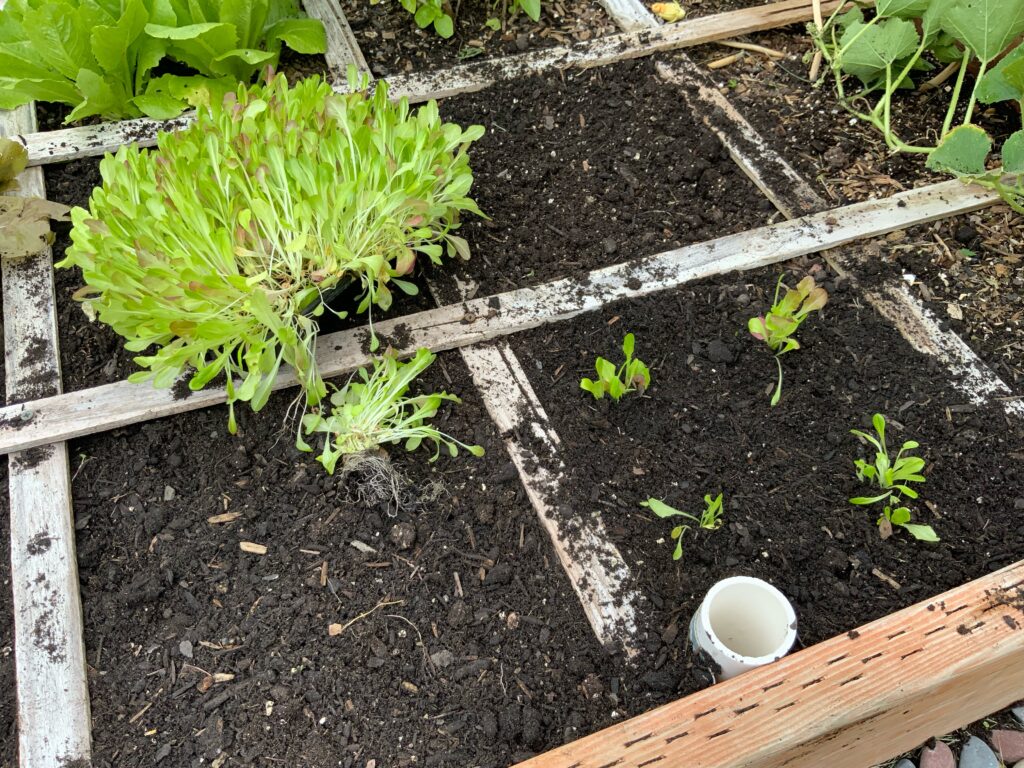
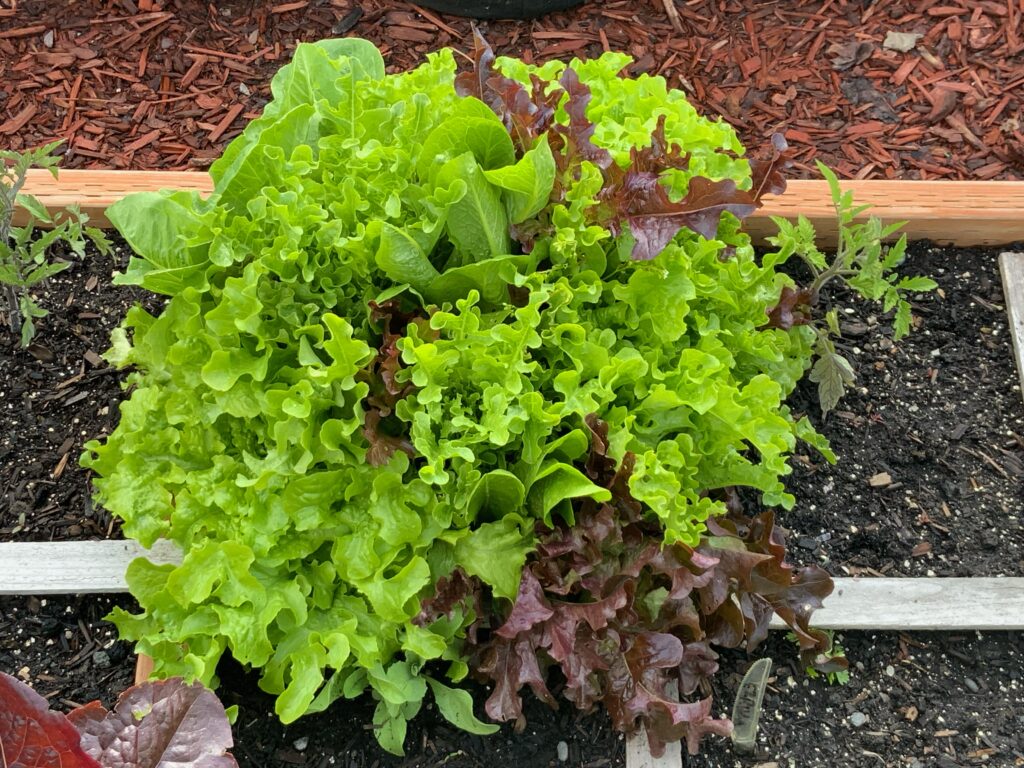
For those who might be interested in learning how to be a square foot gardener, my class on that is Saturday, April 20th at my home. I’ve only got 3 more seats available. Imagine, a garden where you don’t have to weed or thin. A garden that gives you 100% of the harvest in only 20% of the space. No hard work. No heavy digging. No need to root-till. It’s the way to go. Details can be found on this home page. 

Winter sowing and time to transplant

I’ve written in the past of winter sowing-a method of planting that requires no fancy lighting, no hardening off, and really no work to speak of. There is little care to worry about other than making sure things under the container don’t dry out.  

This is simply a plastic milk container that’s been cleaned out and then filled with moistened potting mix. You then seed heavily, tape the container shut and then put it outside in the sunniest location you have. Remove the cap-you won’t be needing it. This serves as your venting  so things don’t heat up too much. The cold doesn’t matter for lettuces. They know when it’s time to come up,. 

We had two pretty heavy snowfalls this year when I went out and couldn’t even see the container. It was totally covered in snow. I sowed this on Jan 15 and it was ready to be separated and planted on Feb 24th. This small container was enough to seed 2 full squares of lettuce. Thats 8 “bunches” of lettuce, not 8 individual heads. These come up in big mounds. You can see what it will eventually look like from a picture I posted last  year. Big, billowy lettuces ready for you to harvest, clean, and eat. 

Five and a half weeks later. And, you did no work. 🙂


Trick to growing massive amounts of anything

I’ve been a little slow this summer with the blog. But it’s been a great year. We’ve had another record breaking summer of heat which is good for some things but not for others. My favorite-lettuce-is tough when it’s that hot. I’ve written an ebook that teaches you how to successfully do that. 

Now it’s fall and I’m wanting to have lots of salad greens into the deep winter season. The picture says it all. Put some potting mix in a small container. This one is 4X7″. Heavily sow your lettuce (or whatever you’re growing) seeds and cover lightly with soil. Do all the right things-water, providing light, proper temperature, etc. These were started indoors 5 weeks ago. When it’s time to plant outside, start breaking them up into pieces or “plugs” to drop in your squares. While I normally plant 4 lettuce plants per square, this method amplifies that. The end result is a square with a huge amount of lettuce in it. This is a new technique that I’ve started doing the past two season. I’ve planted 98 “plugs” from this one container.

For color, taste, and texture I’ve planted a few lettuce mixes that were just fabulous. All star gourmet, gourmet mix, tried and true heirloom mix,(huge surprise-buying lots more now) and lofty salad mix. I can’t put into words how wonderful they’ve tasted. 

Peppers in the SFG

Peppers have always been good in my square foot gardens, but they just come on so late in the season. I began sprouting these on March 1st. Eight days later they were ready to be put into pot maker containers where they grew for 6 weeks. I probably should have only left them in there for 5 weeks. They’ve now been put in their final bigger pot maker container where they will grow for 3 more weeks before being ready to plant outside. Maybe 4 weeks depending on the weather. It’s been a very roller coaster spring here in northern Utah. 

Peppers are slow growers. You can certainly buy them at the nurseries and skip all the work you’ve done inside for months. I do it because I can’t find this variety anywhere in the garden shops, and we love them. These lunchbox peppers start to really produce toward the end of summer. And when they do, it’s prolific. I first discovered these peppers at Costco many years ago where you can buy them pretty cheap. But, who knows how they’ve been cared for? Plus, they’ve been on a truck from a location that’s probably 1,000 miles away. We’d rather eat them fresh right out of the garden. Nothing matches the taste of home grown. 

Early start on peppers with a pot maker form

The pot maker is a great gardening tool to have at your disposal. For those who have taken my seed starting class, you know what these are and how they work. I bought mine 20 years ago from Burpee and it will out live me! You’ll not be needing to buy any more of those plastic cells that crack after the first year of use. These are made with only newspaper.

While this technique is something that a farmer couldn’t do because of the overwhelming amount of work it would take, it’s perfect for the small grower at home. It’s really a good way to do it if you’re growing just a few crops of something. I’ll only be growing 5 pepper plants this year, so I’ve put them all in pot makers and will start them inside until it’s safe for them to be transplanted into the garden. You can see that I’ve got 8 pepper plants in pot makers-just to give myself some wiggle room because the seeds are several years old. However, I did sprout all of them using the paper towel method. Those who have taken the seed starting class also know how to do this. 

Another advantage of planting right into the garden with the pot maker is that it minimizes transplant shock, which slows plant growth down by about 2 weeks. Sink these right into your soil-paper and all, and within a few weeks, you’ll not even be able to spot the newspaper. It’s really a good way to get things going for a quick start in spring. The wet paper towel over the pepper plants are used to keep the tops moist.