Category Archives: Composting

Prepping the garden for winter


I prep my gardens now for the best possible soil in the spring. It’s a little bit of work but I think its well worth the effort. I’ve done this for 15 years with excellent results. It all started many years ago when I noticed how many bags of leaves my yard produced. I saw all the plastic bags lining the streets that were ready to be picked up by the city for the dump. I decided to save my bagged leaves to be used for a couple of different things.

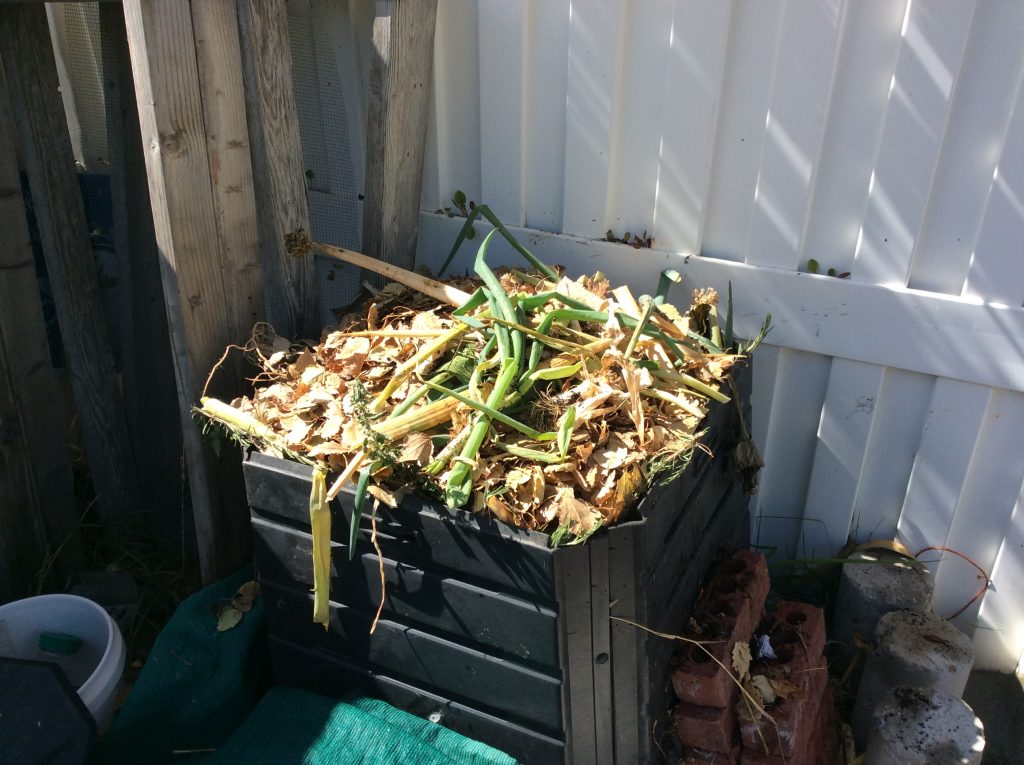
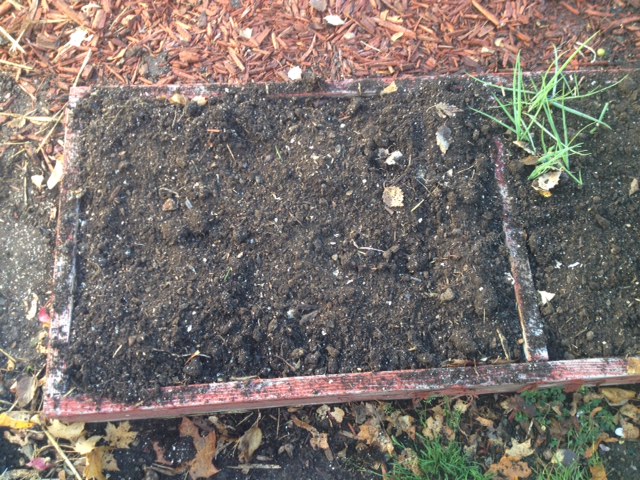
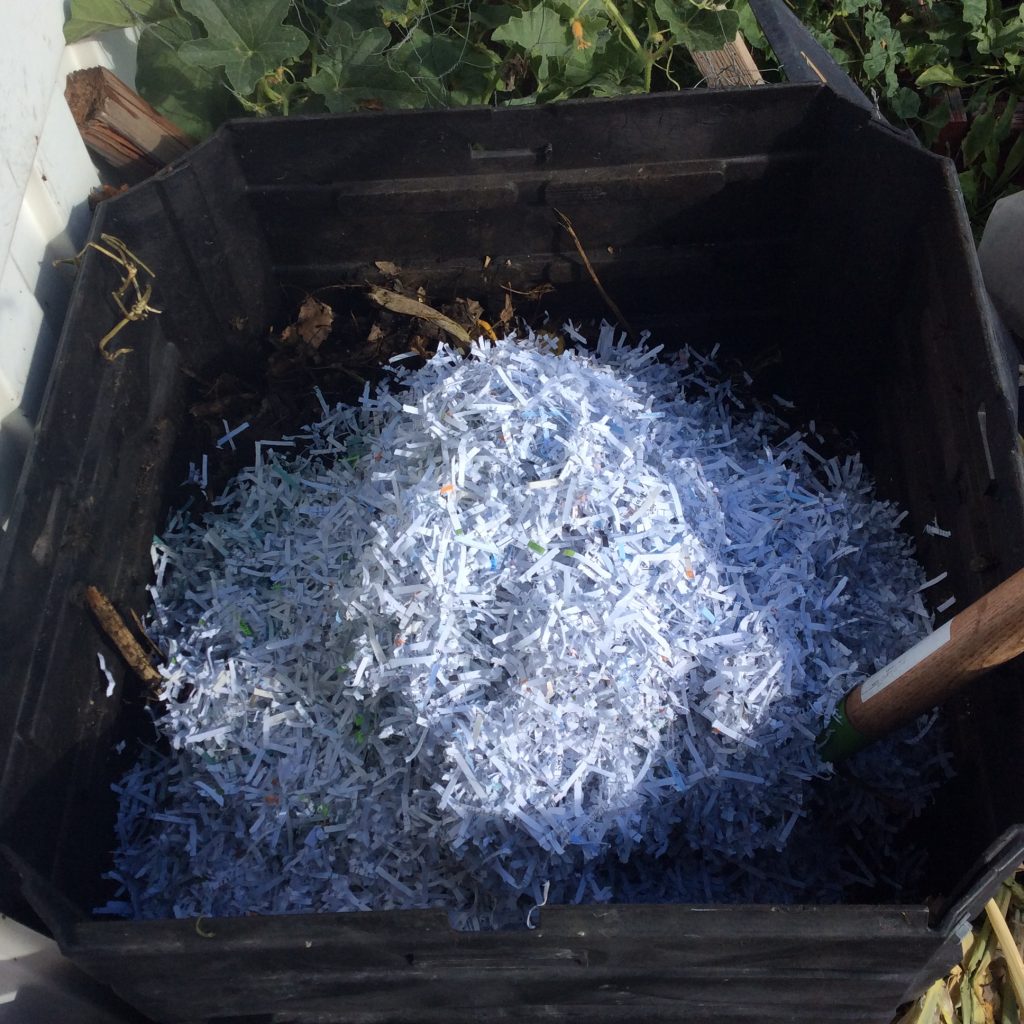
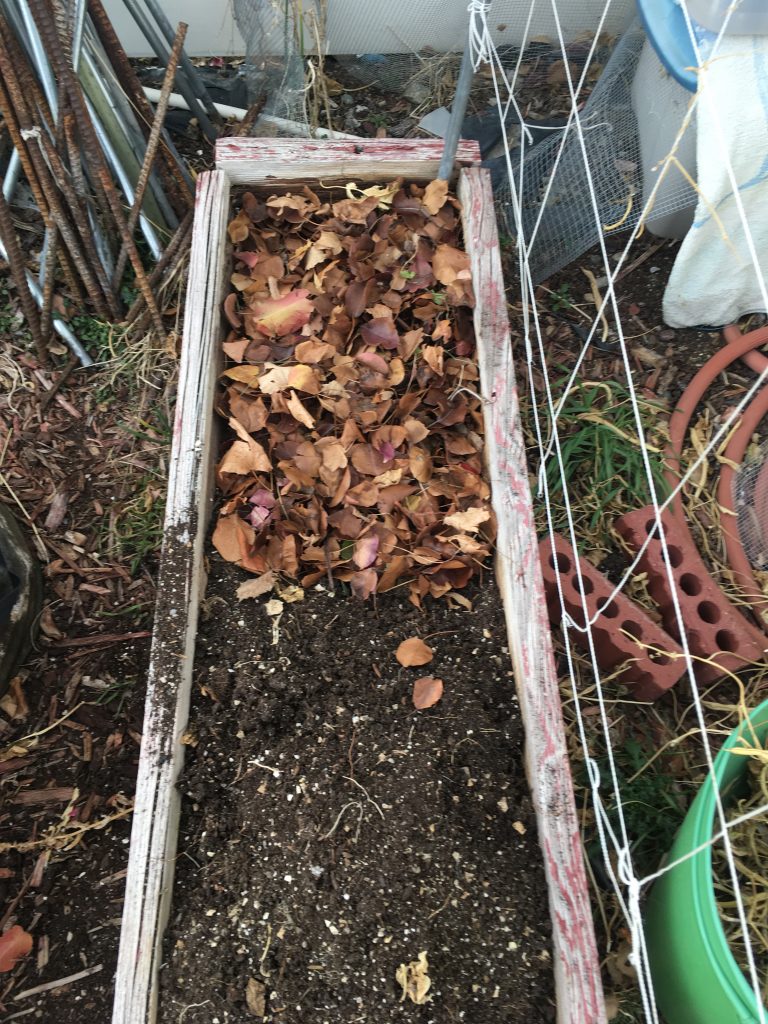
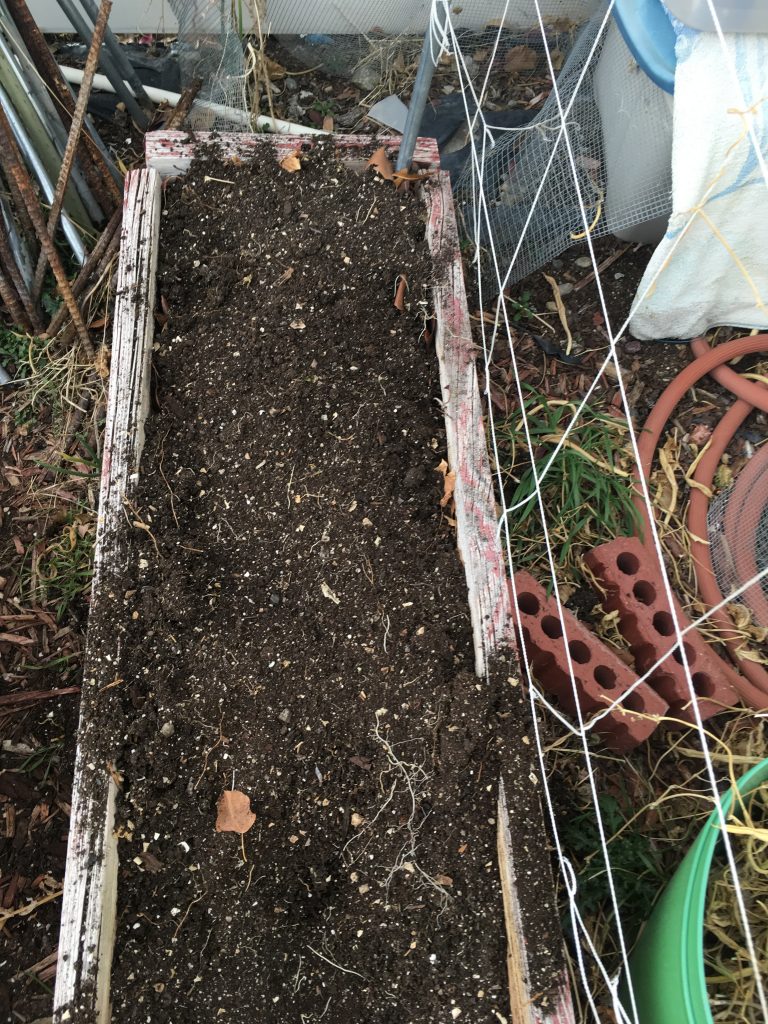
The first is for a conditioner. I remove a few inches of soil, add a fair amount of leaves, and then replace it. The leaves will be gone by the time I’m ready to plant in springtime. Leaves are a great addition to your soil. Click here to learn some of the benefits of leaves and for some other helpful tips. I also use leaves to cover things in the garden for winter for extra protection such as carrots. The remainder of my leaves are used as a brown source ingredient for my compost bin. I know I”ll need 7-8 bags to carry me through the growing season until the next fall arrives. The remainder of leaves are used to sell to folks who attend spring square foot gardening classes at my home. At that time all the leaves are gone and folks need a good brown source for composting.

The message? Don’t throw your leaves away! Save them to be used for your soil and for a great compost ingredient.[ois skin=”1″]

Finishing up the regular season-compost bin

This is a picture of my fully packed in compost bin on October 10th. I’ve got about 6-7 weeks of time before the weather gets really cold. I’ll work this bin every day, mixing it, mashing the ingredients, keeping it moist, and continually moving it. My thought is to get one more batch of compost before the bad weather gets here. As of the time of this post, I’ve lost almost half of the original mass. Free ingredients make up this compost bin. And if it seems a little too moist, or if I can smell something that I can identify, I’ll add leaves to balance things out.

Compost bin should smell earthy after a couple of weeks. Done correctly, you can produce an excellent quality of compost in as little as 6 weeks. The benefits of making your own compost can be seen here. While some experts will say you need 18-24 months to make a quality compost, that is true only if you don’t work you compost. If you do nothing and just let the contents sit, you’ll certainly get compost in this time frame. But by working it every day, you can speed up the process substantially.

Quick tip: this is the time to gather and save your leaves? You don’t have to rake them up and send them to the dump. Save and cover them for use in next year garden. It makes an excellent mulch and also a great compost ingredient to add-in to balance the green or kitchen items you’re using. Click here to learn more about composting leaves. My experience is that you don’t really need to shred them. If you feel like you want to and don’t have a shredder, use your lawnmower. [ois skin=”1″]

How does your cold frame grow?


Here’s something fun to see. First picture(top)is October 15, 2016, second is 1/1/17, last one is 2/21/17. A simple sun box, not a cold frame, can do this for you as well. Nothing wrong with the cold frame, its just more work, more expensive, and fairly permanent. I’ve taken off the top sun box level for the last picture so you can see whats happened over the winter. Now I’ll begin to harvest whats in it. Good eating tonight!

I encourage everyone to grow their own food, even those in harsher climates that experience snow, below zero temperatures, wind chill, etc. It’s a rewarding feeling to come out after a hard winter, pull back the top and see whats underneath. I just began watering this box last week-thats 3 full months of no work! those wanting to see how easy a sun box is to assemble(and take apart), see my earlier post. So easy, and all made with wood material thats laying around the house.
Crops in this box are spinach, chard,and the lettuces of sweet repeat, allstar, and black seeded simpson.

One of the keys to growing is the soil. As I’ve said before, if the soil isn’t right, nothing else will really matter. If you live in the area and are interested in learning how to have really rich, fertile soil, I’ll be teaching class this upcoming Saturday. Composting is the answer. Once you learn the proper way to do it, you’ll ask yourself why you haven’t been doing it all along[ois skin=”3″]

Prepped box for winter

prepped-garden-box-for-winterI just pushed about 3 inches of soil over, filled it with fall leaves and pushed the soil back on top. You won’t see the leaves-they are covered with soil. And you won’t see the leaves come spring time either. This is a great way to prepare your soil for the next growing season.

It takes about 5 minutes per box to do this. When spring arrives all you need to do is cover your boxes with plastic to heat the soil up. Even after a very hard winter season, your soil will be ready to plant in about one week.

If you were to turn your soil and look for leaves at that time, they’ll probably be gone. They are eaten and “mulched” into fertilizer by our friendly earthworms[ois skin=”3″]

Are you composting during the winter months?

compost-with-shredded-paperThis will probably be my last post of the year about composting.  I spend a lot of time on it because I think it’s important and one of the biggest reasons for the success I’ve had as a square foot gardener.  In the northern parts of the U.S. where winters are harsh it’s still a great idea to use the winter months to collect material to add in the compost unit even though you’re not actively composting.  During the warmer months it’s important to keep your compost damp-like a rung out sponge.  That changes during the winter months.

The goal of the bin at this time is to be ready to make compost as early as possible in the spring.  It’s too late now to make a finished batch of compost.  If you water your compost bins now as you do during the warmer months, the freezing temperatures will turn your bins into ice cubes.  It will take a lot longer to thaw compost piles out come spring when that happens.

I make sure to only add material during winter.  When its time to begin actively working the compost in late February, I don’t have to worry at all about waiting for it to thaw. It’s ready to be turned and aerated.  An important item is to have a nice compost unit to store material.  I’ve had mine for 16 years and I think I bought it for $35.  Its made out of a solid piece of hard plastic.  Its got a nice to for removal and 2 access doors.  I’ve had folks ask me where I got mine and they can be hard to find.  Sure, there are others, but I love mine.  Whatever you do, try to avoid the spinning ones.  I’ve got a strong bias against using those for reasons I can explain later.  I was able to find my exact compost unit through Amazon.  It’s a lot more expensive, but its the right one.  I’ve linked the compost bin on my blog.  I hate to even think about it, but what about a Christmas gift?  These are nice looking units that hold up well and don’t break down.  Give it some thought.

As I removed the top of the bin last week it smelled a little bit like a sewer.  Not that strong, but a little bit. This tells me that its too moist and too much green material. Having used up all my leaves from last fall, I had to find a suitable brown material, which I did in the form of shredded paper.  The pile is now back to a neutral smell.  The senses of sight and smell can really guide you when making compost.

Use this time to gather as much material as you can.  Come spring, you will be glad you did[ois skin=”3″]