Author Archives: Jim

About Jim

I'm a certified square foot gardening instructor that enjoys teaching others how to grow their own great, healthy, organic food. I also enjoy cooking, biking, playing my guitar, reading, and card magic.

Peppers in the SFG

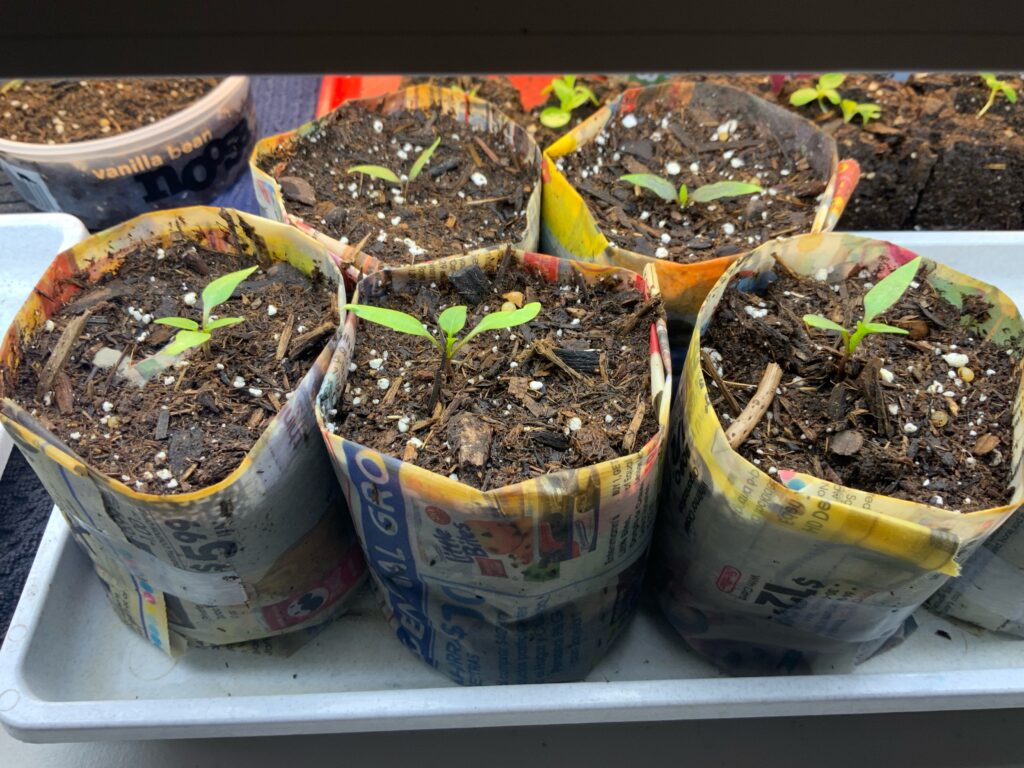
Peppers have always been good in my square foot gardens, but they just come on so late in the season. I began sprouting these on March 1st. Eight days later they were ready to be put into pot maker containers where they grew for 6 weeks. I probably should have only left them in there for 5 weeks. They’ve now been put in their final bigger pot maker container where they will grow for 3 more weeks before being ready to plant outside. Maybe 4 weeks depending on the weather. It’s been a very roller coaster spring here in northern Utah. 

Peppers are slow growers. You can certainly buy them at the nurseries and skip all the work you’ve done inside for months. I do it because I can’t find this variety anywhere in the garden shops, and we love them. These lunchbox peppers start to really produce toward the end of summer. And when they do, it’s prolific. I first discovered these peppers at Costco many years ago where you can buy them pretty cheap. But, who knows how they’ve been cared for? Plus, they’ve been on a truck from a location that’s probably 1,000 miles away. We’d rather eat them fresh right out of the garden. Nothing matches the taste of home grown. 
Winter sowing of cilantro

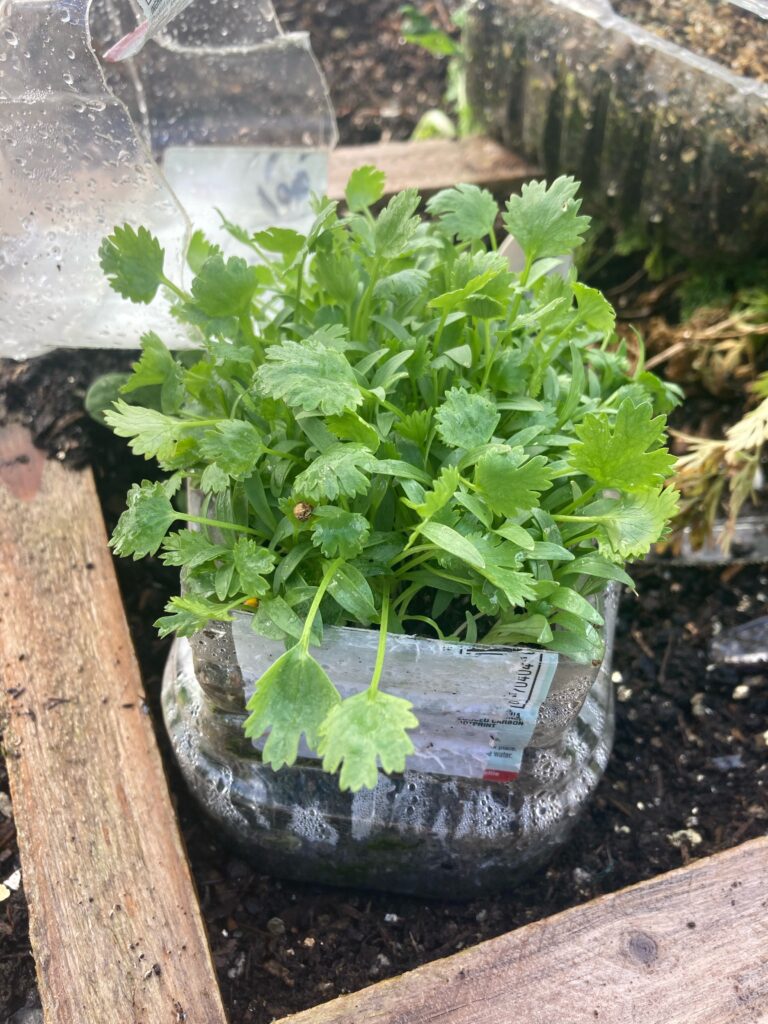
First put together 10 weeks ago, this cilantro is now ready to be separated and placed into squares. So far I’ve put them in 7 squares-28 plants, with about 5-7 more squares to go. Winter sowing is such a good practice. I took an empty olive oil container, cleaned it out, and then cut it around the mid-line. After filling it with moist soil, I added the cilantro seed, watered in again gently, closed the container with scotch tape, removed the top cap, and then placed it in my gardens which are covered with plastic and spun bound fabric.

There have been days where I pulled the plastic back to vent because it can really get warm under covers. I’ve done no work with this container. Try this easy technique next winter to enjoy an early spring garden. The seeds just know when it’s time to come up. One of the best things about winter sowing is you don’t have to worry about hardening your new plants off. They’ve been living in the very cool environment from the beginning. 

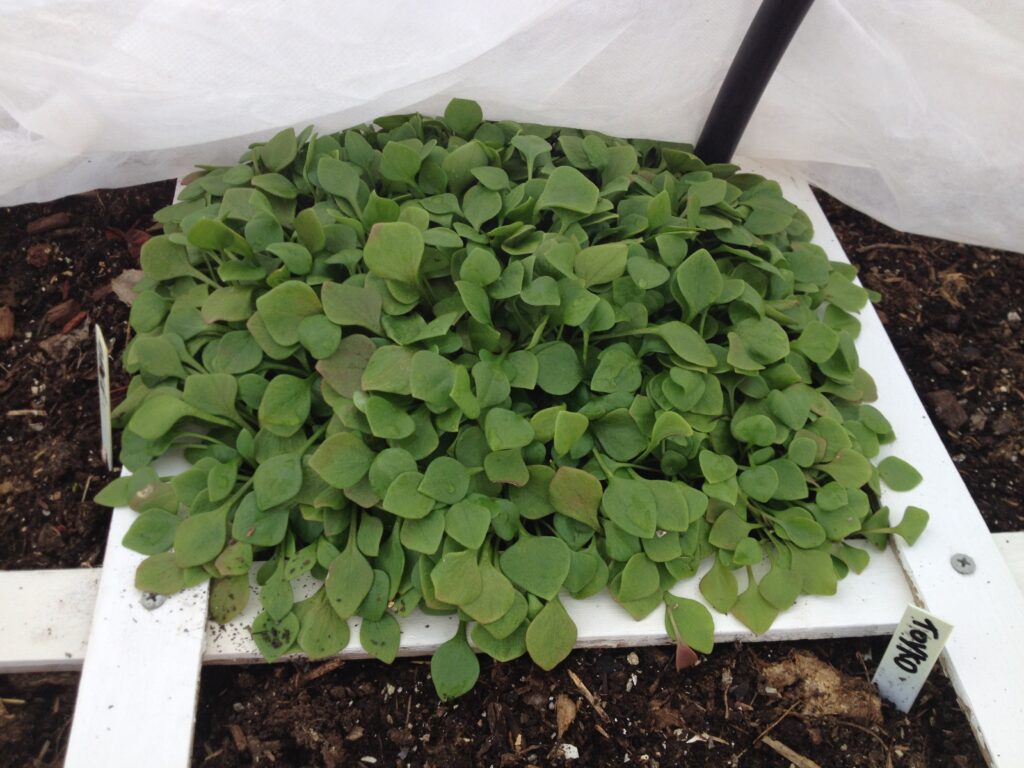
All that’s left for me to do is to separate the seedlings and put them in the squares of the SFG. Four plants per square. So far I’ve planted 7 squares or 28 seedlings with a lot more to go. By the time the neighborhood starts to think about planting their gardens in a month (still too early unless they’re ready to protect from more snow/freezing temperatures), I’ll have begun harvesting cilantro. I’ve already been enjoying over wintered carrots, parsnips, tatsoi, mache, claytonia, spinach, mizuna, and salad greens. 

For those who may be interested, I have a beginning square foot garden class at my home coming up in a couple of weeks. Space is limited. See details here

The ease of planting in the square foot garden

One of the greatest things about a square foot garden is you don’t have to do it all at once. I like to do a few little things every day during the growing season. Easy things. As I look to previous garden diary notes, this month and April are the most active months for me as far as active planting. 

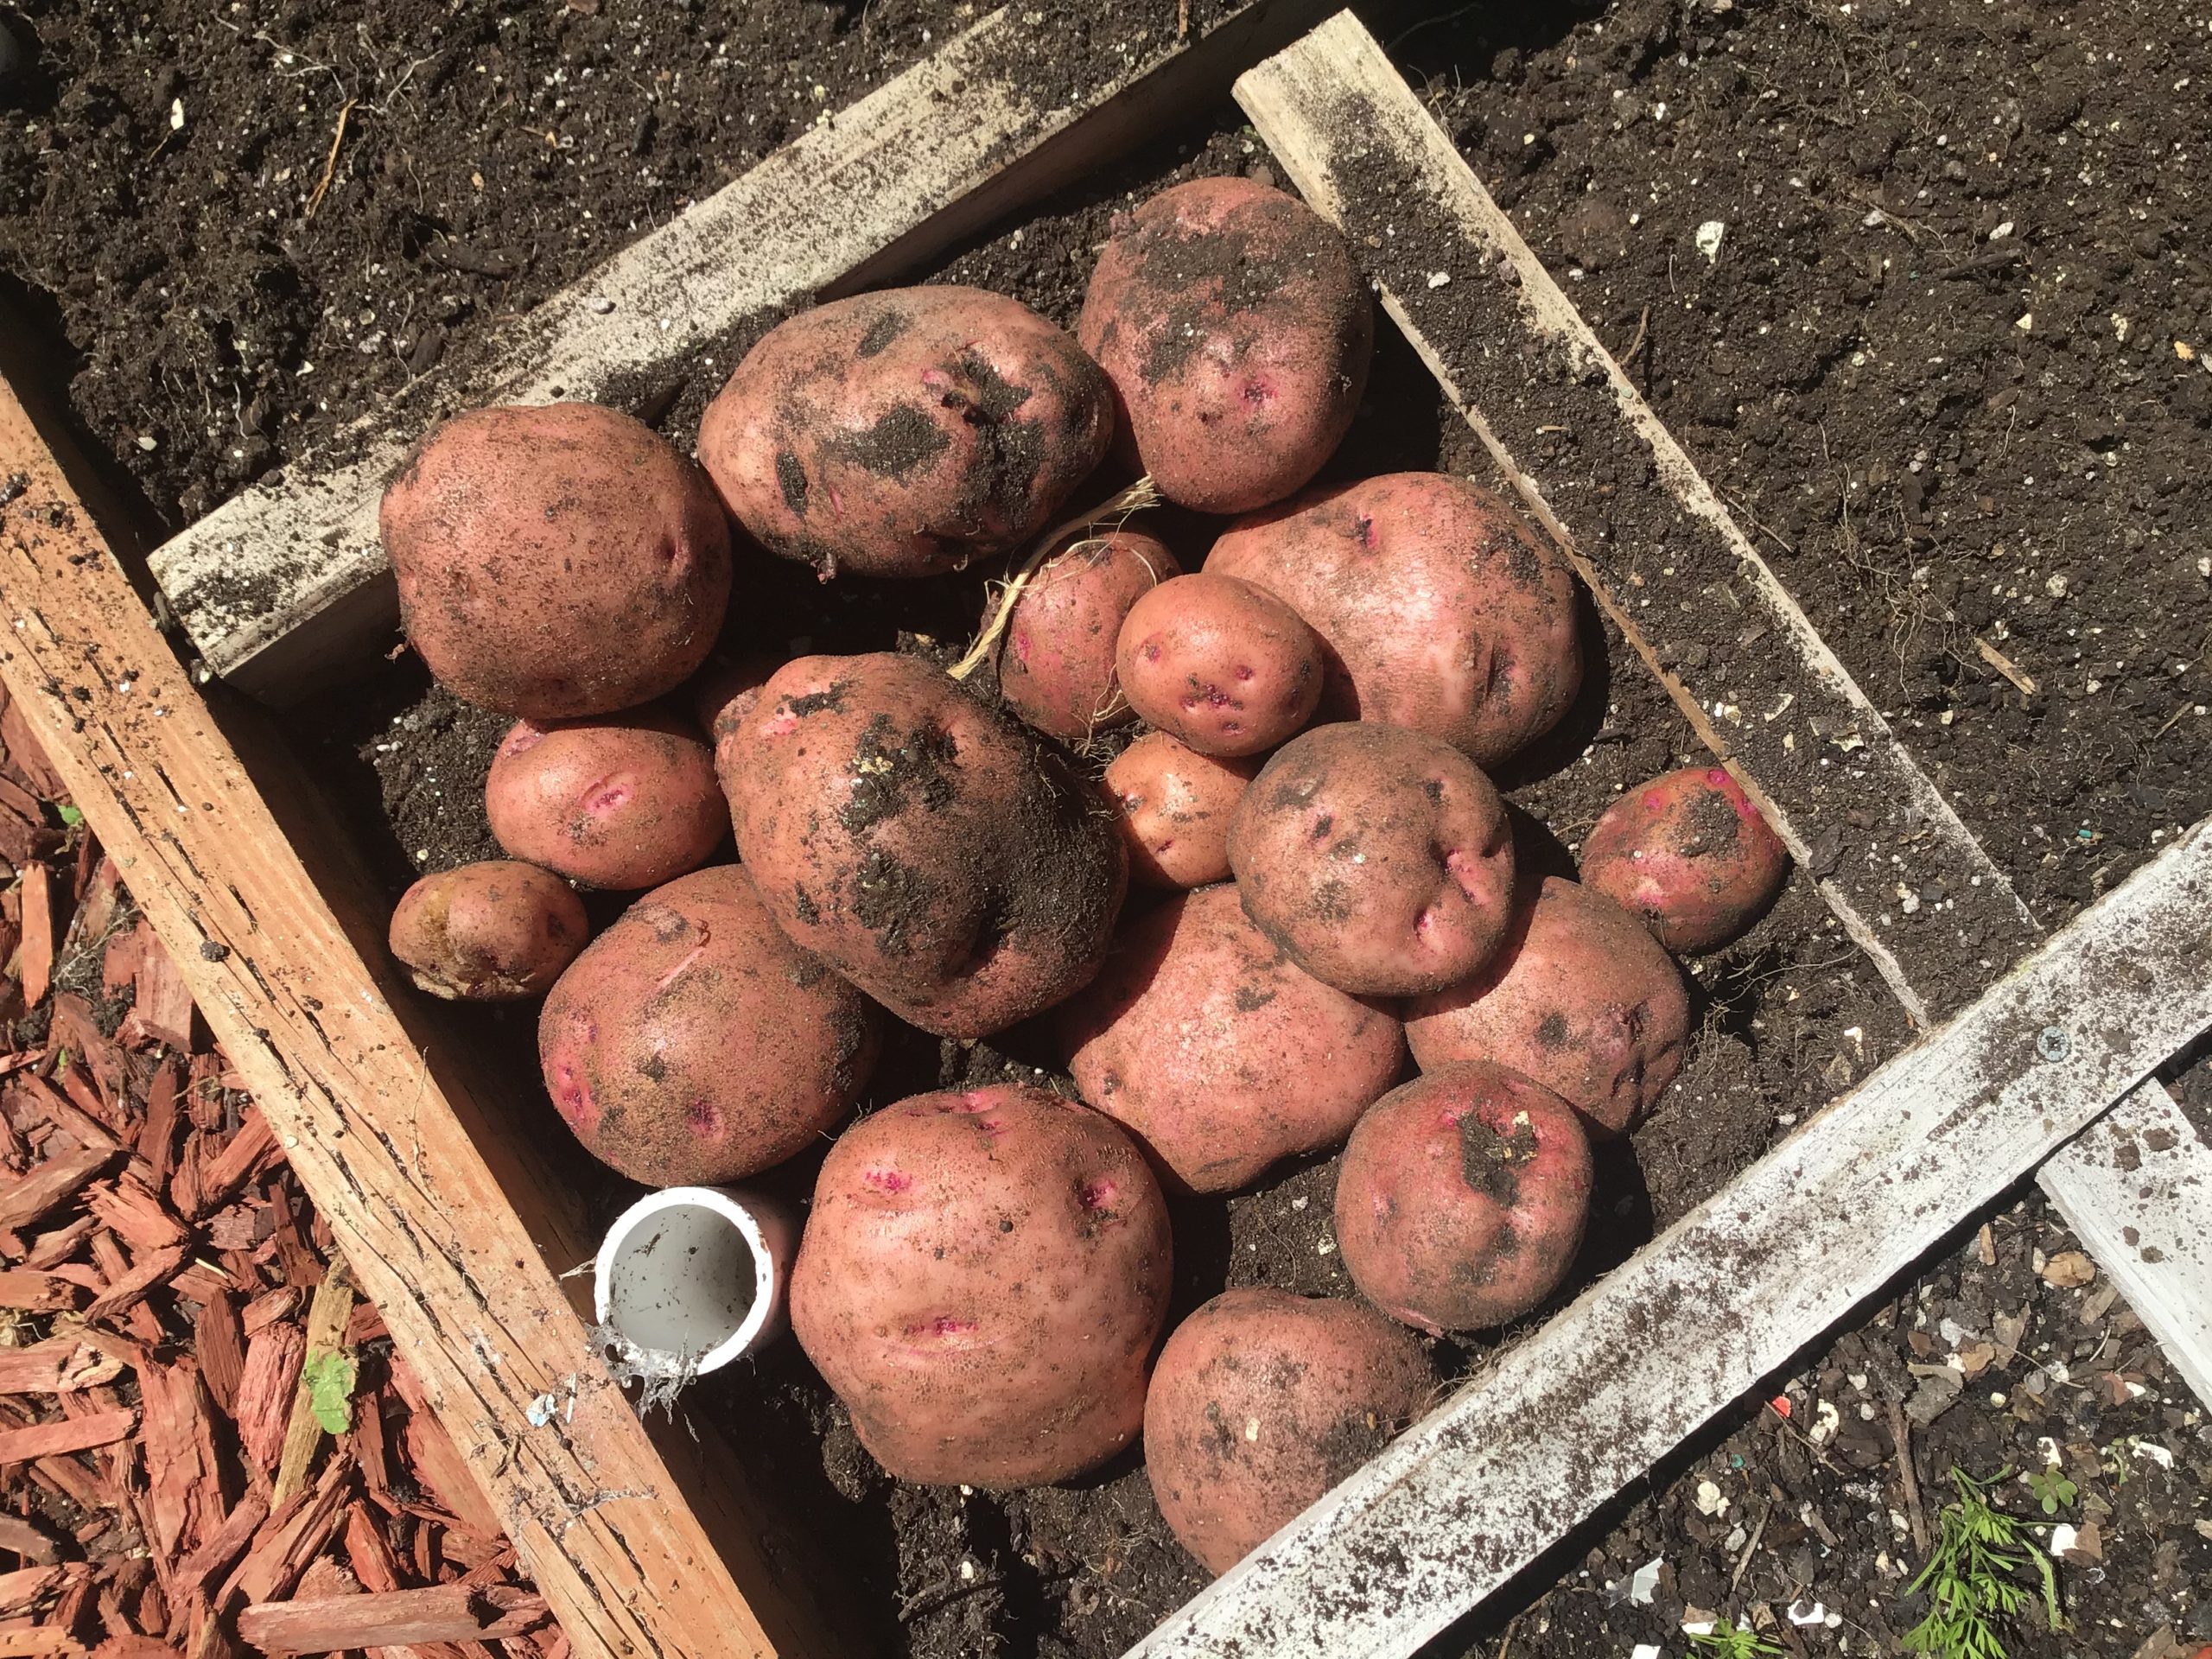
Today I planted 2 squares of red onions, 2 squares of red pontiac potatoes, and 3 squares of lettuces. I turned the compost pile and watered anything that look a little dry. My winter sowings look really good and in a few days I’ll begin to separate those up and put them into squares. Cilantro, spinach, and tatsoi are the most ready to go. 

Planting two or three squares every few days means a lot less work. It also means you won’t have an all at once harvest. By the time Labor day rolls around, when most of your neighborhood gardeners are burned out from weeding, watering, and the overall work load of their gardens, you’ll be thinking of ways to extend your season because it was so little work. 

And you enjoyed 100% of the harvest. 

Eat better tasting food without all the pesticides on them. Save money. Take control of your food supply. 

Early start on peppers with a pot maker form

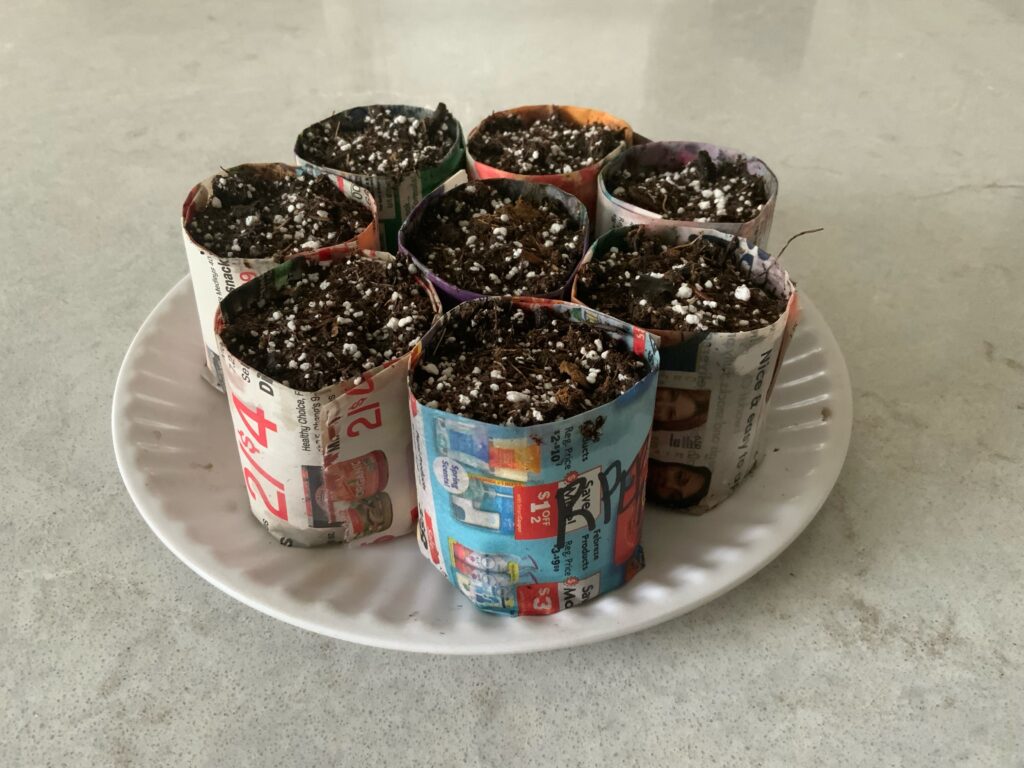
The pot maker is a great gardening tool to have at your disposal. For those who have taken my seed starting class, you know what these are and how they work. I bought mine 20 years ago from Burpee and it will out live me! You’ll not be needing to buy any more of those plastic cells that crack after the first year of use. These are made with only newspaper.

While this technique is something that a farmer couldn’t do because of the overwhelming amount of work it would take, it’s perfect for the small grower at home. It’s really a good way to do it if you’re growing just a few crops of something. I’ll only be growing 5 pepper plants this year, so I’ve put them all in pot makers and will start them inside until it’s safe for them to be transplanted into the garden. You can see that I’ve got 8 pepper plants in pot makers-just to give myself some wiggle room because the seeds are several years old. However, I did sprout all of them using the paper towel method. Those who have taken the seed starting class also know how to do this. 

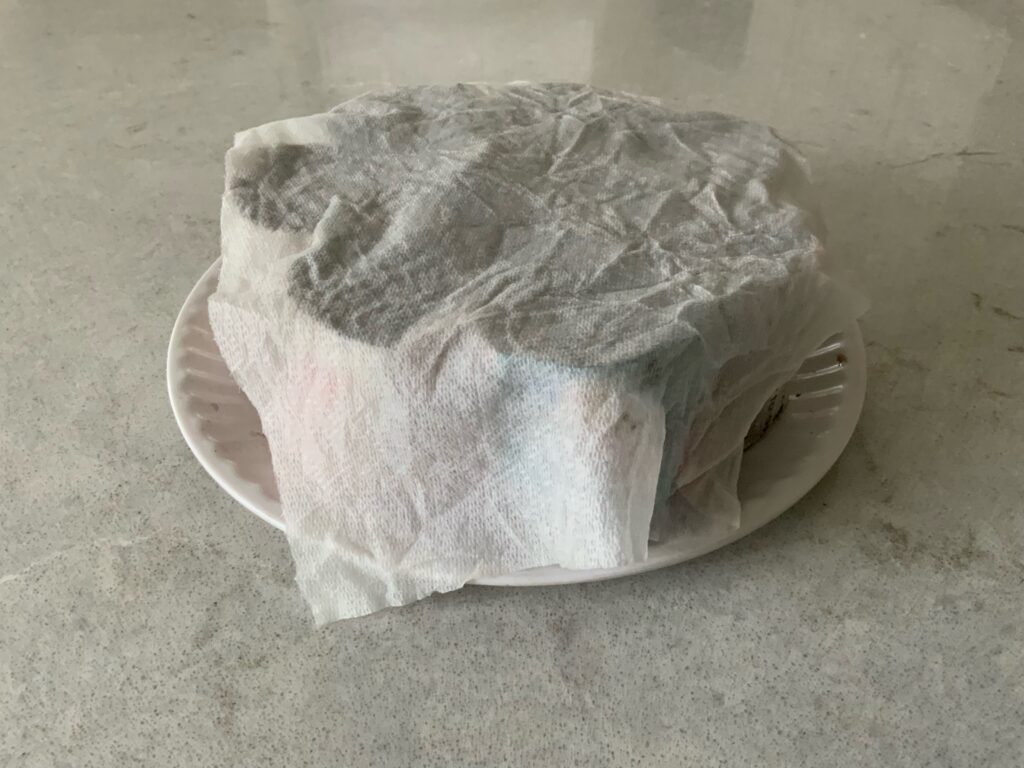
Another advantage of planting right into the garden with the pot maker is that it minimizes transplant shock, which slows plant growth down by about 2 weeks. Sink these right into your soil-paper and all, and within a few weeks, you’ll not even be able to spot the newspaper. It’s really a good way to get things going for a quick start in spring. The wet paper towel over the pepper plants are used to keep the tops moist.


How to have a really early square foot garden

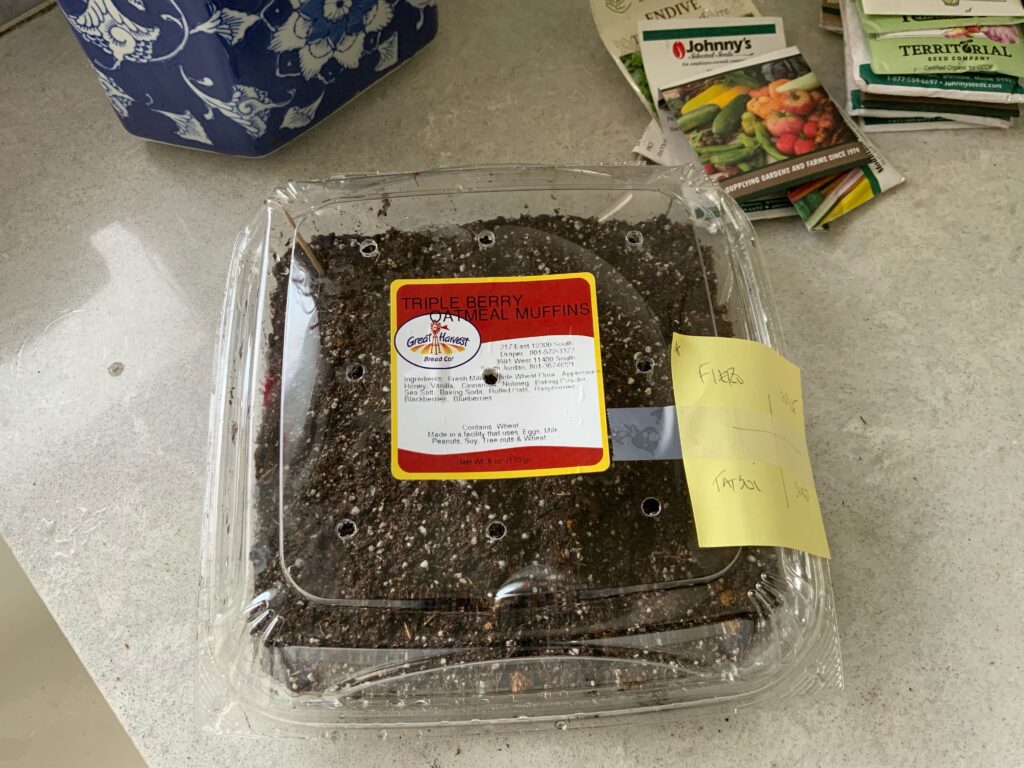
Or any garden for that matter. This is how I do it. I use many different kinds of containers but this one had 4 blueberry muffins from a local store. Clean it out and then poke holes in the top (6) and bottom (4). I use a screwdriver that’s been heated over a flame on the stove and then push it through the plastic. Make it easy!

I then fill with moistened potting mix. This container isn’t very deep so it will be used for salad greens type of crops. No root crops in this shallow of a container. I then seed fairly heavily so that when they come up I can separate them into individual starts to put into squares.

If it freezes, so what? If it snows, it doesn’t matter? These seeds know when it’s time to grow. As we get into the warmer months of late winter, take a peek every once in a while to make sure it doesn’t dry out. If it looks dry, just run some water over it and then cover again. 

These containers will develop a fair amount of condensation in them. Thats what you want. You’ve got it vented which lets excessive heat escape but it also keeps your soil moist. 

I have chard, radicchio, tatsoi, and endive in this container.