
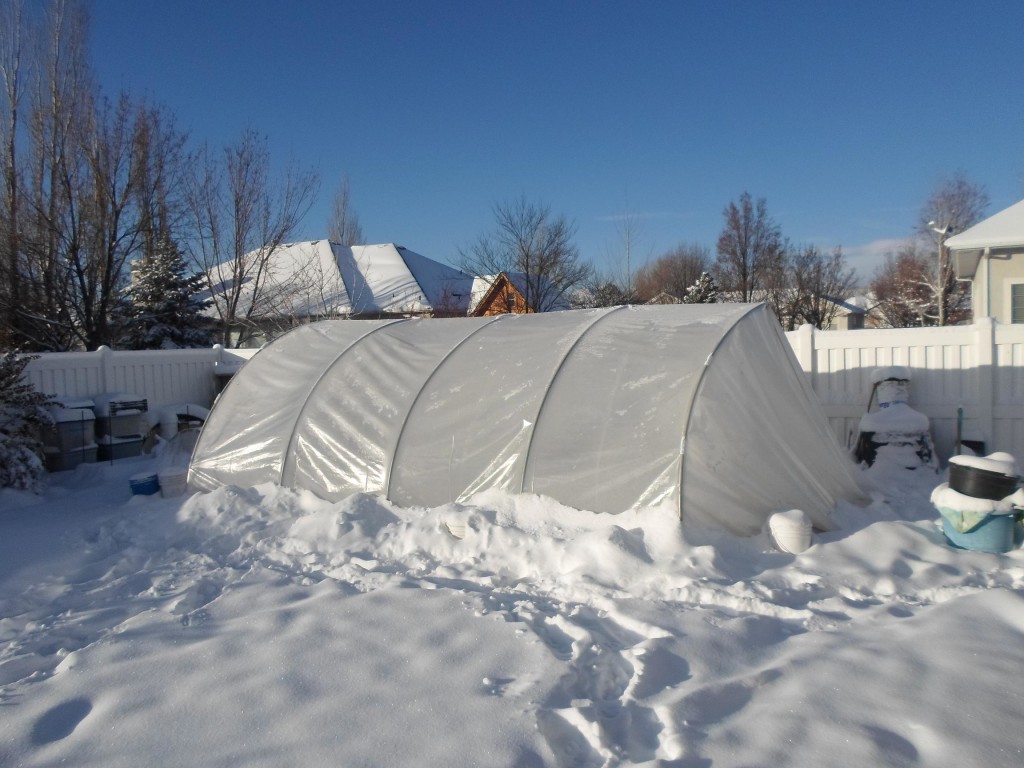
 It was a pretty good snow storm that came through Utah 2 nights ago. I had a problem with the snow load on the greenhouse and had to do some last minute fixing. I also had to change the shape of the greenhouse to the rounded instead of the Gothic arch. The Gothic arch added another foot and a half of height so the wind was really blowing it around. My only concern now it this shape of greenhouse and it being able to handle the snow load. I’ve tried to do this on a major budget but have learned that you’ll need to do some critical things to make it more solid than the simple Eliot Coleman PVC and rope greenhouse. That’s simply not going to work when you have the kind of weather that we have. But he’s in Maine so it should be a little similar I would think. At any rate, it was 8 or 9 degrees two nights ago and underneath the greenhouse it was 34. I’ll post soon to show what it looks like under the greenhouse. It’s great under there. I was able to go out into the garden and effortlessly harvest loose leaf lettuce, mizuna, tatsoi, mache, spinach, and arugula. More snow on the way and single digit temperatures at night for many days to come.
[ois skin=”below post”]
Jim,
I saw this double greenhouse the other day and thought it was very interesting. I am from the Chicago area where we experienced a very cold winter, several overnight lows below -10 with a -20 in there (2013-2014 winter). I don’t expect that to be a year-over-year trend as it is rare to get a below 0 temp here.
I am wondering what was the coldest it got there and how successful the garden was in respect to the weather. Also, were you only able to grow cold weather crops in there, how much were you able to harvest? I suspect it was warmer in the bed with the secondary greenhouse cover. Also, did you place in thermal helpers in the greenhouse: black tarp on the floor, thermal caching devices (rain barrels, stones)?
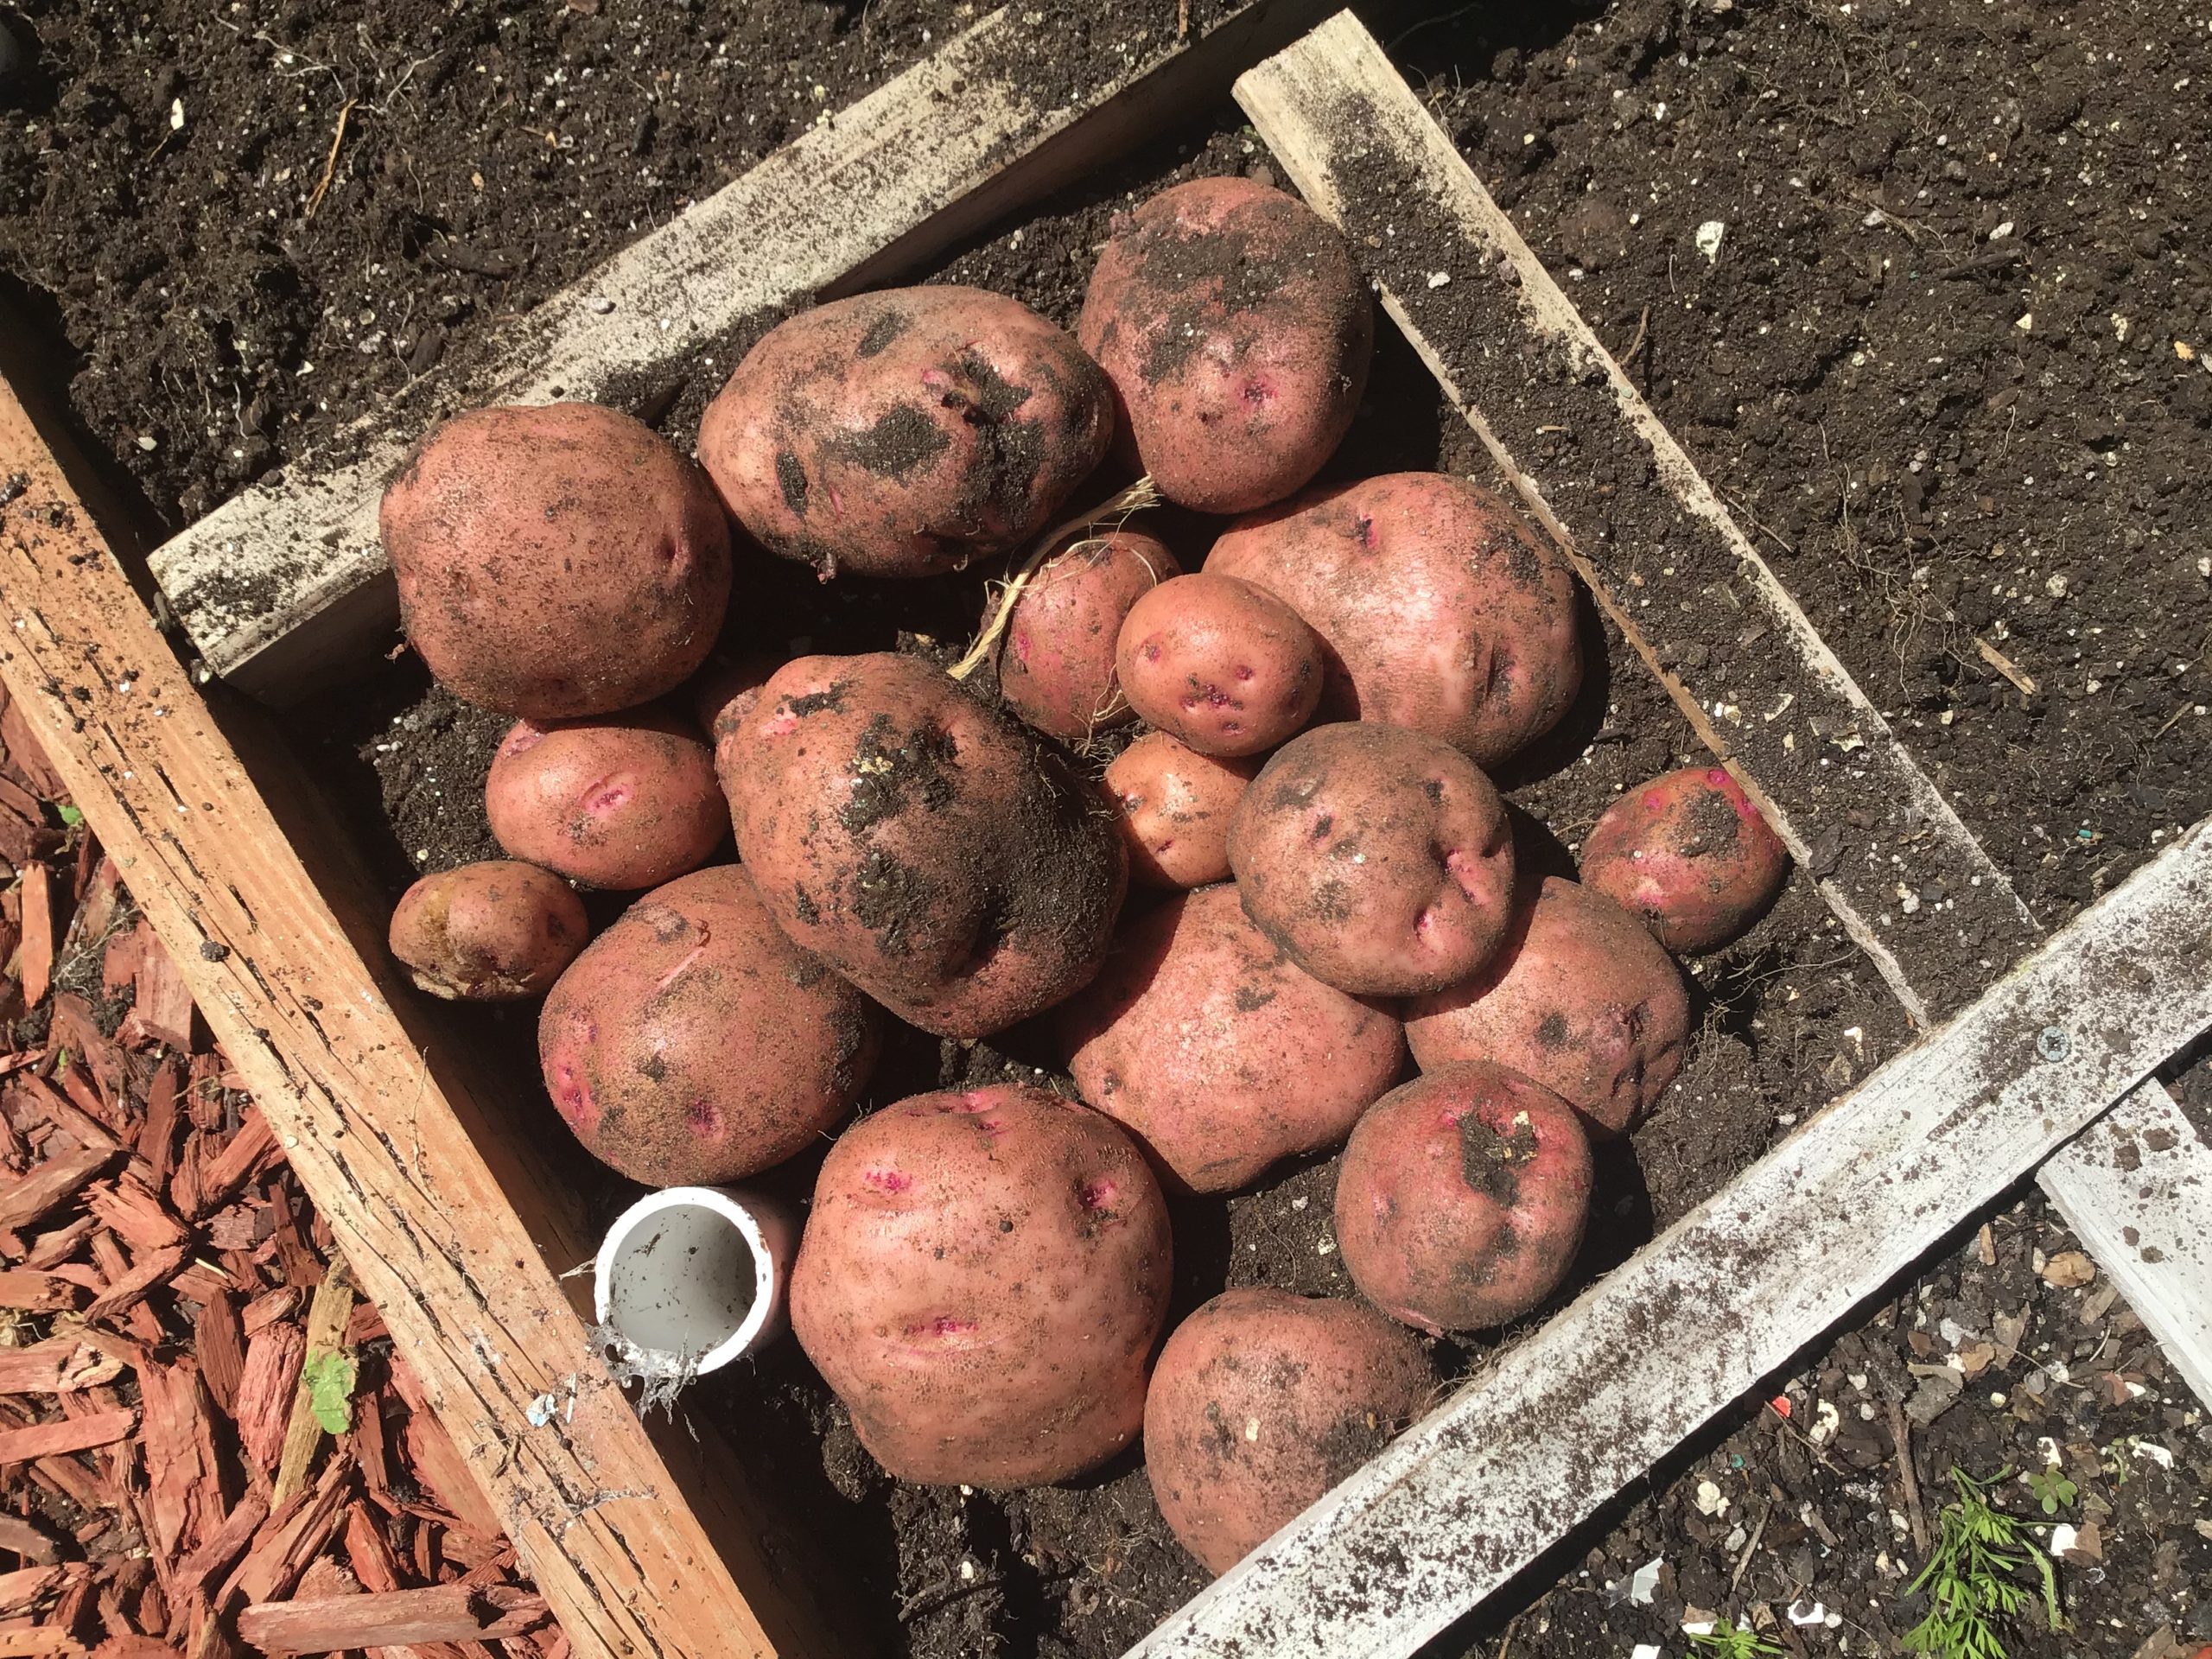
Do you have the final greenhouse plans available? Had a couple of questions surrounding this. How did you secure the the poles into the ground, how did you keep the plastic secured with the wind, what thickness of painters plastic did you use for both? Saw the cold frame that was a good idea.
Would other cool weather crops survive in there, like the cabbage family or cruciferous vegetables (broccoli, cauliflower, etc.)
Look forward to hearing from you.
Well you were colder this year than we were. We had 2 nights below zero. We had 2 or 3 weeks of single digit temps, and 3 or 4 weeks upper teens. We had snow, and a fair amount of it. We have significant winds. My greenhouse didn’t work in the beginning due to the wind. I should say it was a hoophouse and not a greenhouse. I want a modular hoophouse that I can put up and take down when I want. I only need it for 3 months-or at least that’s what my thought is. As it’s only 3/4″ PVC, it wasn’t as rigid as it needed to be. In the beginning I used the Eliot Coleman version-PVC for the hoops and just a rope for the top purlin tied with clove hitches. It failed miserably in an inch of snow. I got a hold of him and asked if it was good enough to hold a snow load and he said no. I wish he would have mentioned that in the youtube video that I saw. Then I put everything together using connectors and a side purlin. It help quite a bit, but not up to snuff. I then reinforced all my connectors with duct tape and that held it firm. My issue was then the plastic. Because I can’t dig a trench in the ground to hold the plastic down(due to grass), it was hard to keep it in place. I ended up using 60 pound bags of sand and 5 gallon water buckets to hold the sides down. To solidify it even more, I then pounded bent rebar into the ground and used hay bailing twine to make a big “X” over the plastic and hoops-all the way down and back. This seemed to do the trick. It then held pretty solid. We got wind gusts of 40+ MPH and it sill was a little wobbly. The hoops were held in place with rebar pounded in the ground and the hoops placed over them. This year, I’m going to put a new one in and make it right. I’ll be using 1″ EMT that I will have to bend with a “bender” from Johnny’s. With this adjustment, I think it will be the ticket. I did this years hoophouse for under $200. The plastic was the biggest cost-$125. By using EMT, it’s only minimally more expensive so I’ve already made my investment. However, I did learn a neat little trick to keep everything in place with no weights holding the plastic down, and no digging the plastic in the dirt. All it requires is more hay bailing twine and t-posts. I’ll be talking about this later but it will handle any wind you’re concerned about. I saw my buddy do this with wind gusts of 60 MPH. If I had to do it all over again I would go straight to EMT and build it from there. Each PVC hoop was about $2. EMT is only about $3 a piece, or close to that anyway. Hope that gives you some ideas…Jim
One last thing-I’m no longer a grower of the cruciferous crops only because of the pests they attract. My guess is that you would be fine with these for a short period of time. The problem comes in when it gets too warm under the hoops. There were many days when the highs were into the low 20’s, but it was 75 under the plastic. That’s a bit warm for the crops you’re asking about. I think the best thing to do is to match your season with crops that fit. I’d grow brocolli and cauliflower in spring and then again in late fall.
The reason I want a modular hoophouse that I can put up and take down quickly is because of what happens to the soil of permanent greenhouses and hoops. Fungal diseases, salt build up, etc. can all be a problem. By keeping it up for a short period of time, I can eliminate these worries. I do have to say though, the set-up I have right now worked equally as well as did a large hoophouse. Mine was 20′ long by 12′ wide. If you look at my blog you’ll see how I’ve covered my garden for bad weather right now. It works just as well at 1/20 of the cost. I can protect my crops in 5 minutes and uncover everything in the same amount of time. The only advantage I had with the hoops is that I could go out and play in the garden when it was snowing and it didn’t snow on me. It was fun when I did it. As I used to say to my wife “I’m going to Florida…” Thats when I would go into an 80 degree garden environment when it was 30 outside. It’s a bit of a trade off-but really, the small tunnels work equally as well without all the expense and hassle. And I’ve never had a single issue with wind or snow load doing any damage to those.
I’ve used the small tunnel houses before, had problems with wind whipping them away, but fixed that issue. This year was unusually cold for Chicago. We have the same problems with wind around here. I thought about using folding the plastic over on the side, put grommets in it and then securing them to a 1″x2″x8′ and then secure the 1×2 to my raised beds when needed. I’ve seen where you can tie the wood to the pole as well.
I really do like the idea, sounds crazy that it was so warm inside.
I have seen a hoop house before your size, they used some wood framing combined with plastic on the ends (doors included) and some wood along the sides to help secure it with about 3 pvc pipes lashed together across the top secured to the wood frames to give it stability (still modular). I have also seen someone use composting bins to help keep it warm inside. Never seen someone do the double layering (tunnel houses contained inside) until yours.
My small tunnels work great! In fact they’ve performed so well over the years that it’s hard to really go to anything else. I’ve never had any issues with my tunnel plastic blowing away, no matter how hard the wind is blowing. It’s weighed down with 5 gallon buckets filled with water all around the gardens. The only bad thing about the tunnel system is that you can’t enjoy gardening in bad weather. You get snowed on, rained on, etc. That was the fun part this past year-to be out of that. But it came with other problems-all of them being listed earlier. I think I might redo it this upcoming year. I’ll use EMT and that should make a huge difference. I’ve also found a way to anchor the plastic so you don’t have to anchor them to the sides as is customarily done. The double layers truly makes a big difference.